Fly Like an Eagle

Abstract:

For my final project in both ICM and PComp, I developed body-positioning Kinect-controls for the Google Earth Flight simulator. The Kinect uses the z-position & x-position of the users head as well as their hips, to determine the pitch and roll of the aircraft; and it uses the average delta in y position of the left and right hands to determine speed. This allows people to flap and lean like a bird might and then fly around the planet! 


Development:

The sketch that drives the whole application can be found here.  

The sketch that drives the mouse movement from Arduino is below. There is some commented out text that controls a button input to start the game that has not been set up yet (as of this writing @ 9:40 am Dec. 5). But will be soon.

#include "Mouse.h"
#include "Keyboard.h"

String inData;
int xpos;
int ypos;
int Speed;
int StartPin = 8; // initialize button to begin game
int greenLED = 9;
int redLED = 10;
boolean OnState = false;
int seconds = 0;

void setup() {
  Mouse.begin();
  Keyboard.begin();
  pinMode(StartPin, INPUT); // set Startpin to be input
  pinMode(redLED, OUTPUT);
  pinMode(greenLED, OUTPUT);

  digitalWrite(redLED, HIGH);
  digitalWrite(greenLED, LOW);

  Serial.begin(9600);    // initialize serial communications
  Serial.setTimeout(100); // set the timeout for parseInt
  seconds = millis()/1000;
}

void loop() {
  if (Serial.available() > 0) {
    inData = Serial.readStringUntil(';');

    // parseInt will read & output each full int until non-int character.
    xpos = Serial.parseInt();
    ypos = Serial.parseInt();
    Speed = Serial.parseInt();

    if (1 > 0)
    {
      Serial.write('n');   // send it back out as raw binary data
    }
  }
  if (OnState == false){
  int readStartPin = digitalRead(StartPin);
  if (readStartPin == HIGH)
  {
    digitalWrite(redLED, LOW);
    digitalWrite(greenLED, HIGH);
    Mouse.click();
    OnState = true;
  }
if (seconds > 30){
OnState = false;
}
}
if (OnState == true){
  if (Serial.available() > 0){
    Mouse.move(xpos, ypos, 0);
    speedCheck();
}}
}


void speedCheck()
{
  // use serial input to control velocity
  if (Speed > 3)
  {
    Keyboard.write('9');
    if (Speed > 1 && Speed < 3)
    {
      Keyboard.write('9');
      Keyboard.write('3');
    }
  }
  if (Speed < 1) {
    Keyboard.write('3');
  }
}

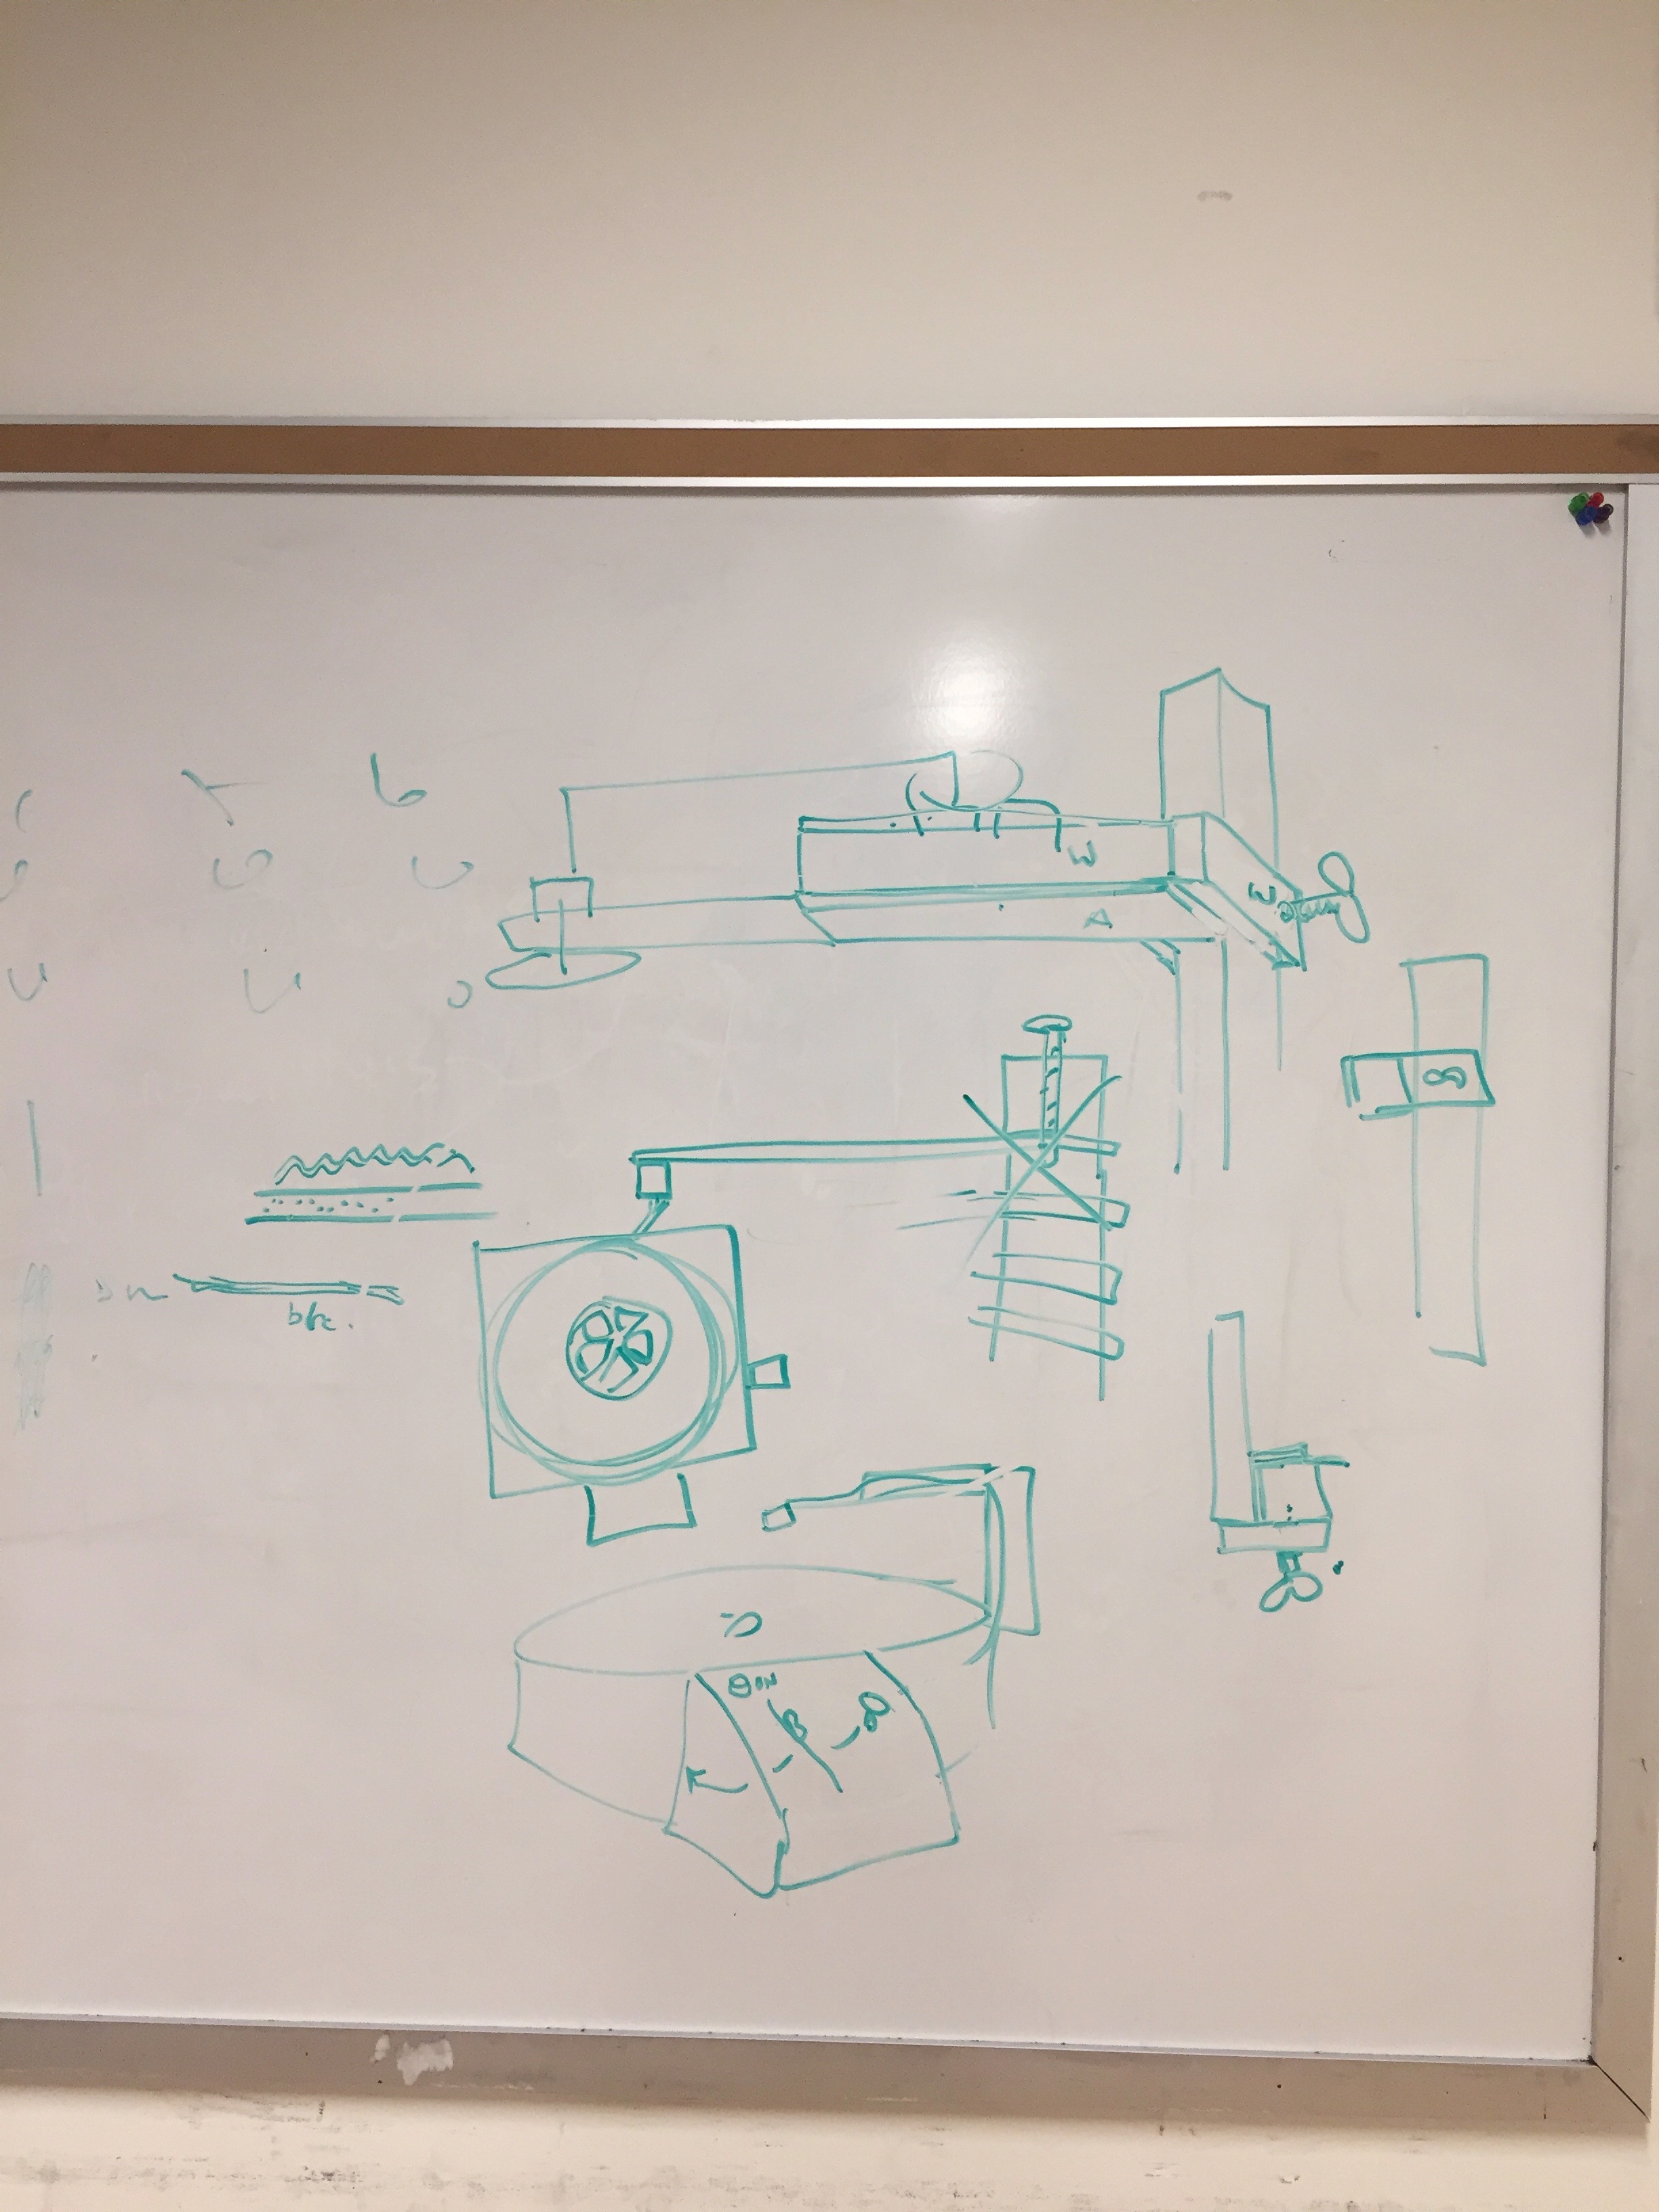
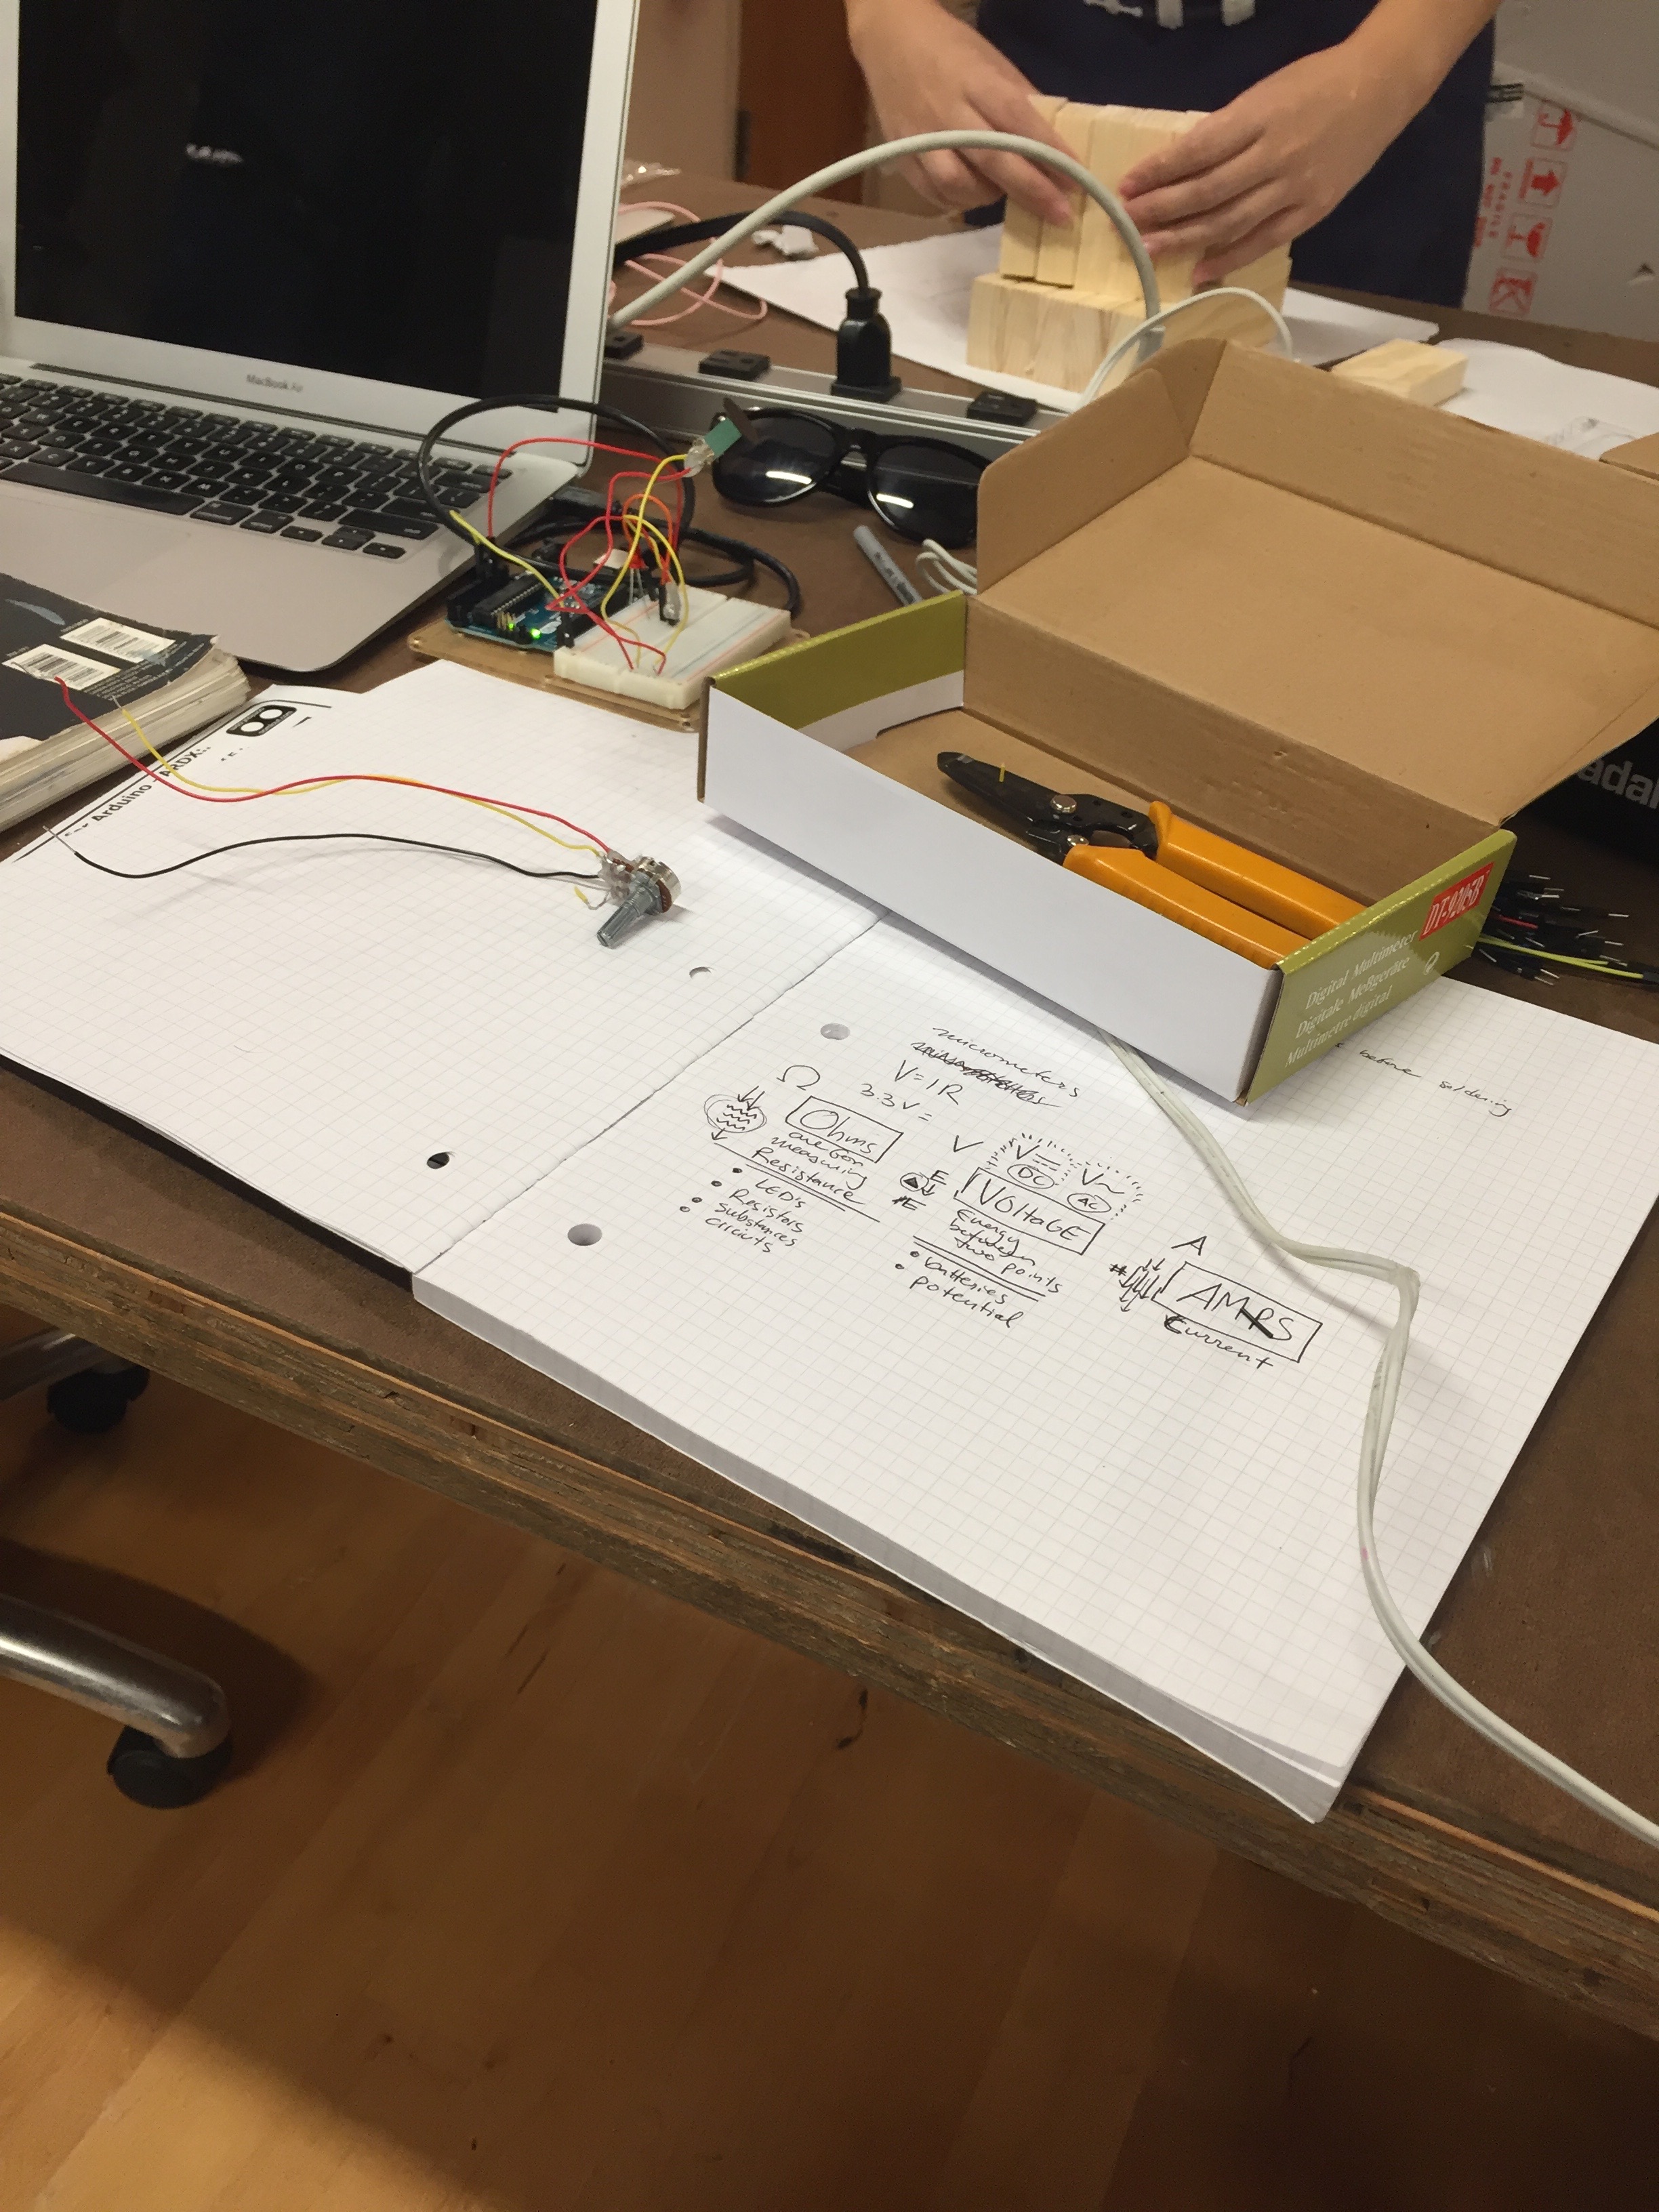
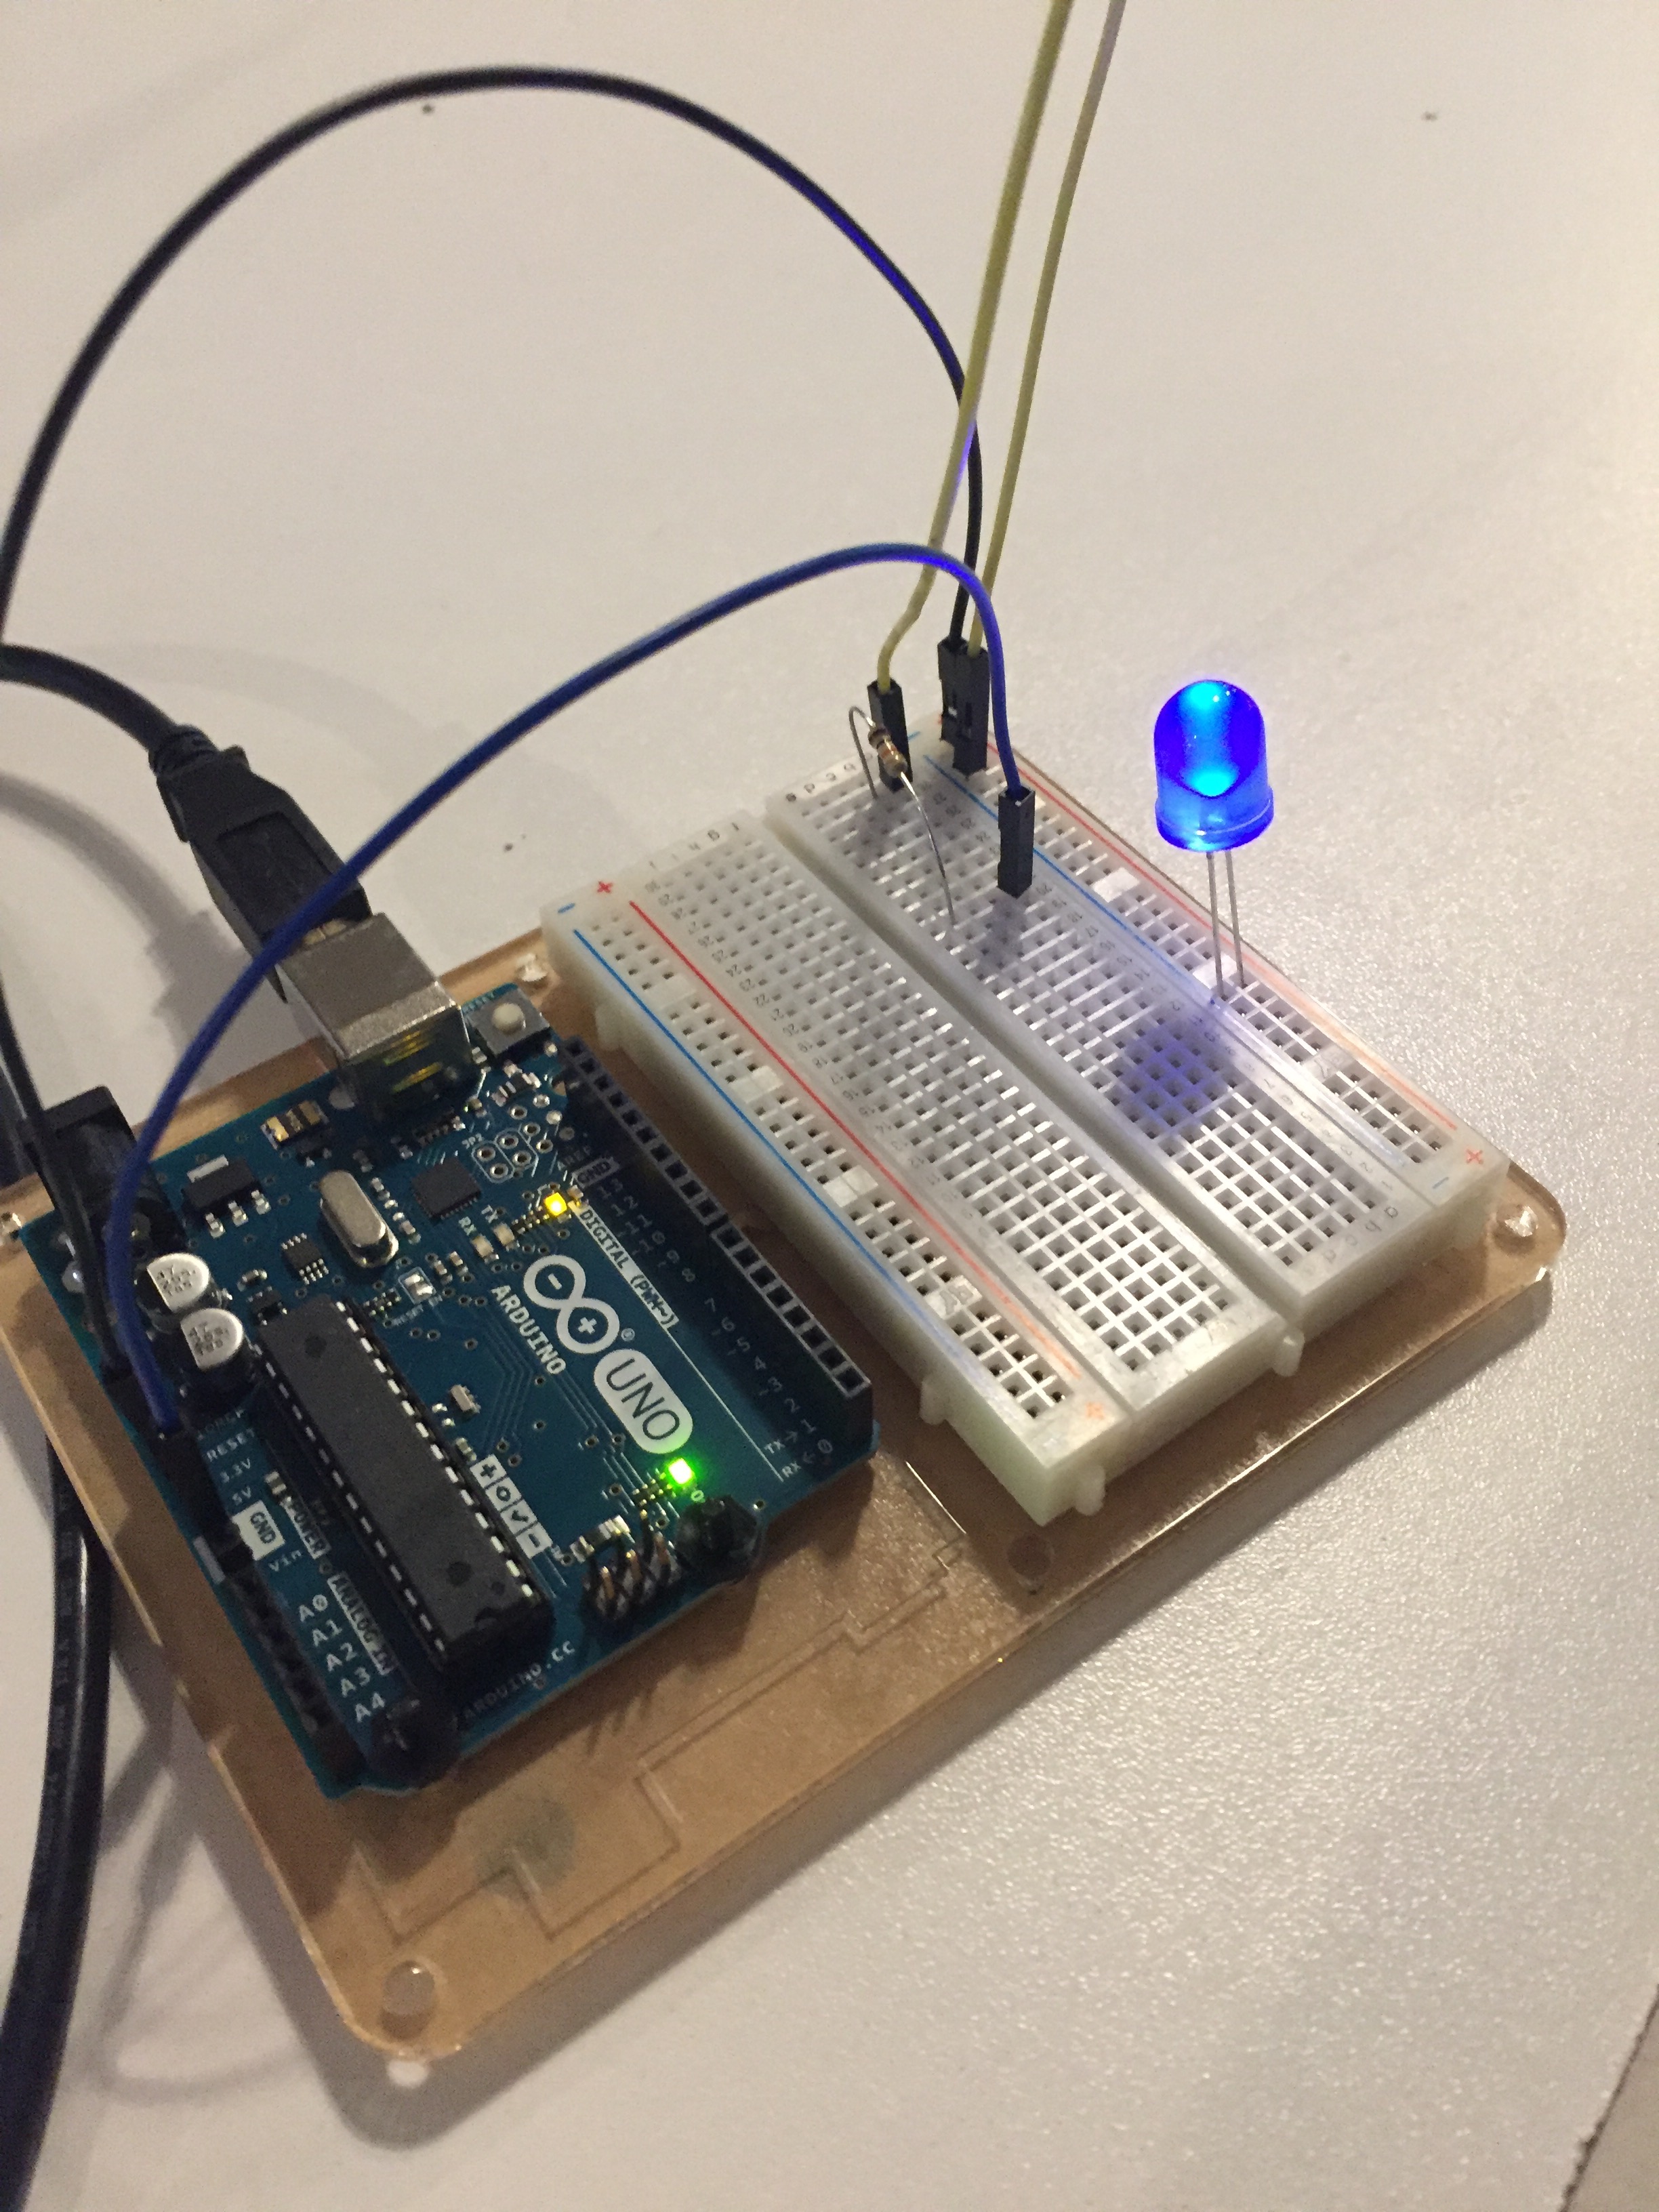
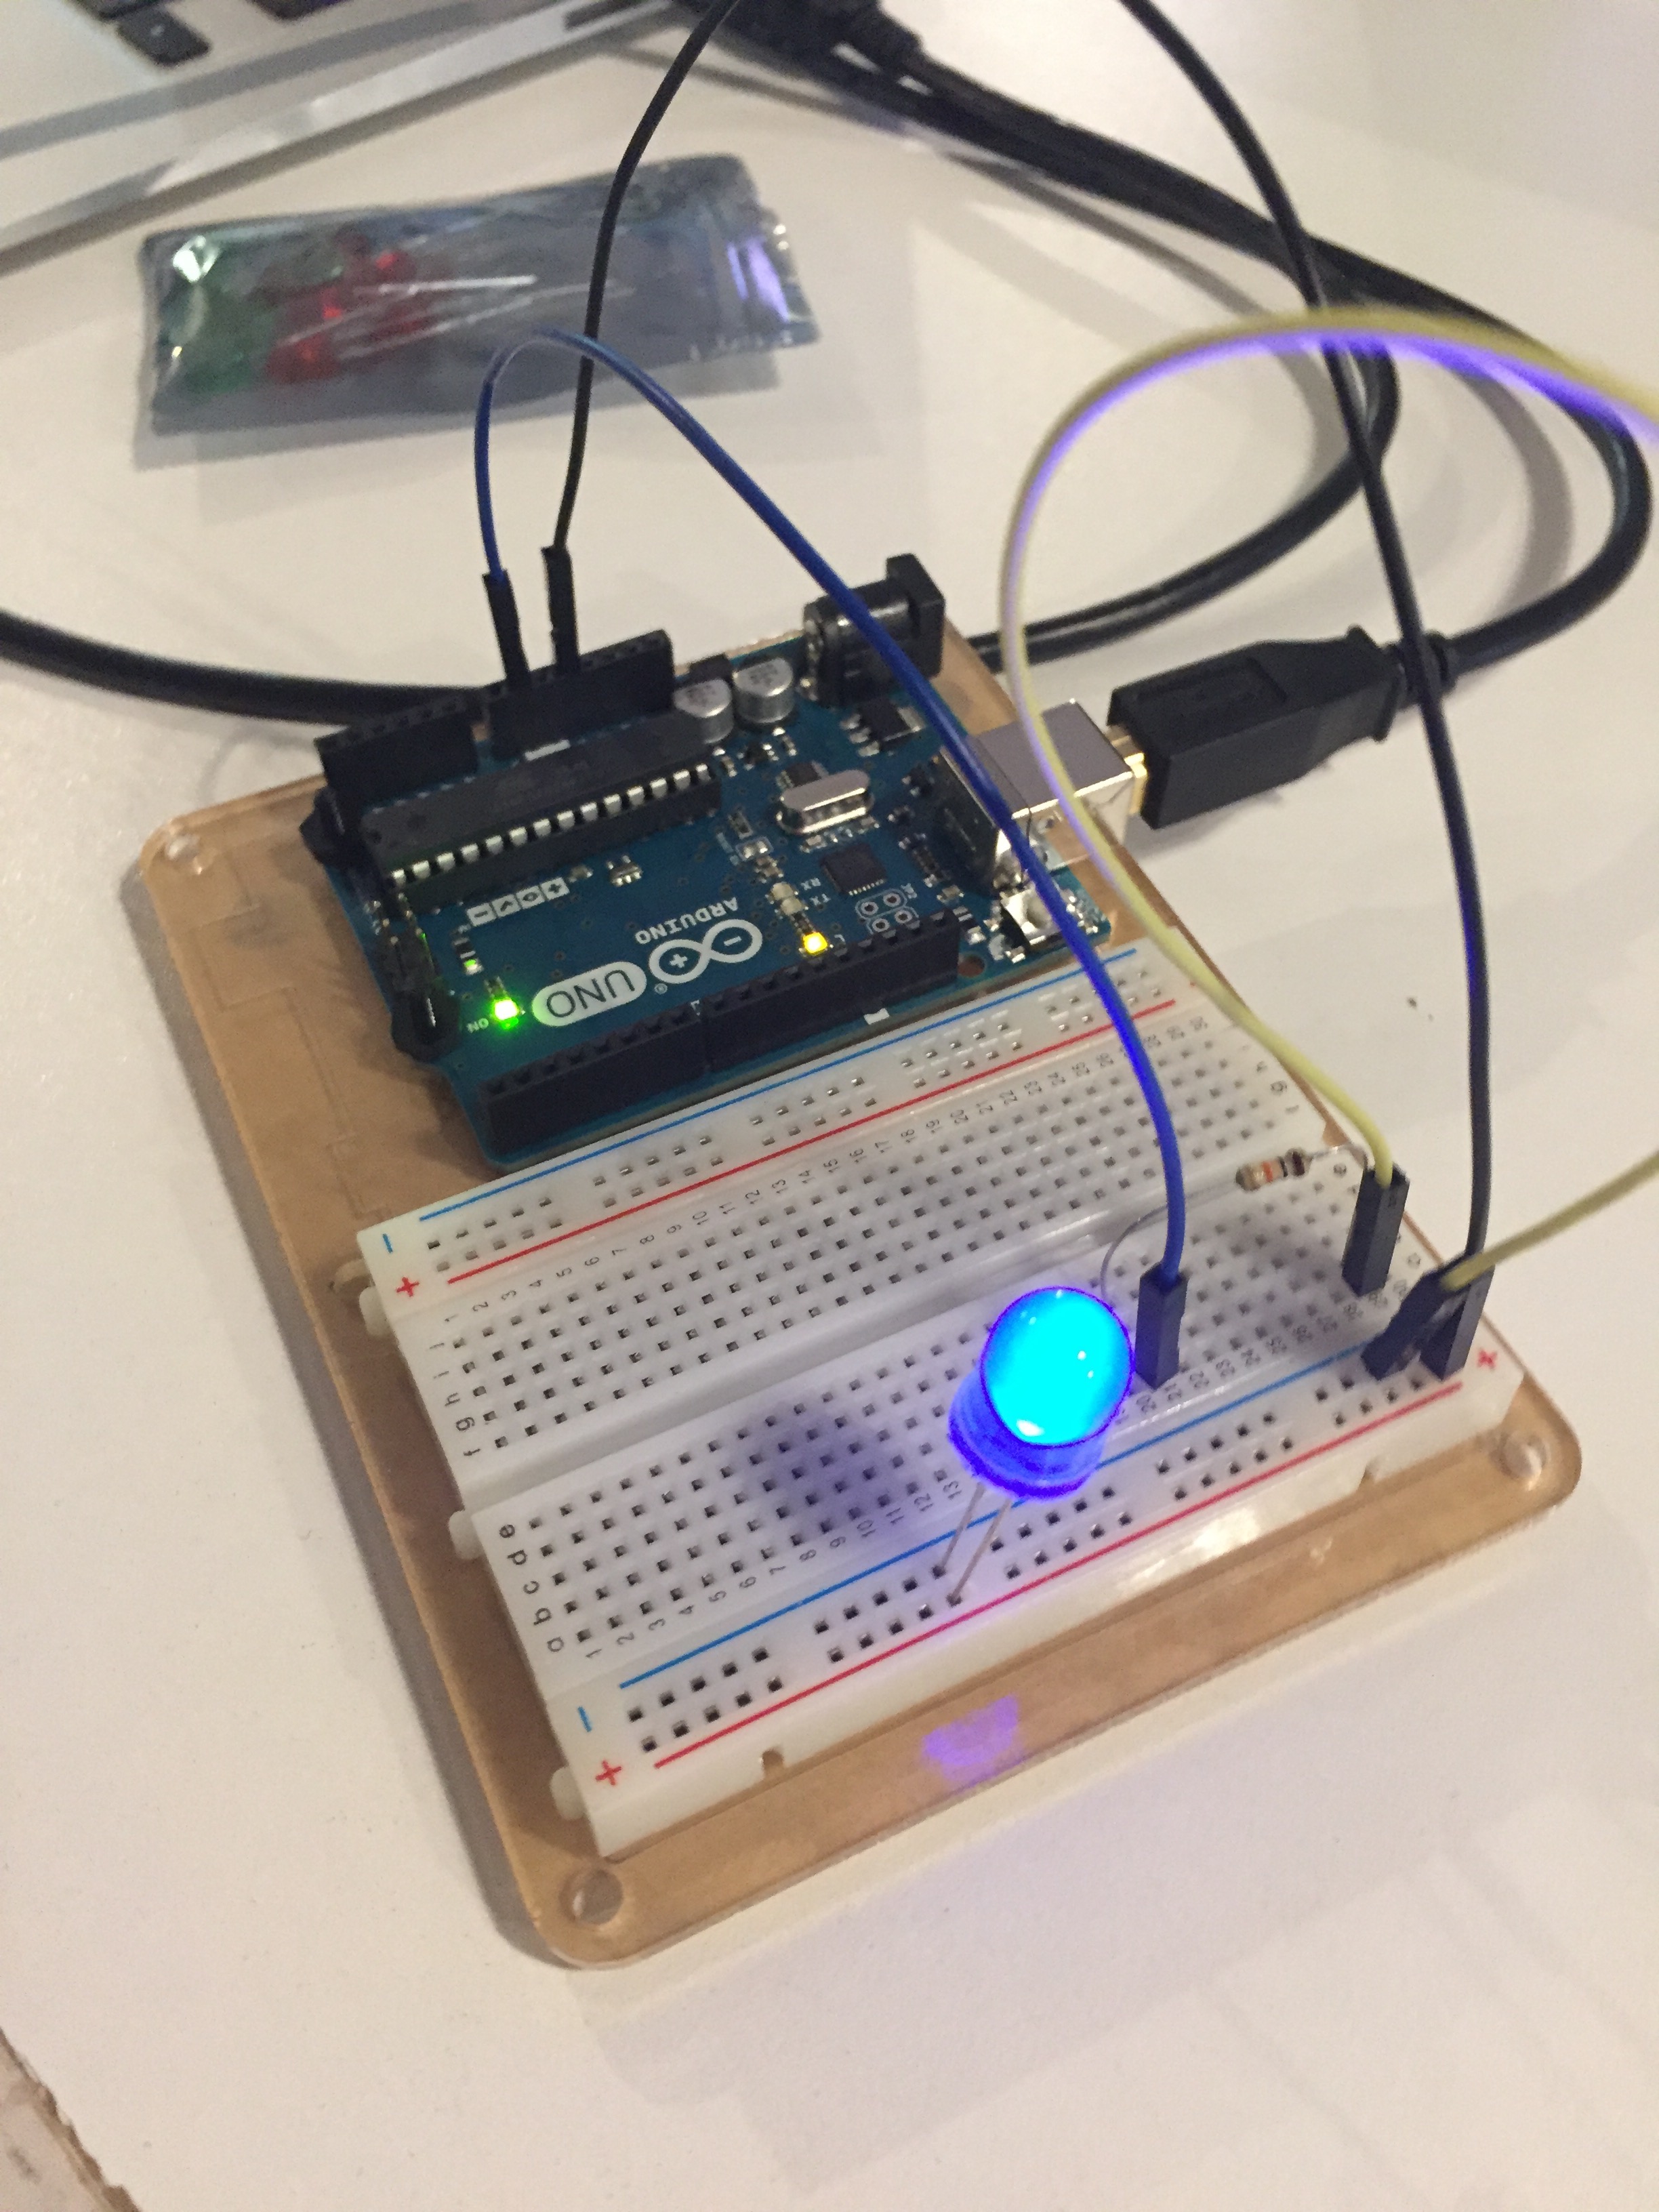
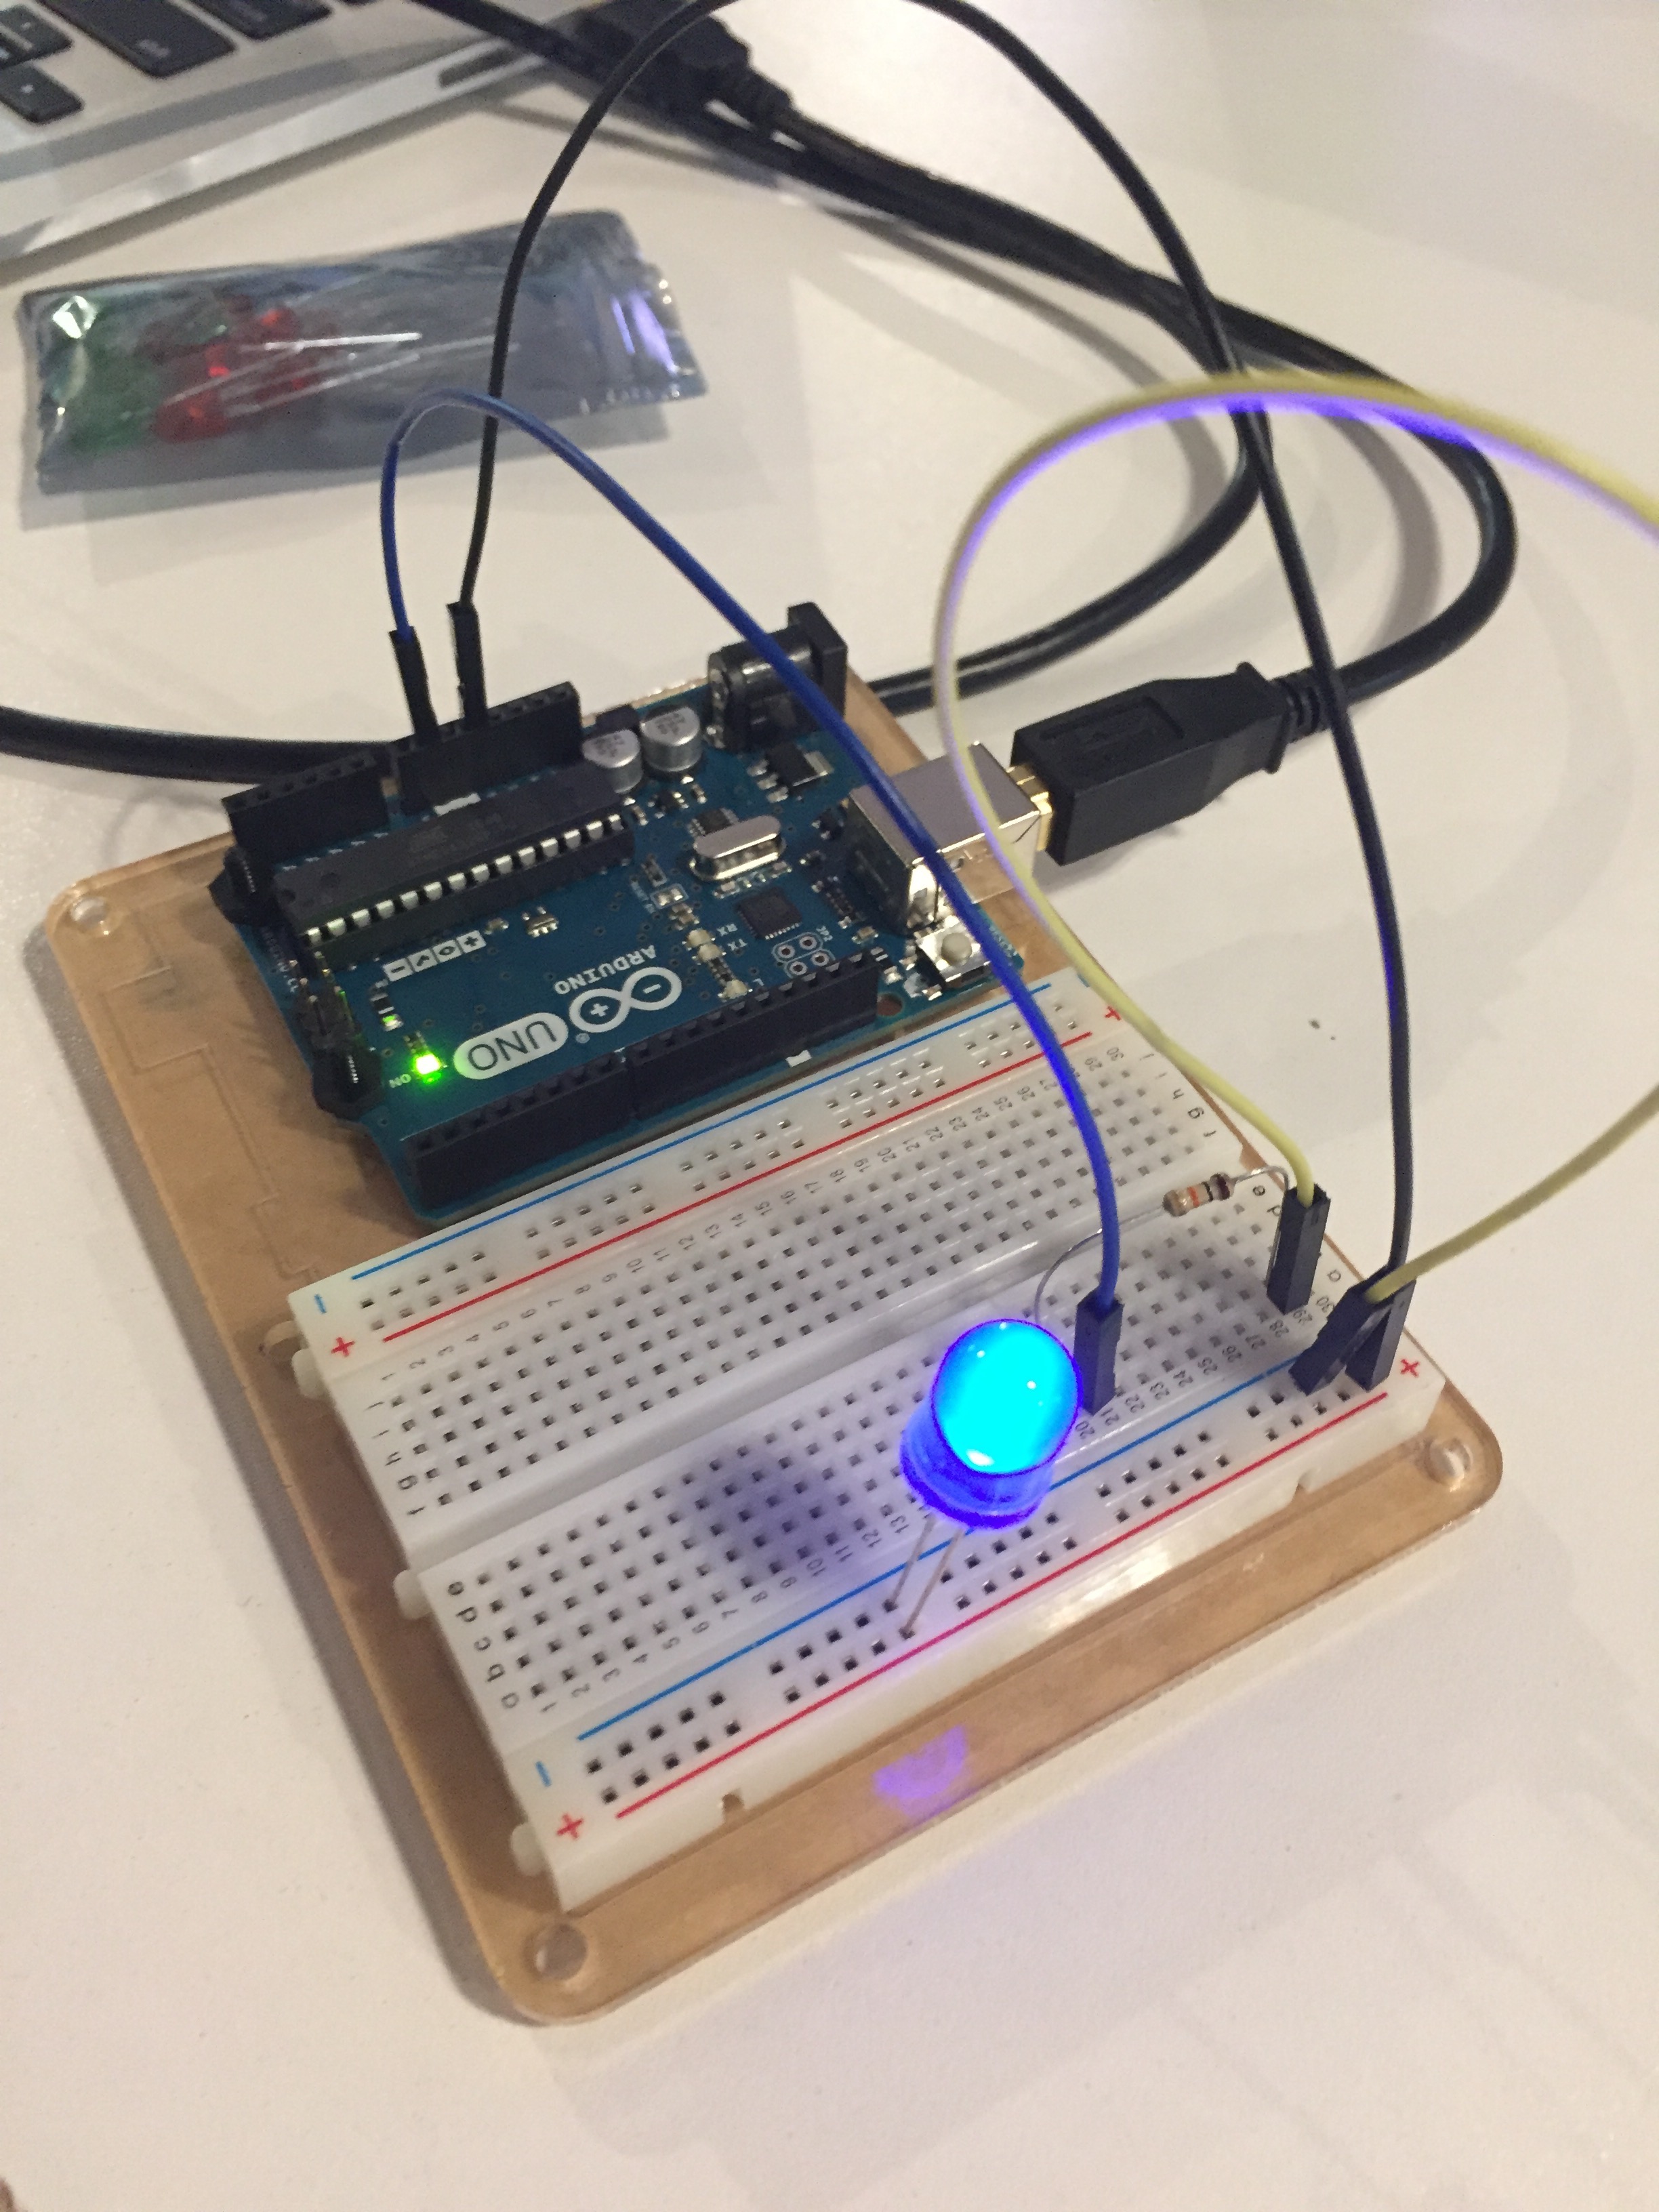
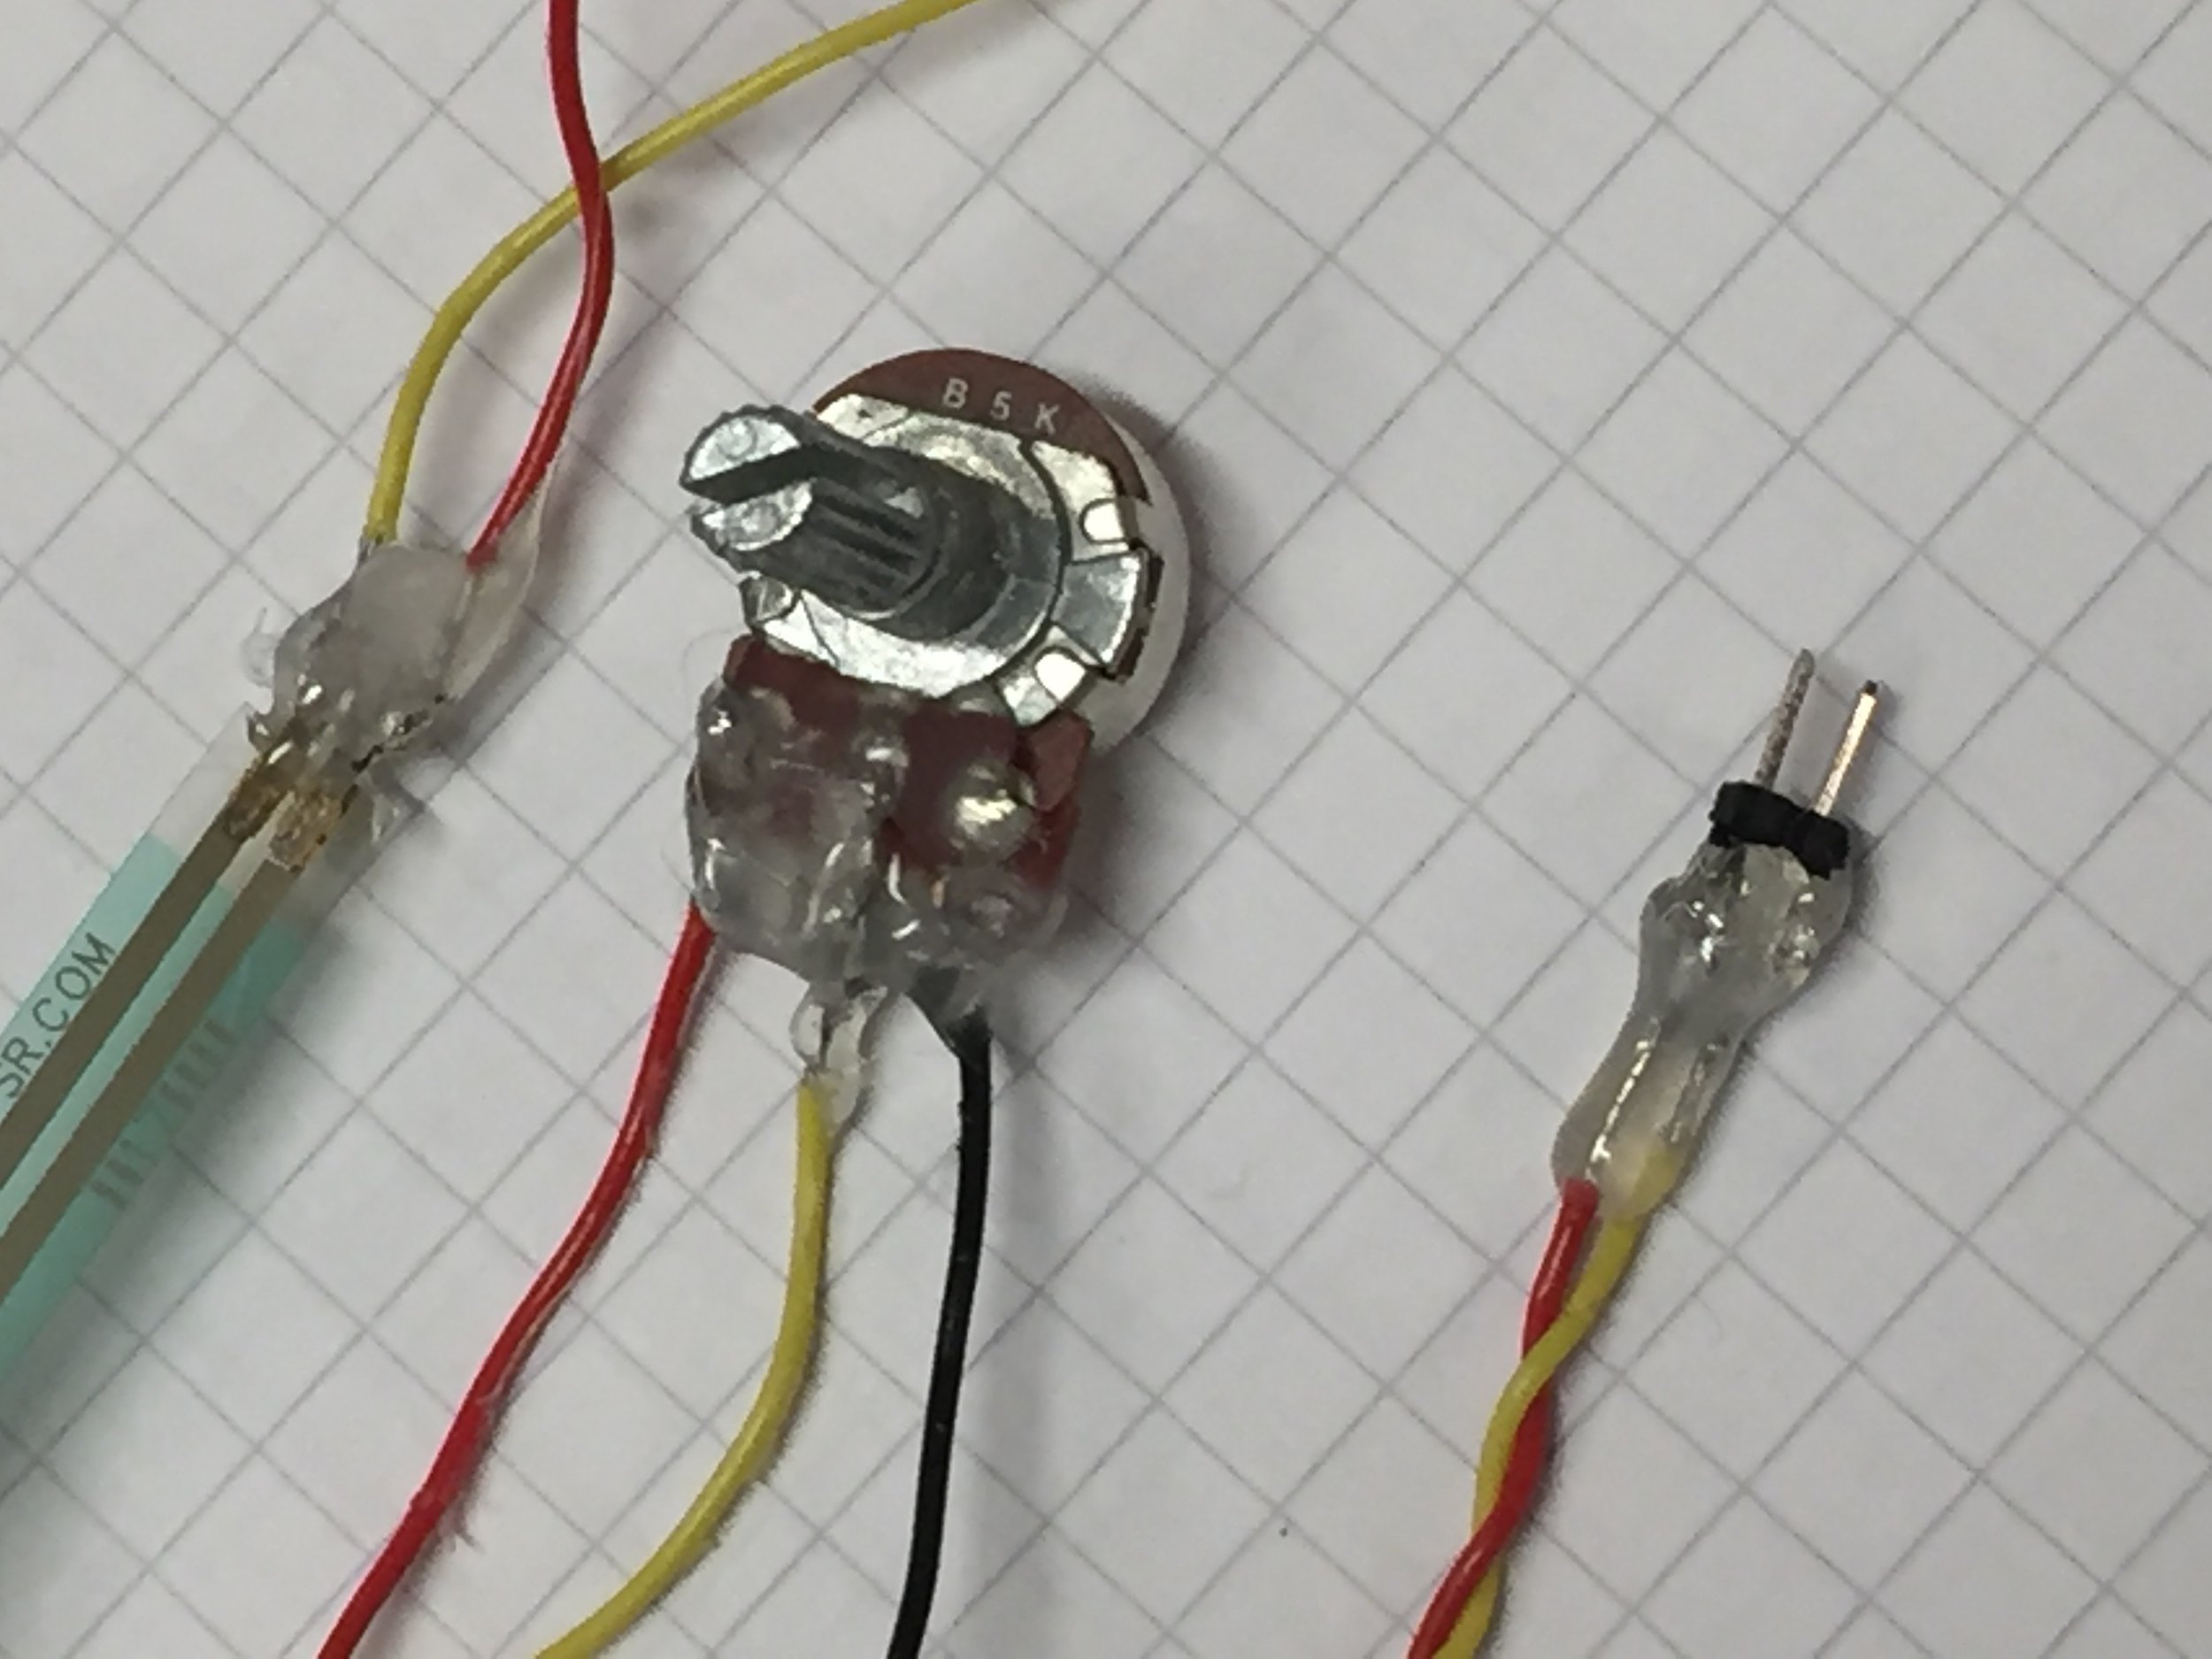
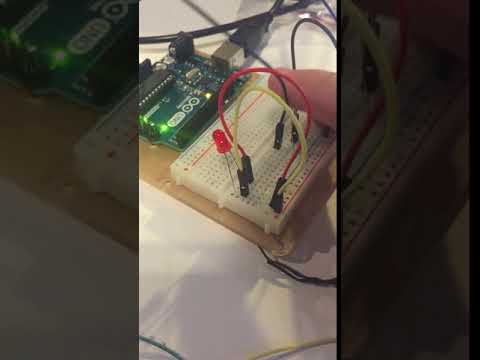
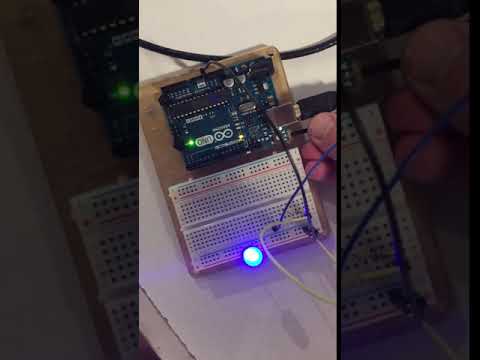
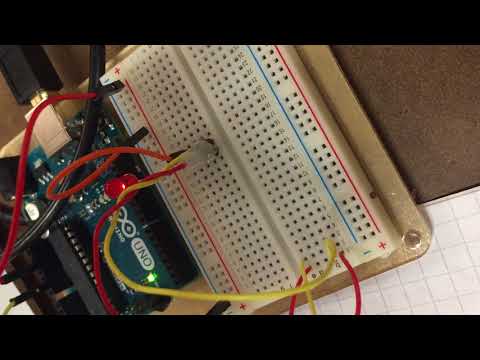
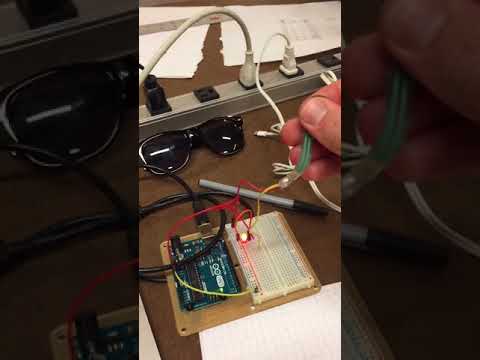
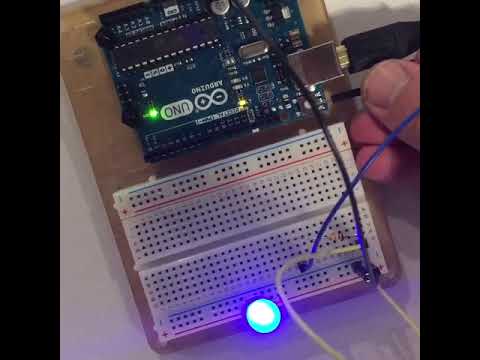
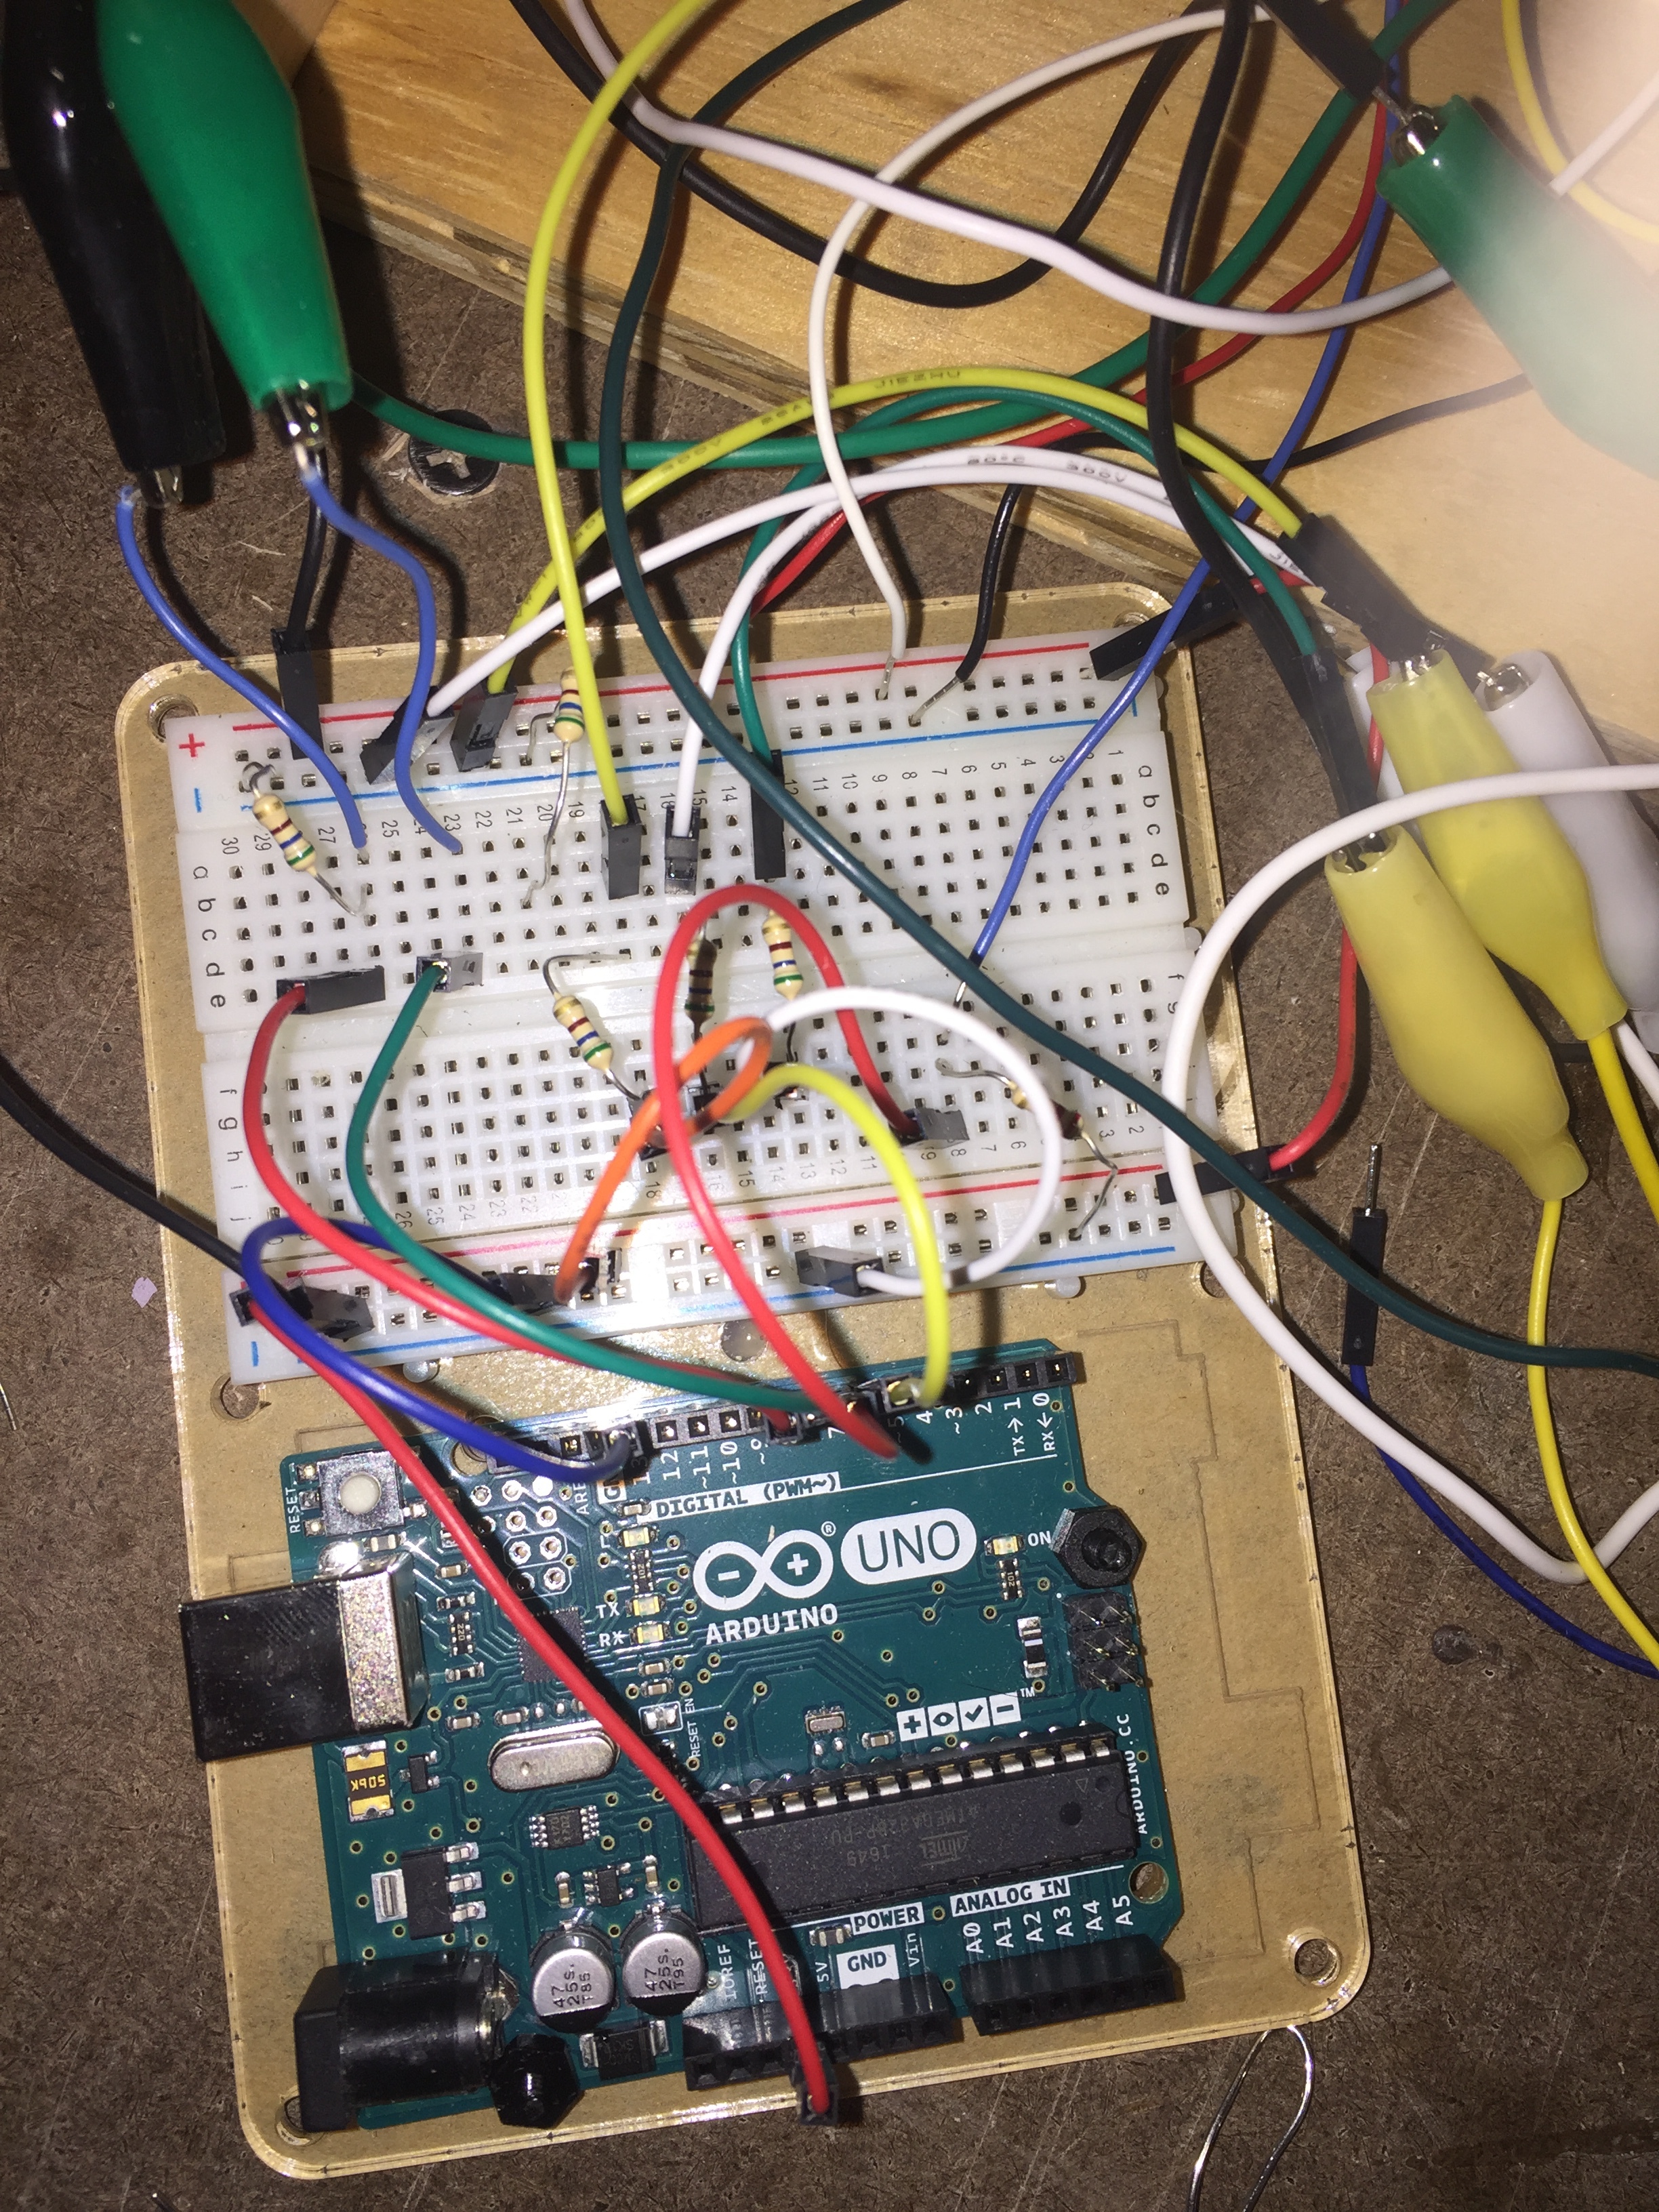
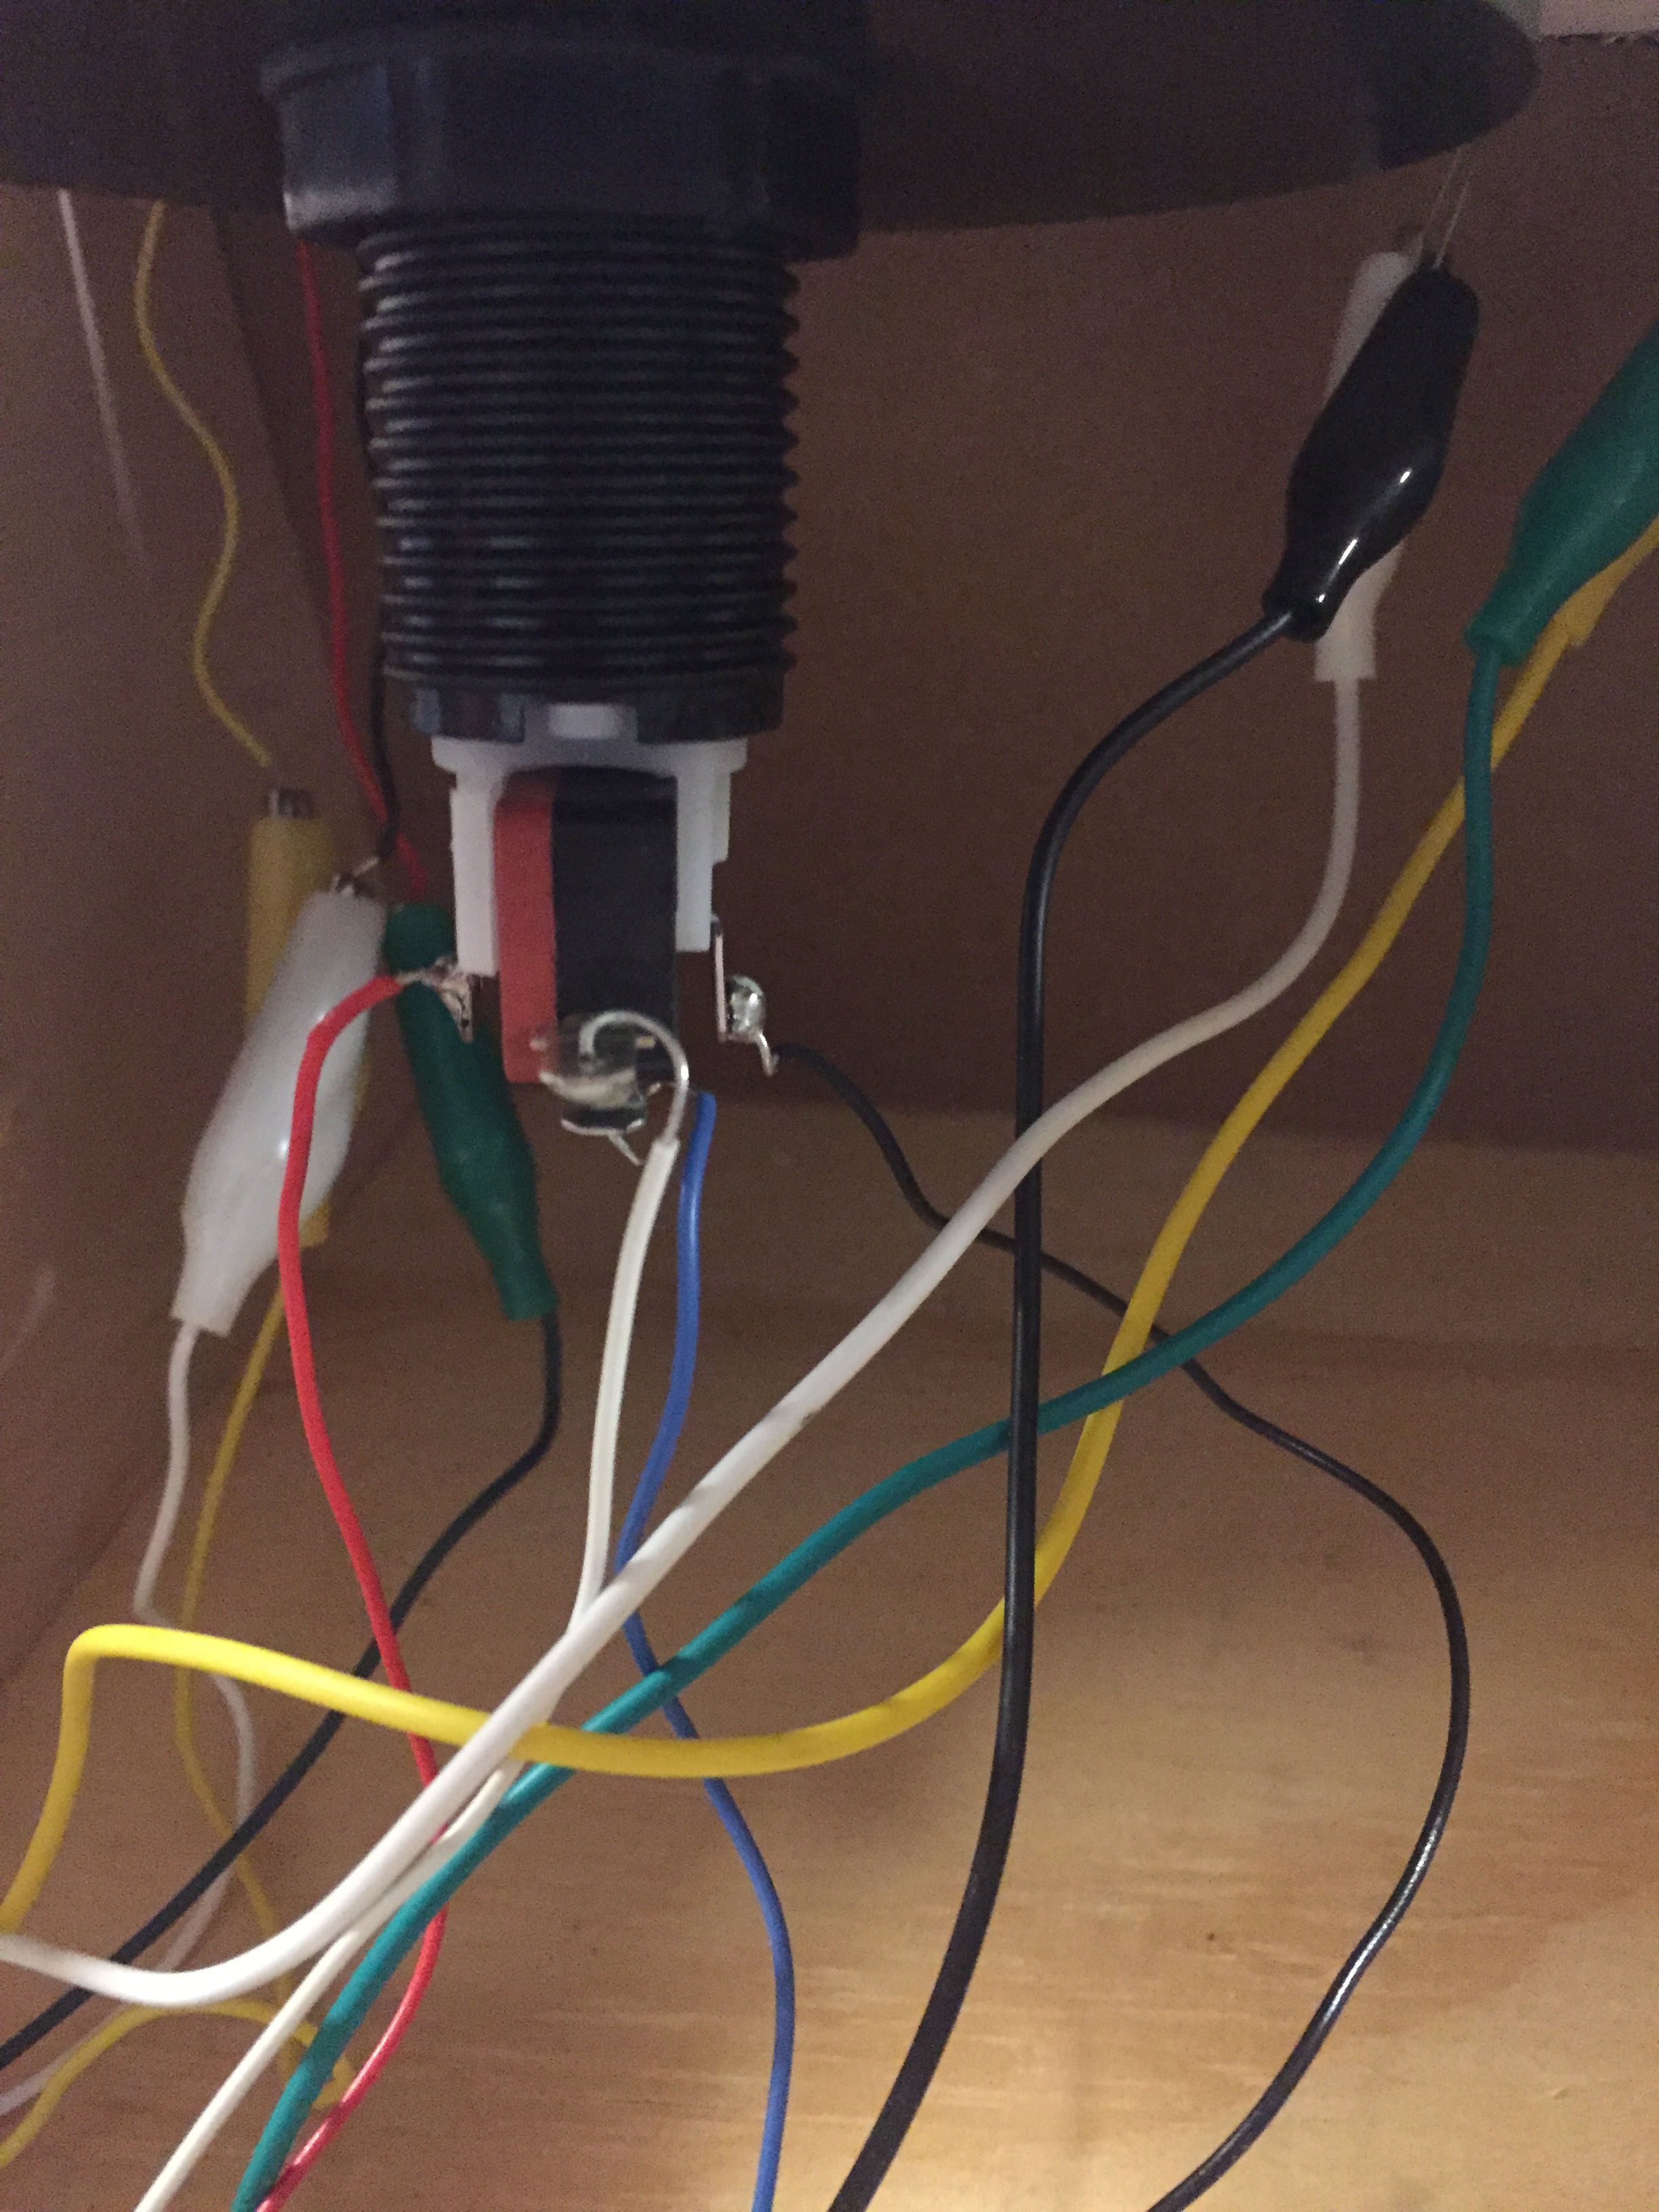
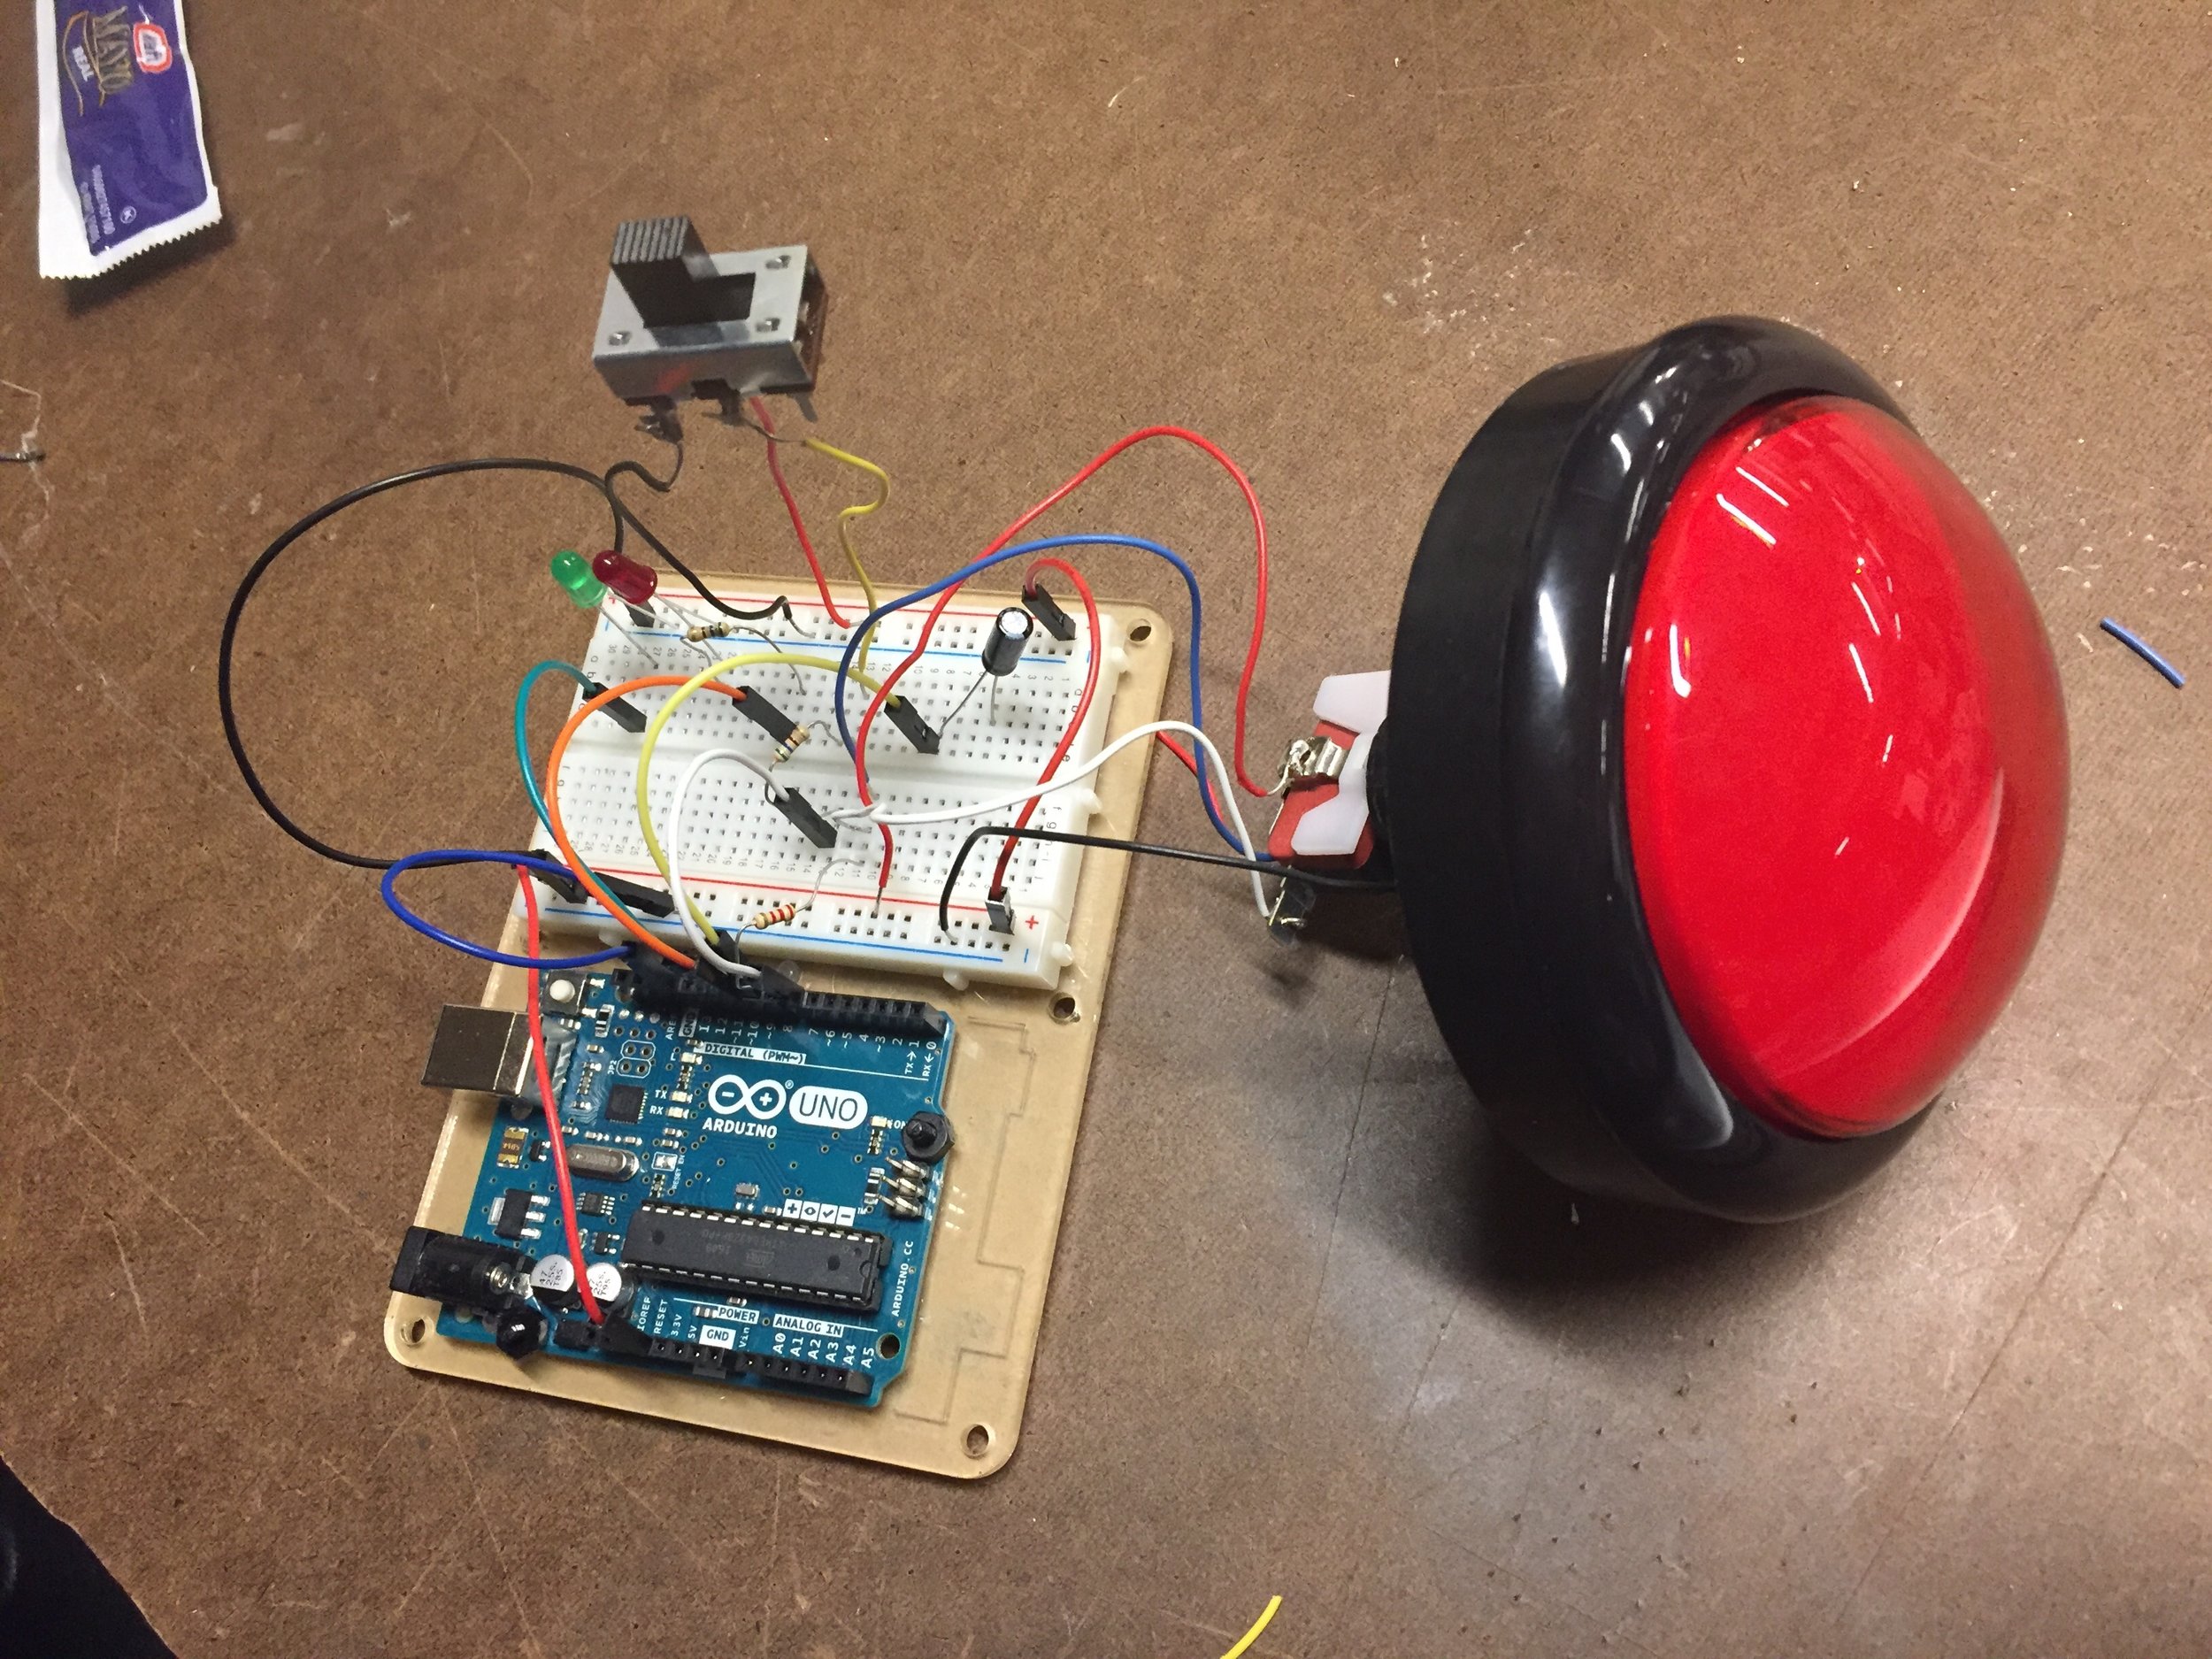
Circuit & System Diagram

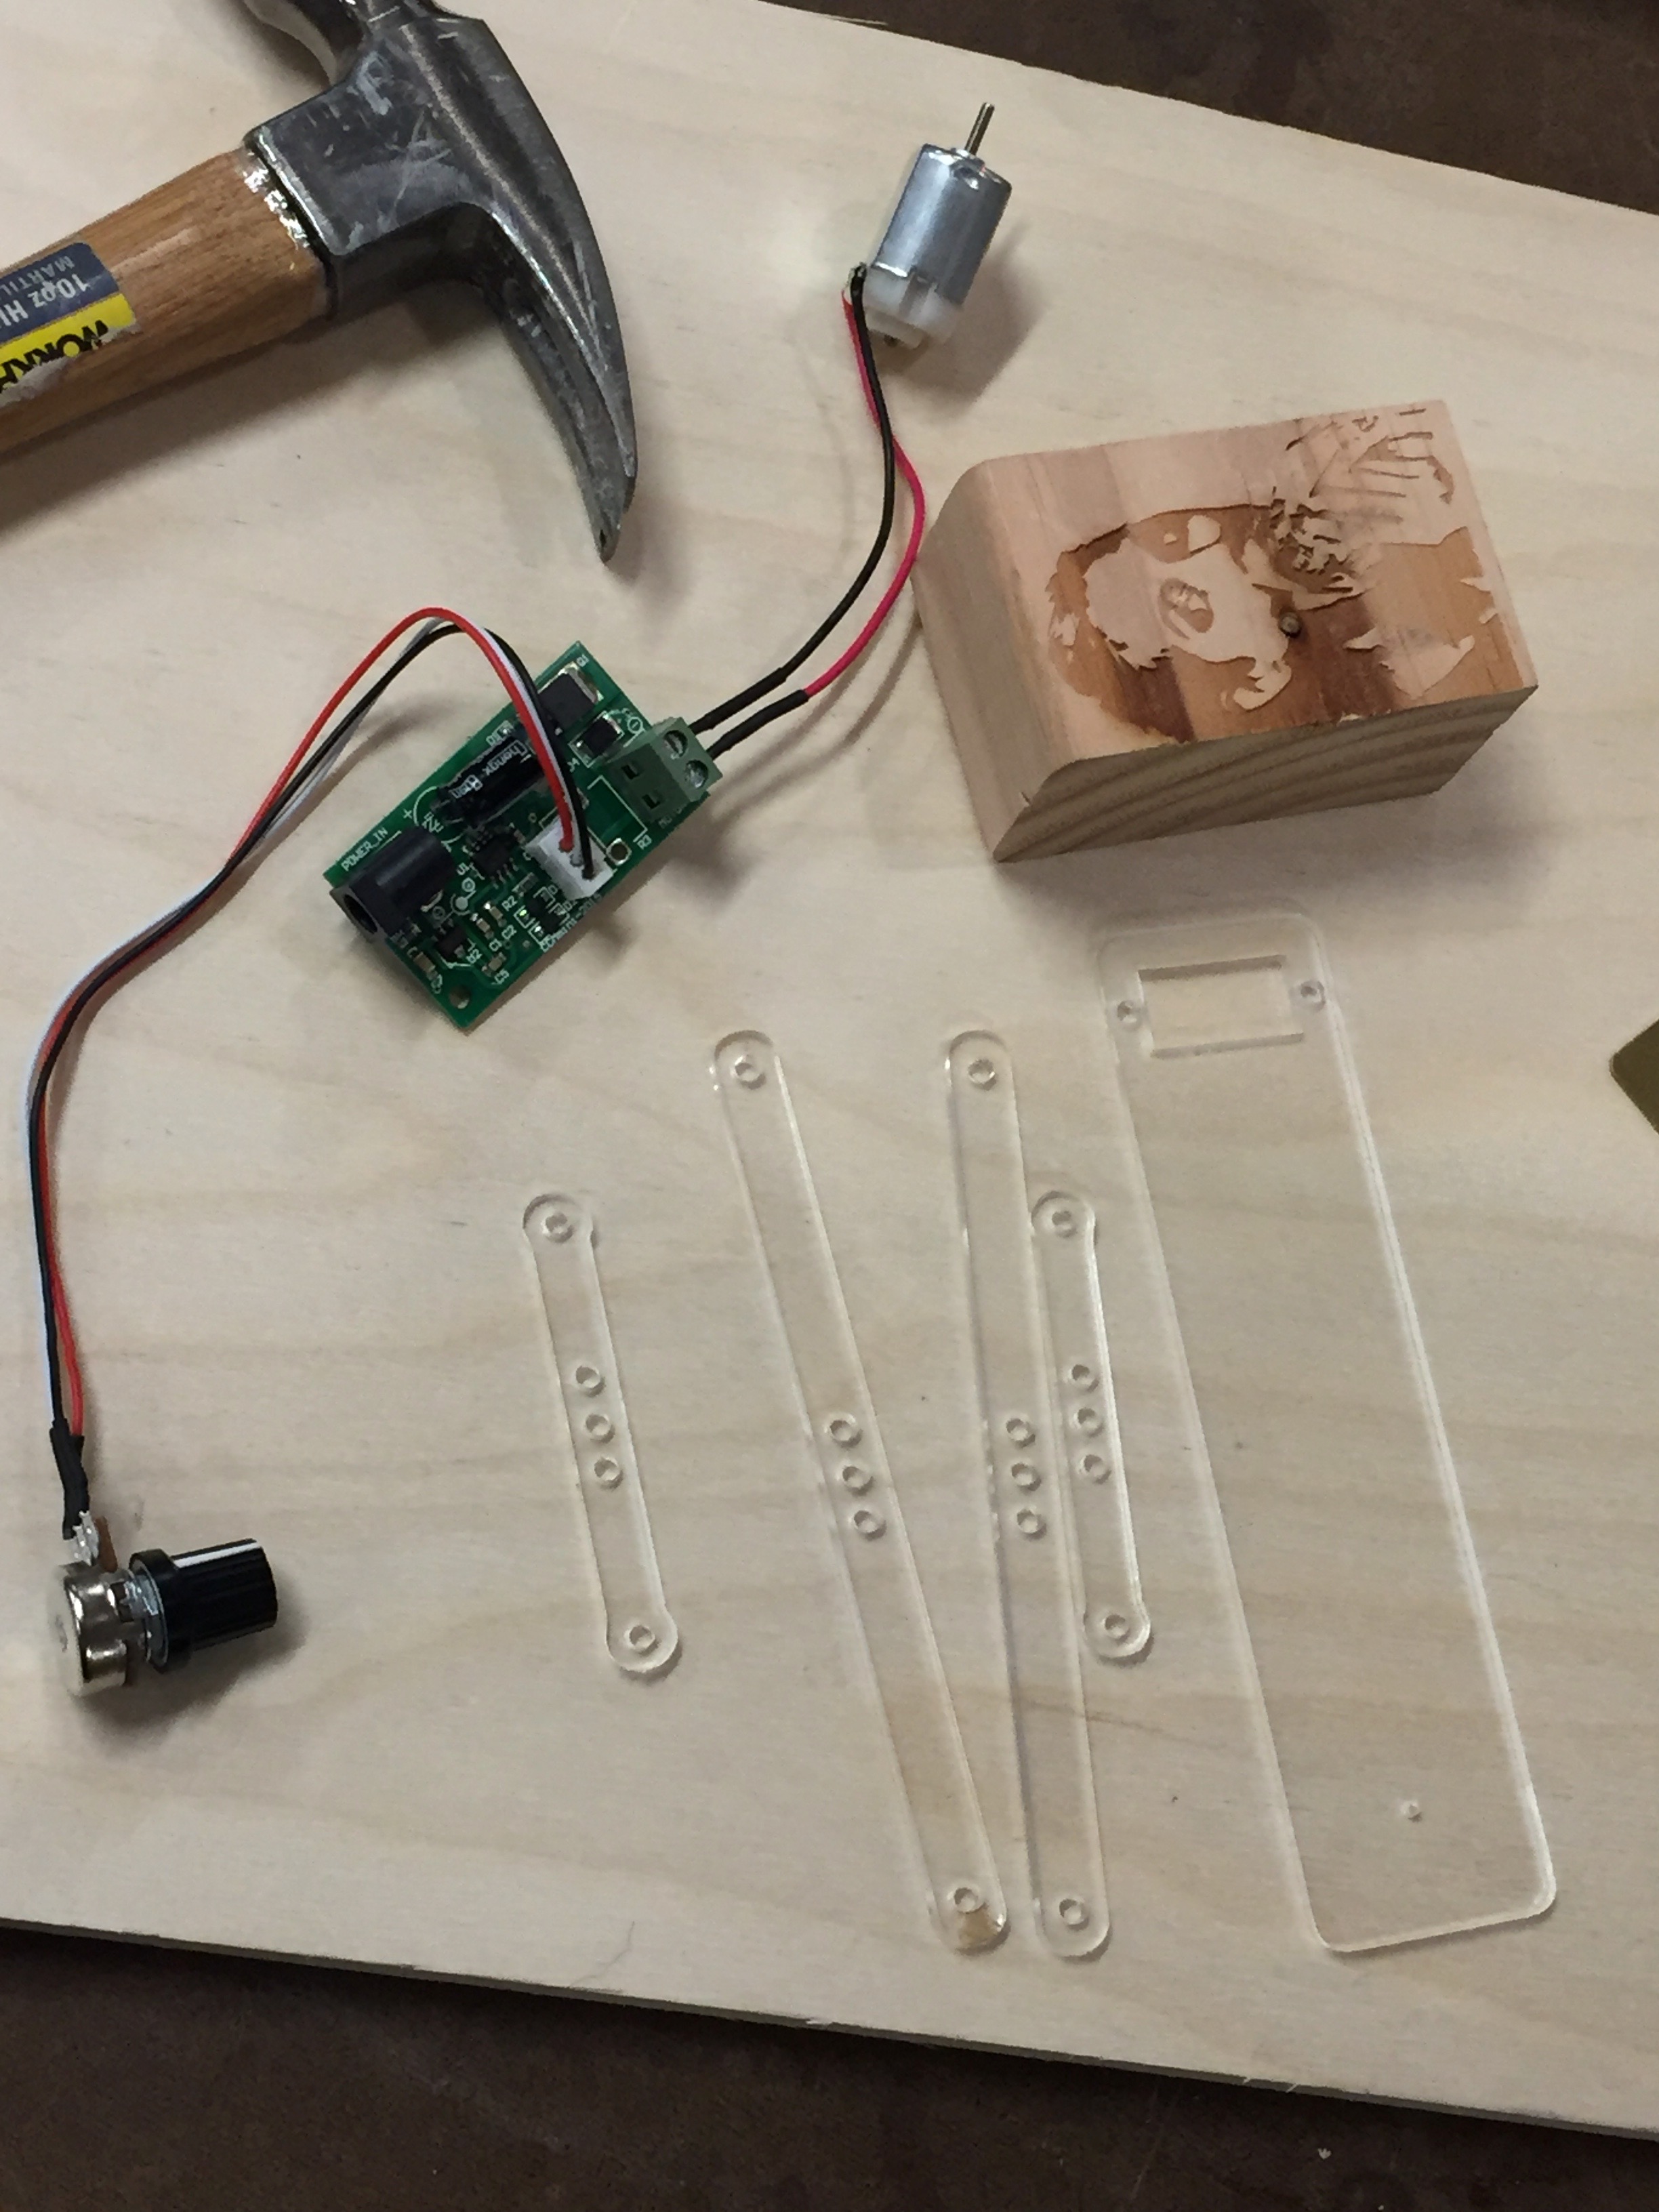
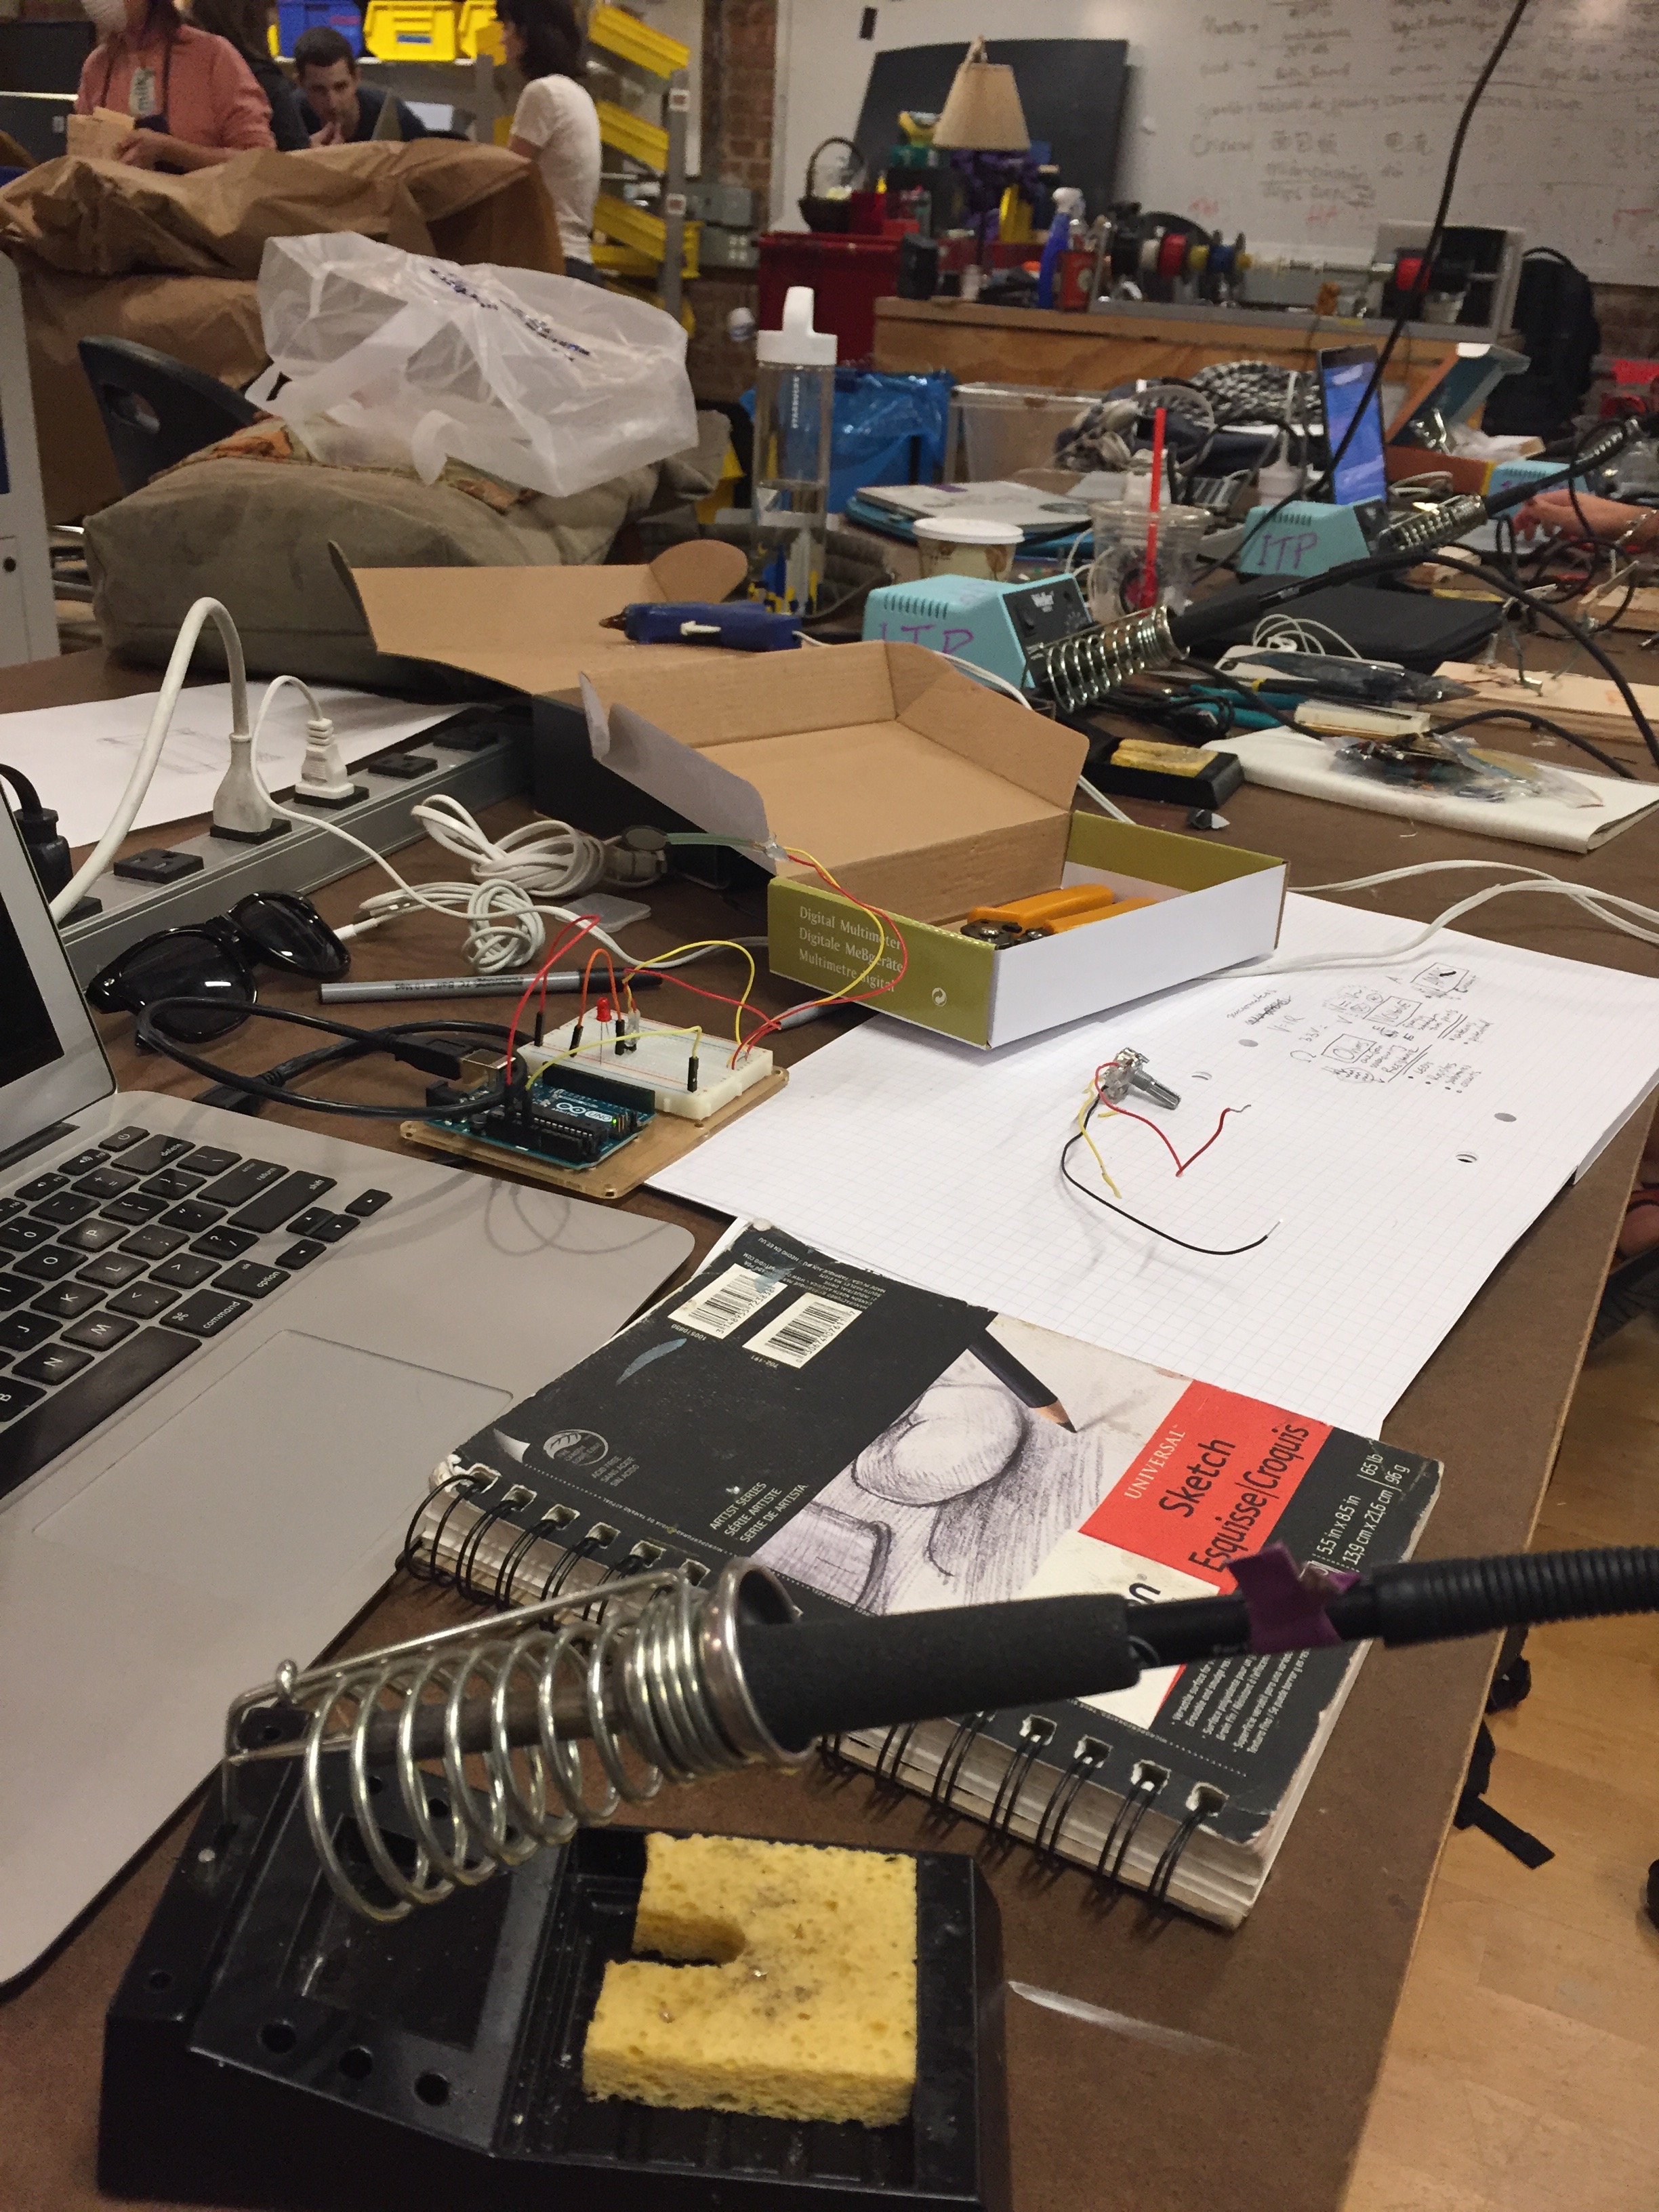
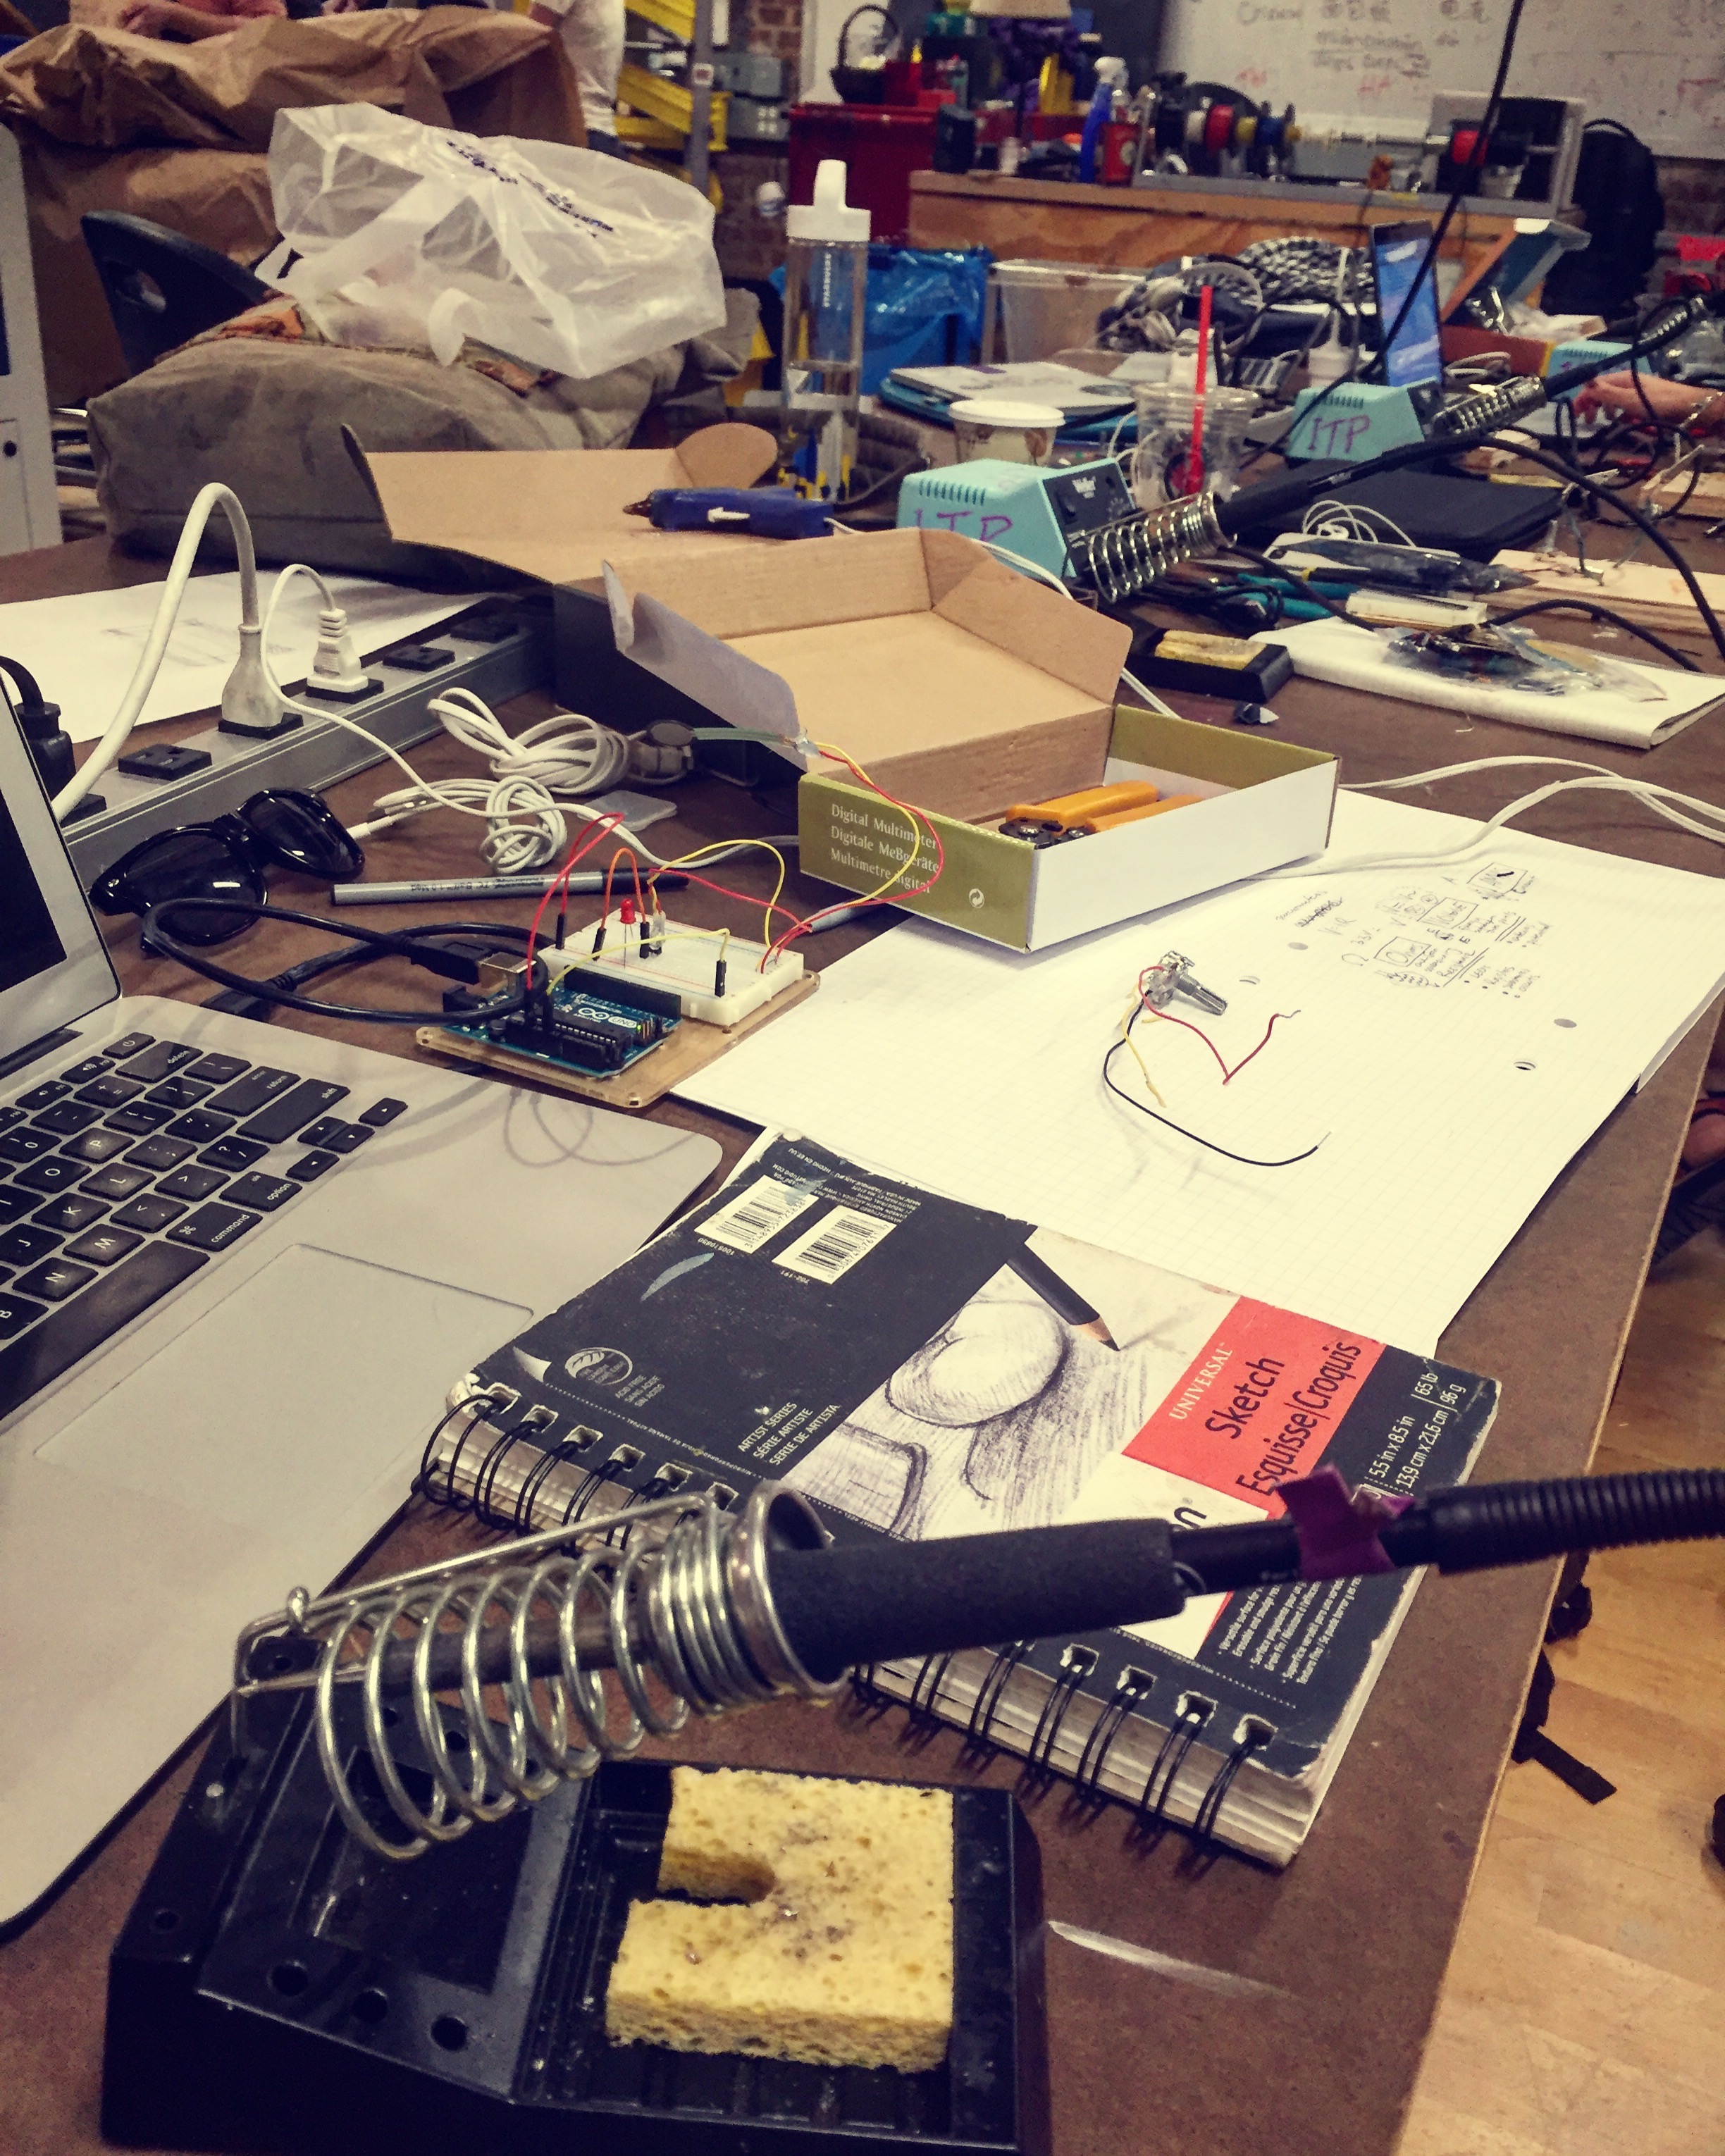
The circuit was very simple, just a line in from a button and some lines out to lights, and the system isn't very complex either. But there ended up being a fair bit of communication to clear up, as mentioned above. Once clean, though, it all seemed to simple to be true!

Circuit-diagram.jpg


Fabrication:

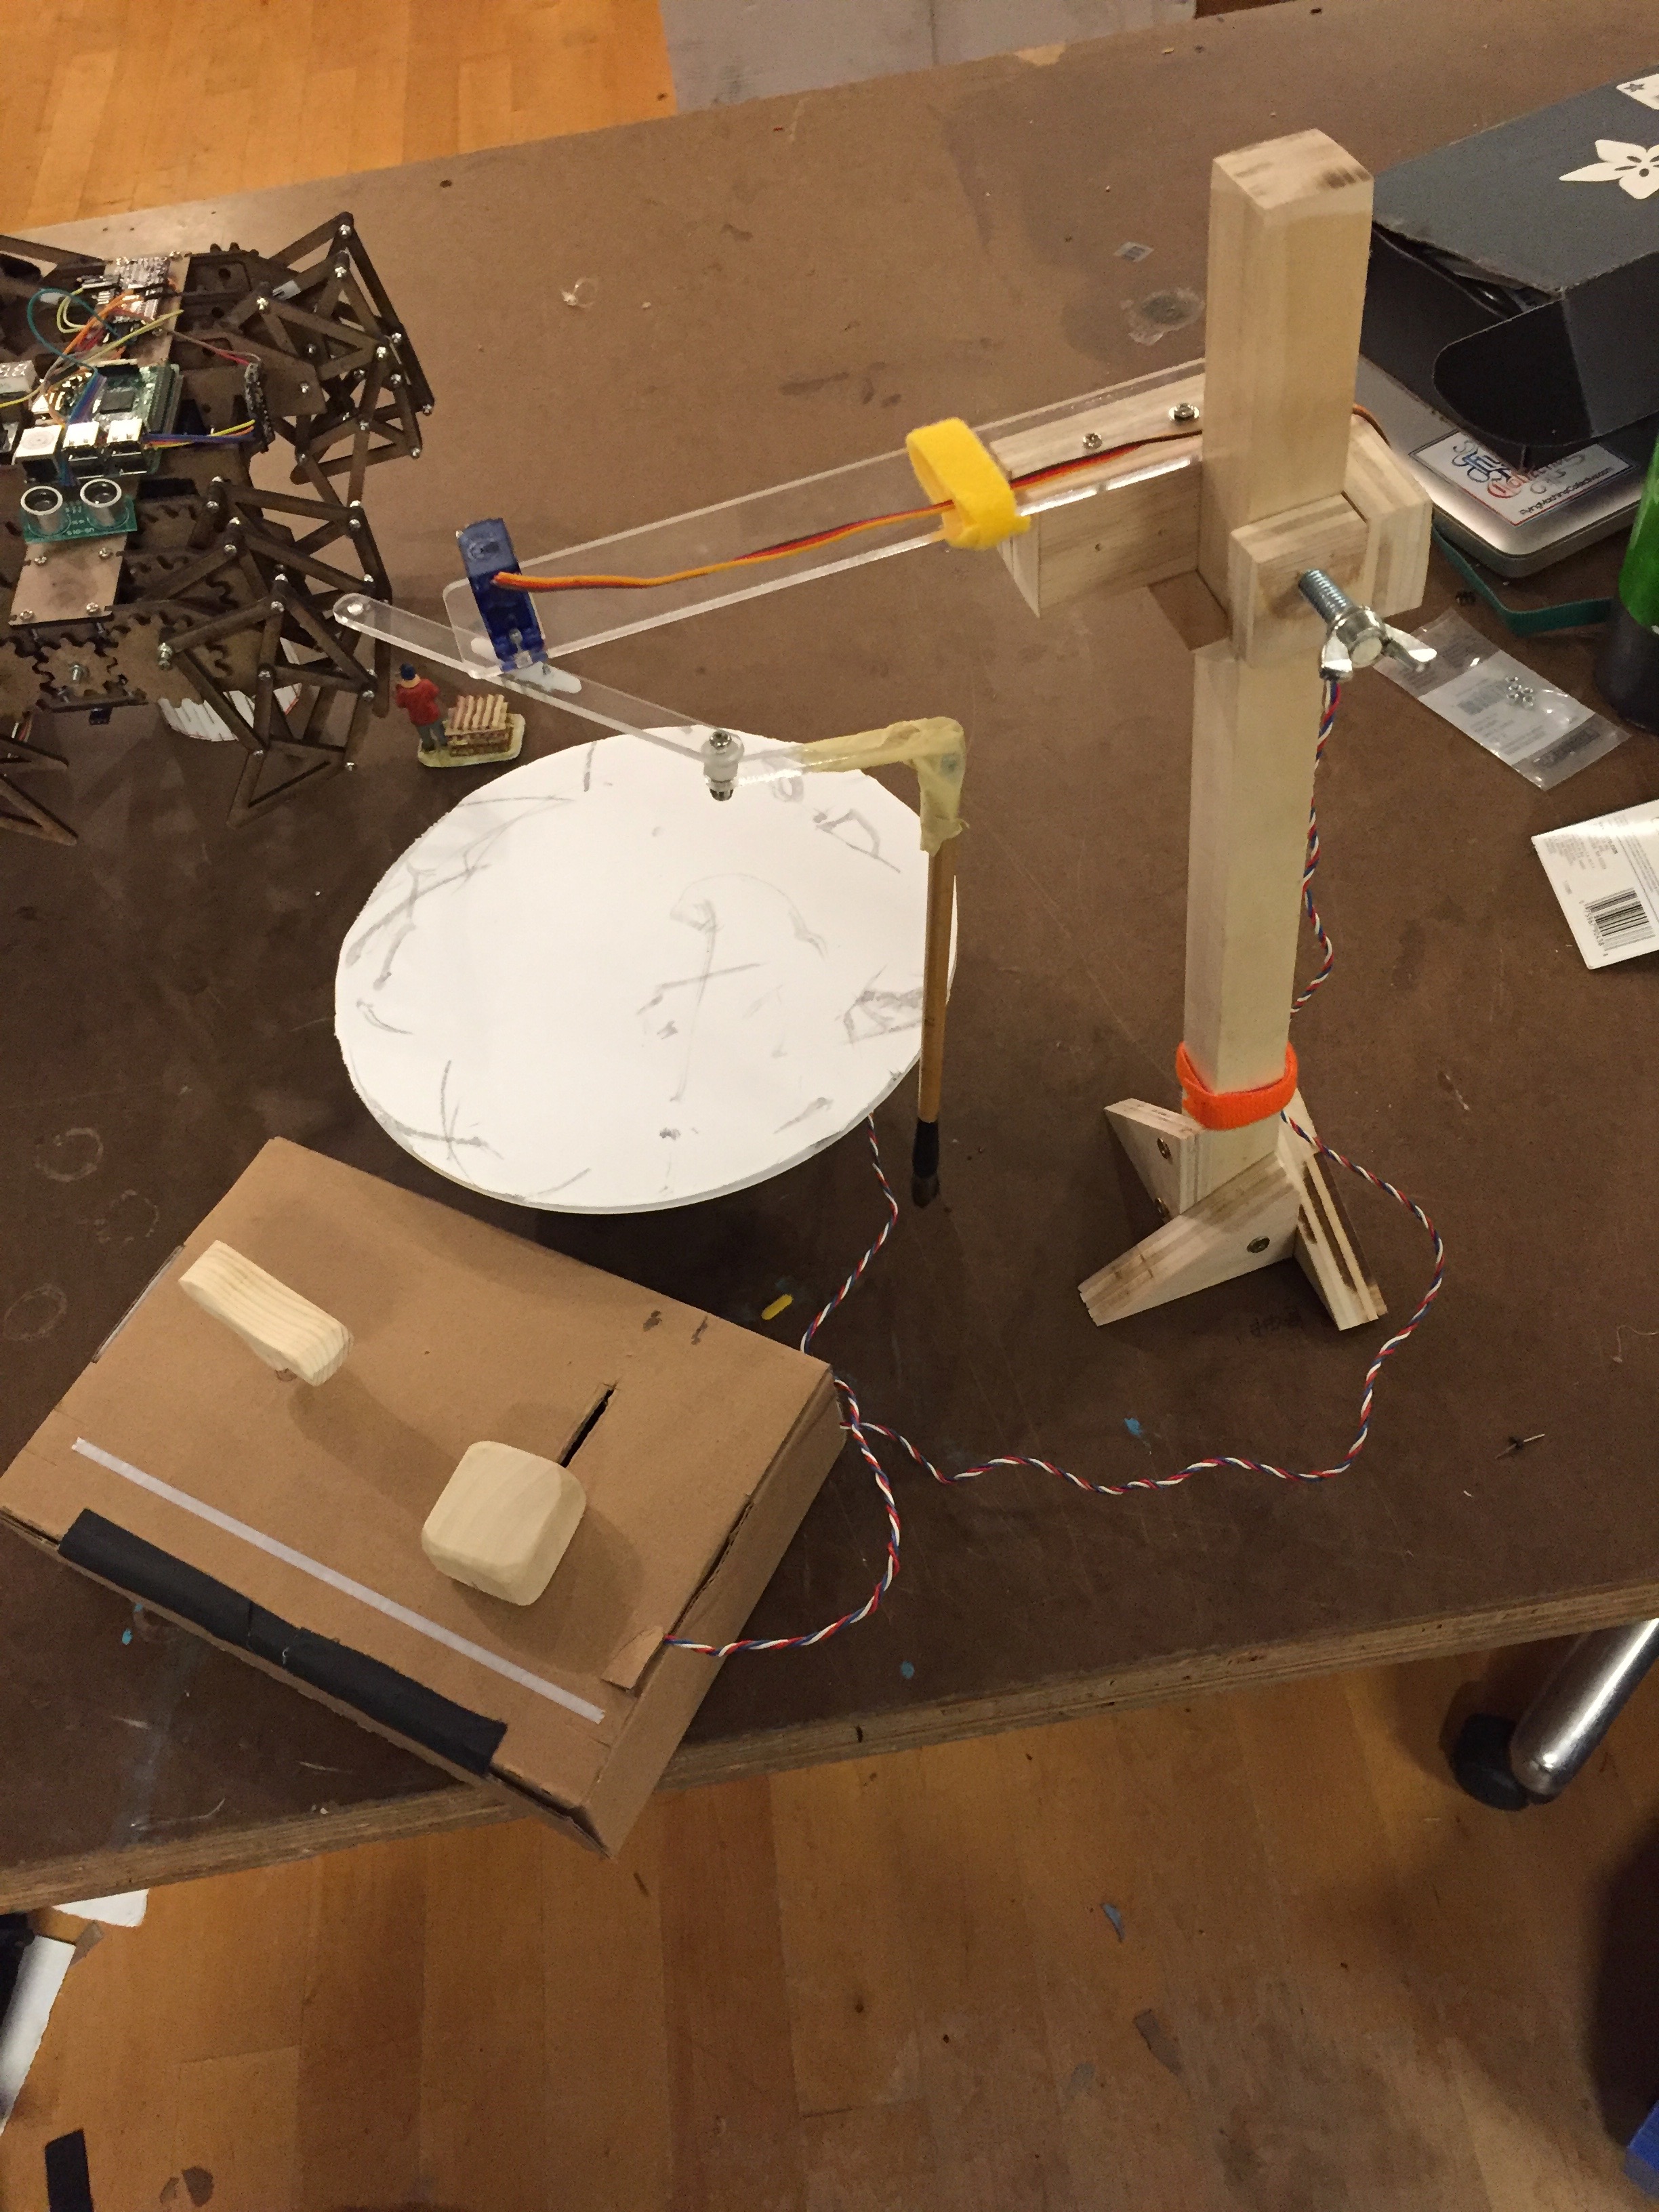
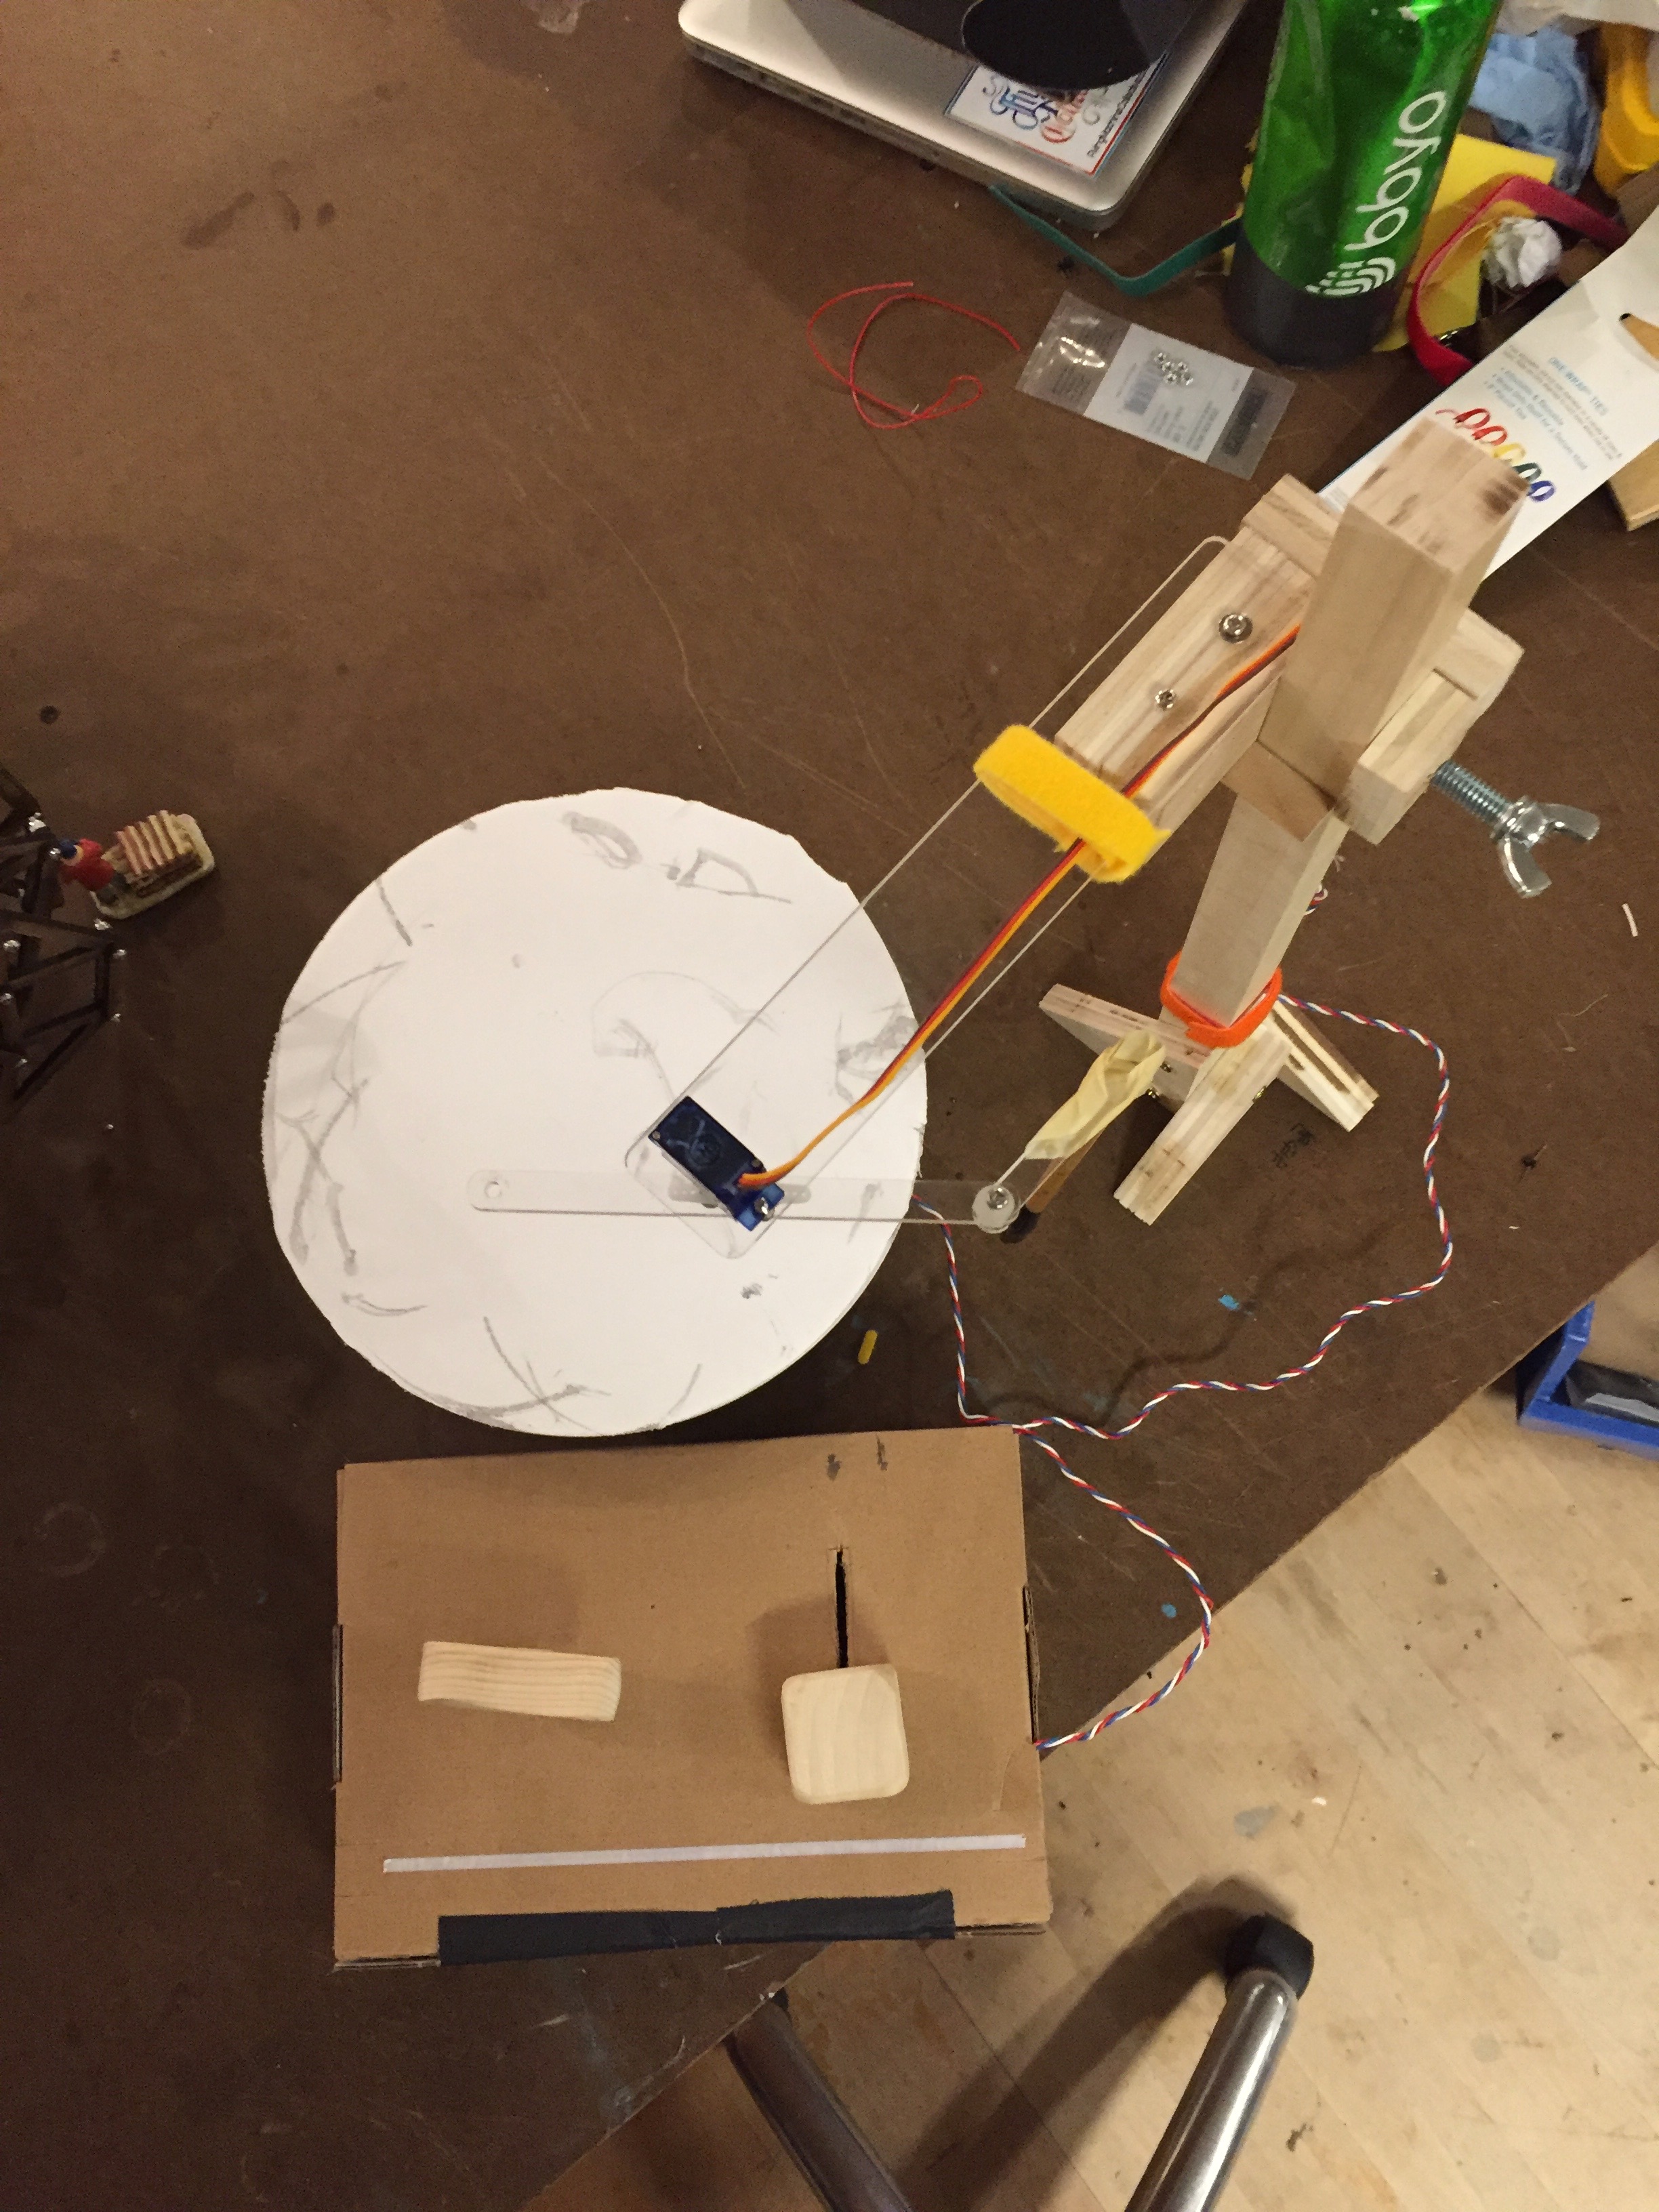
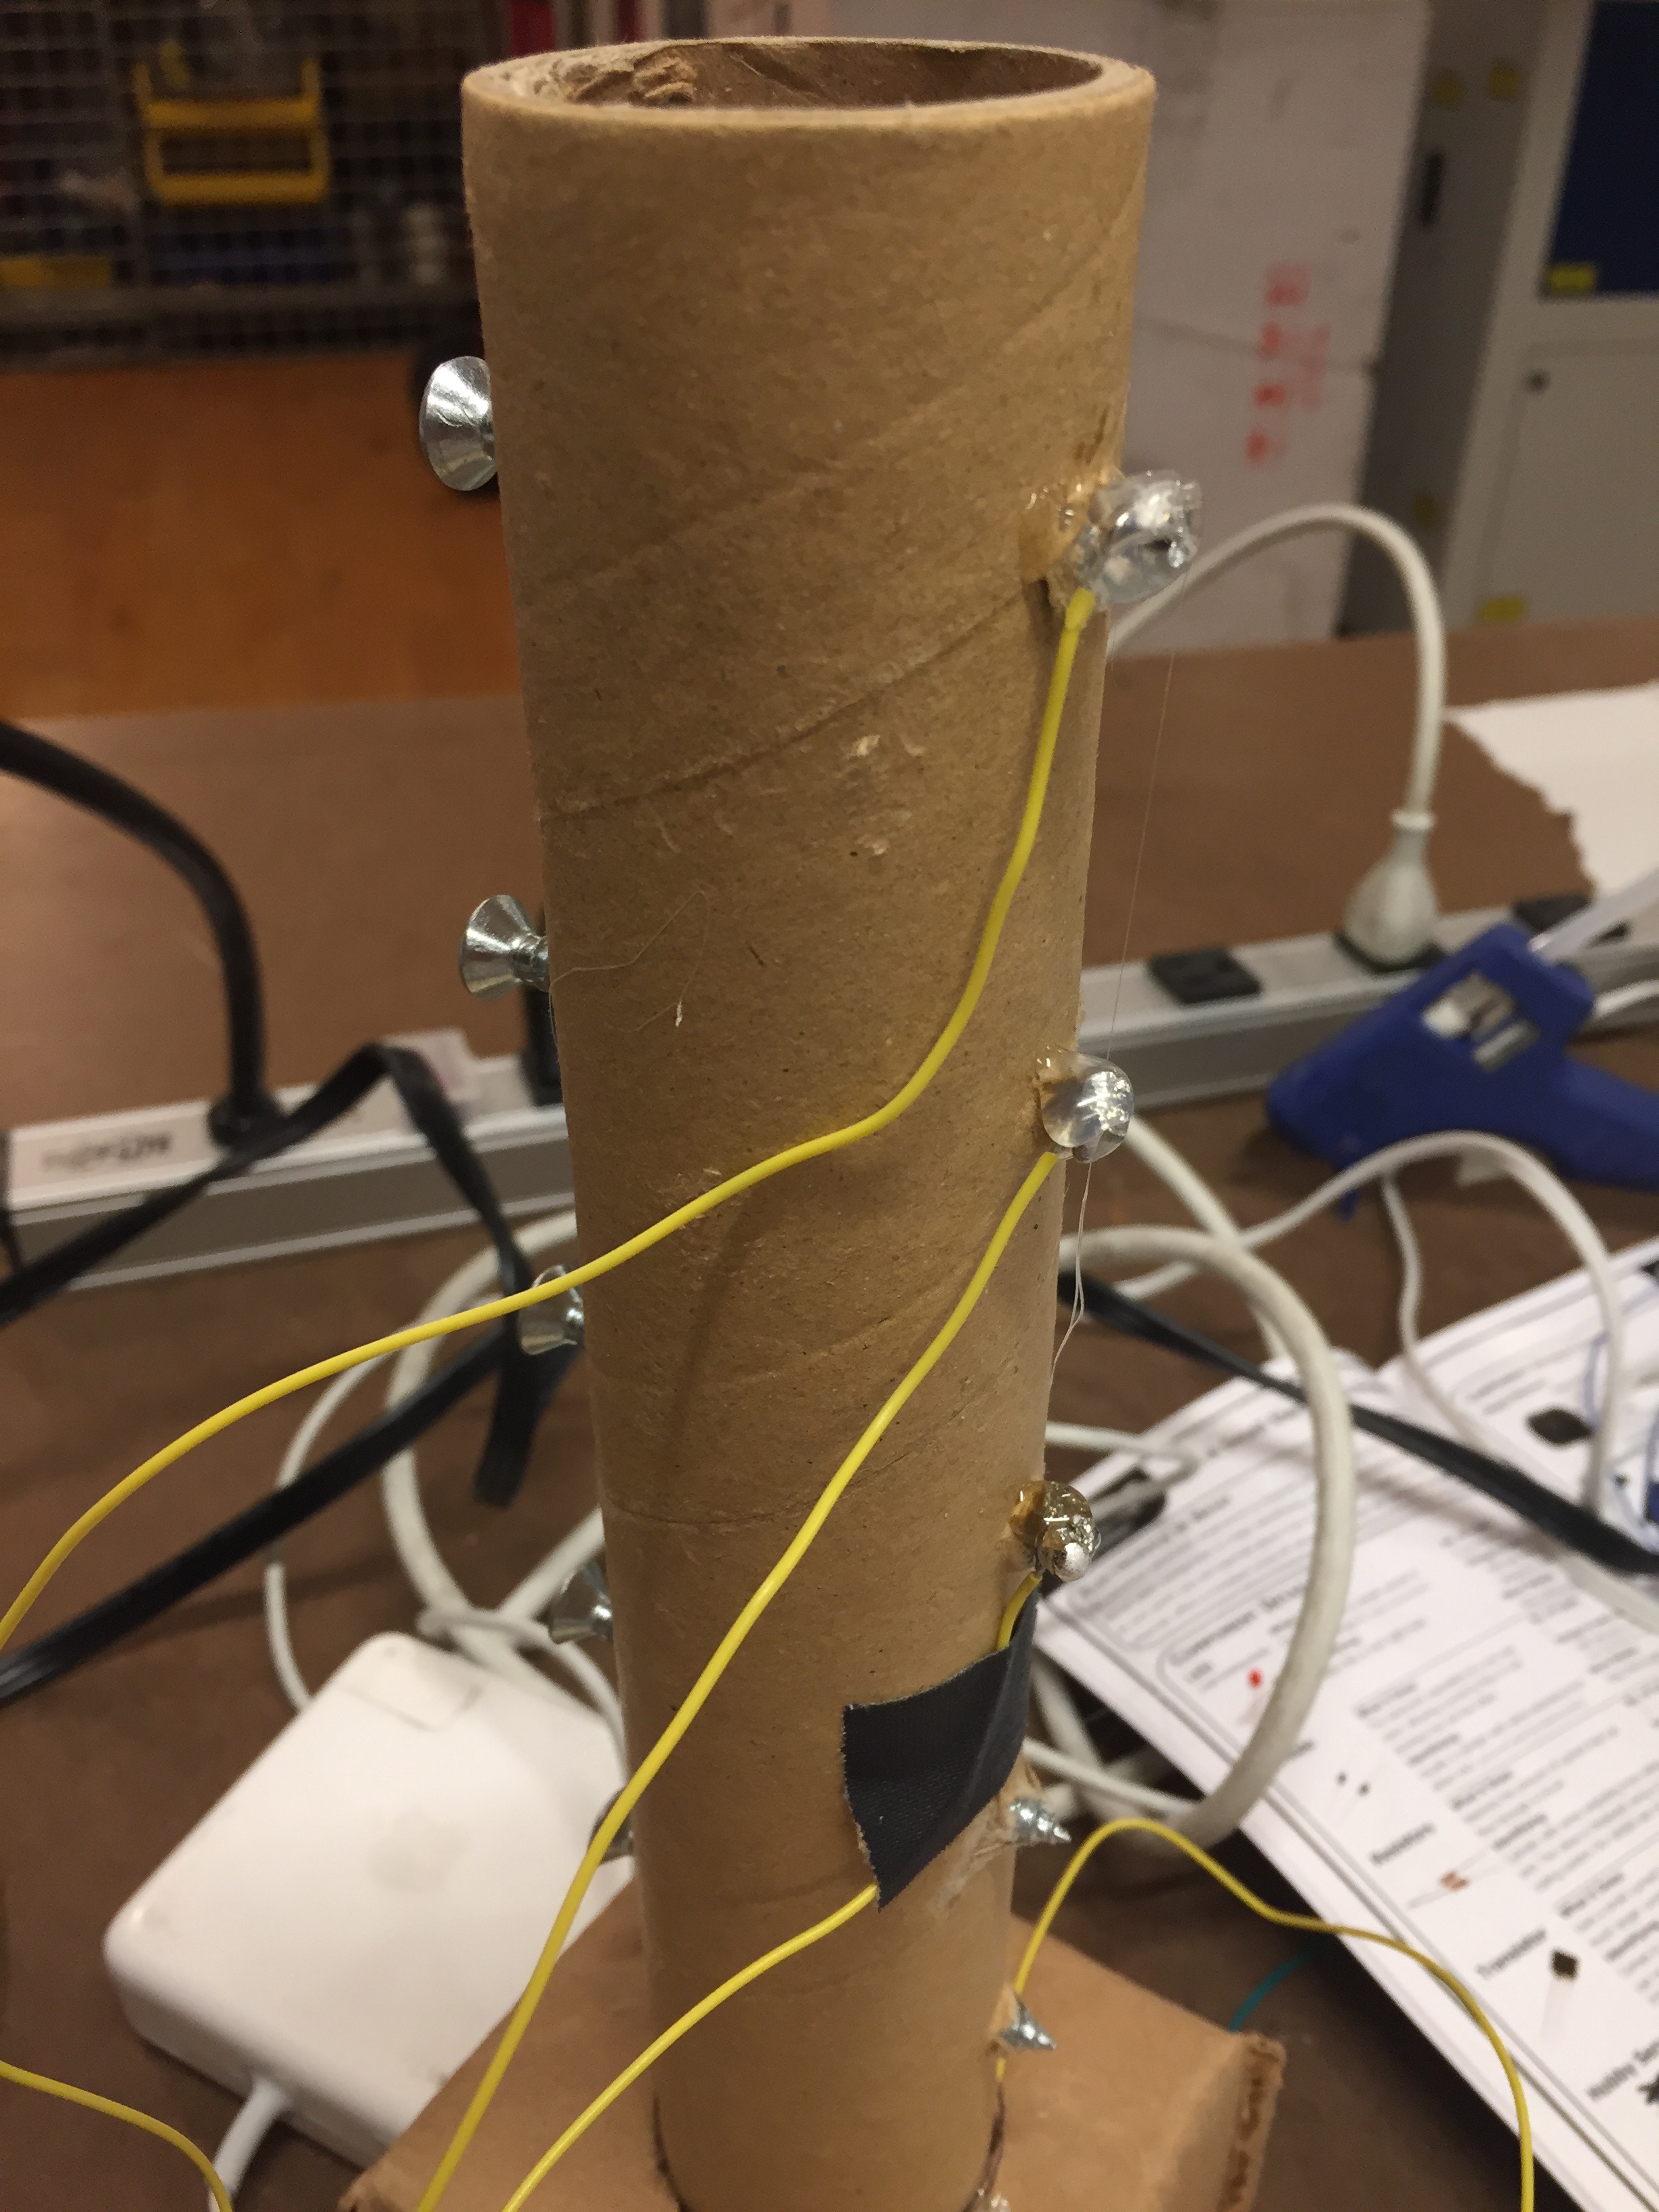
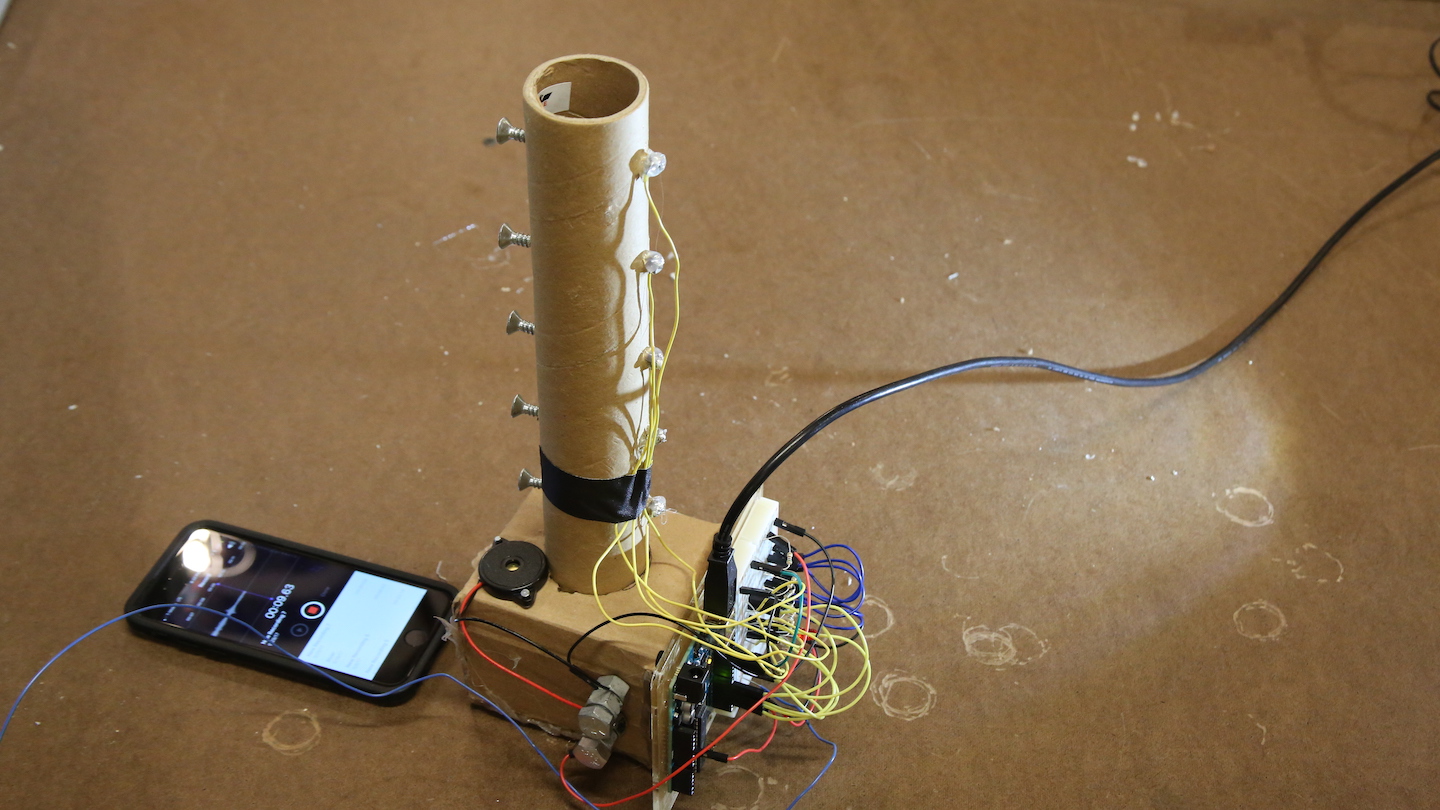
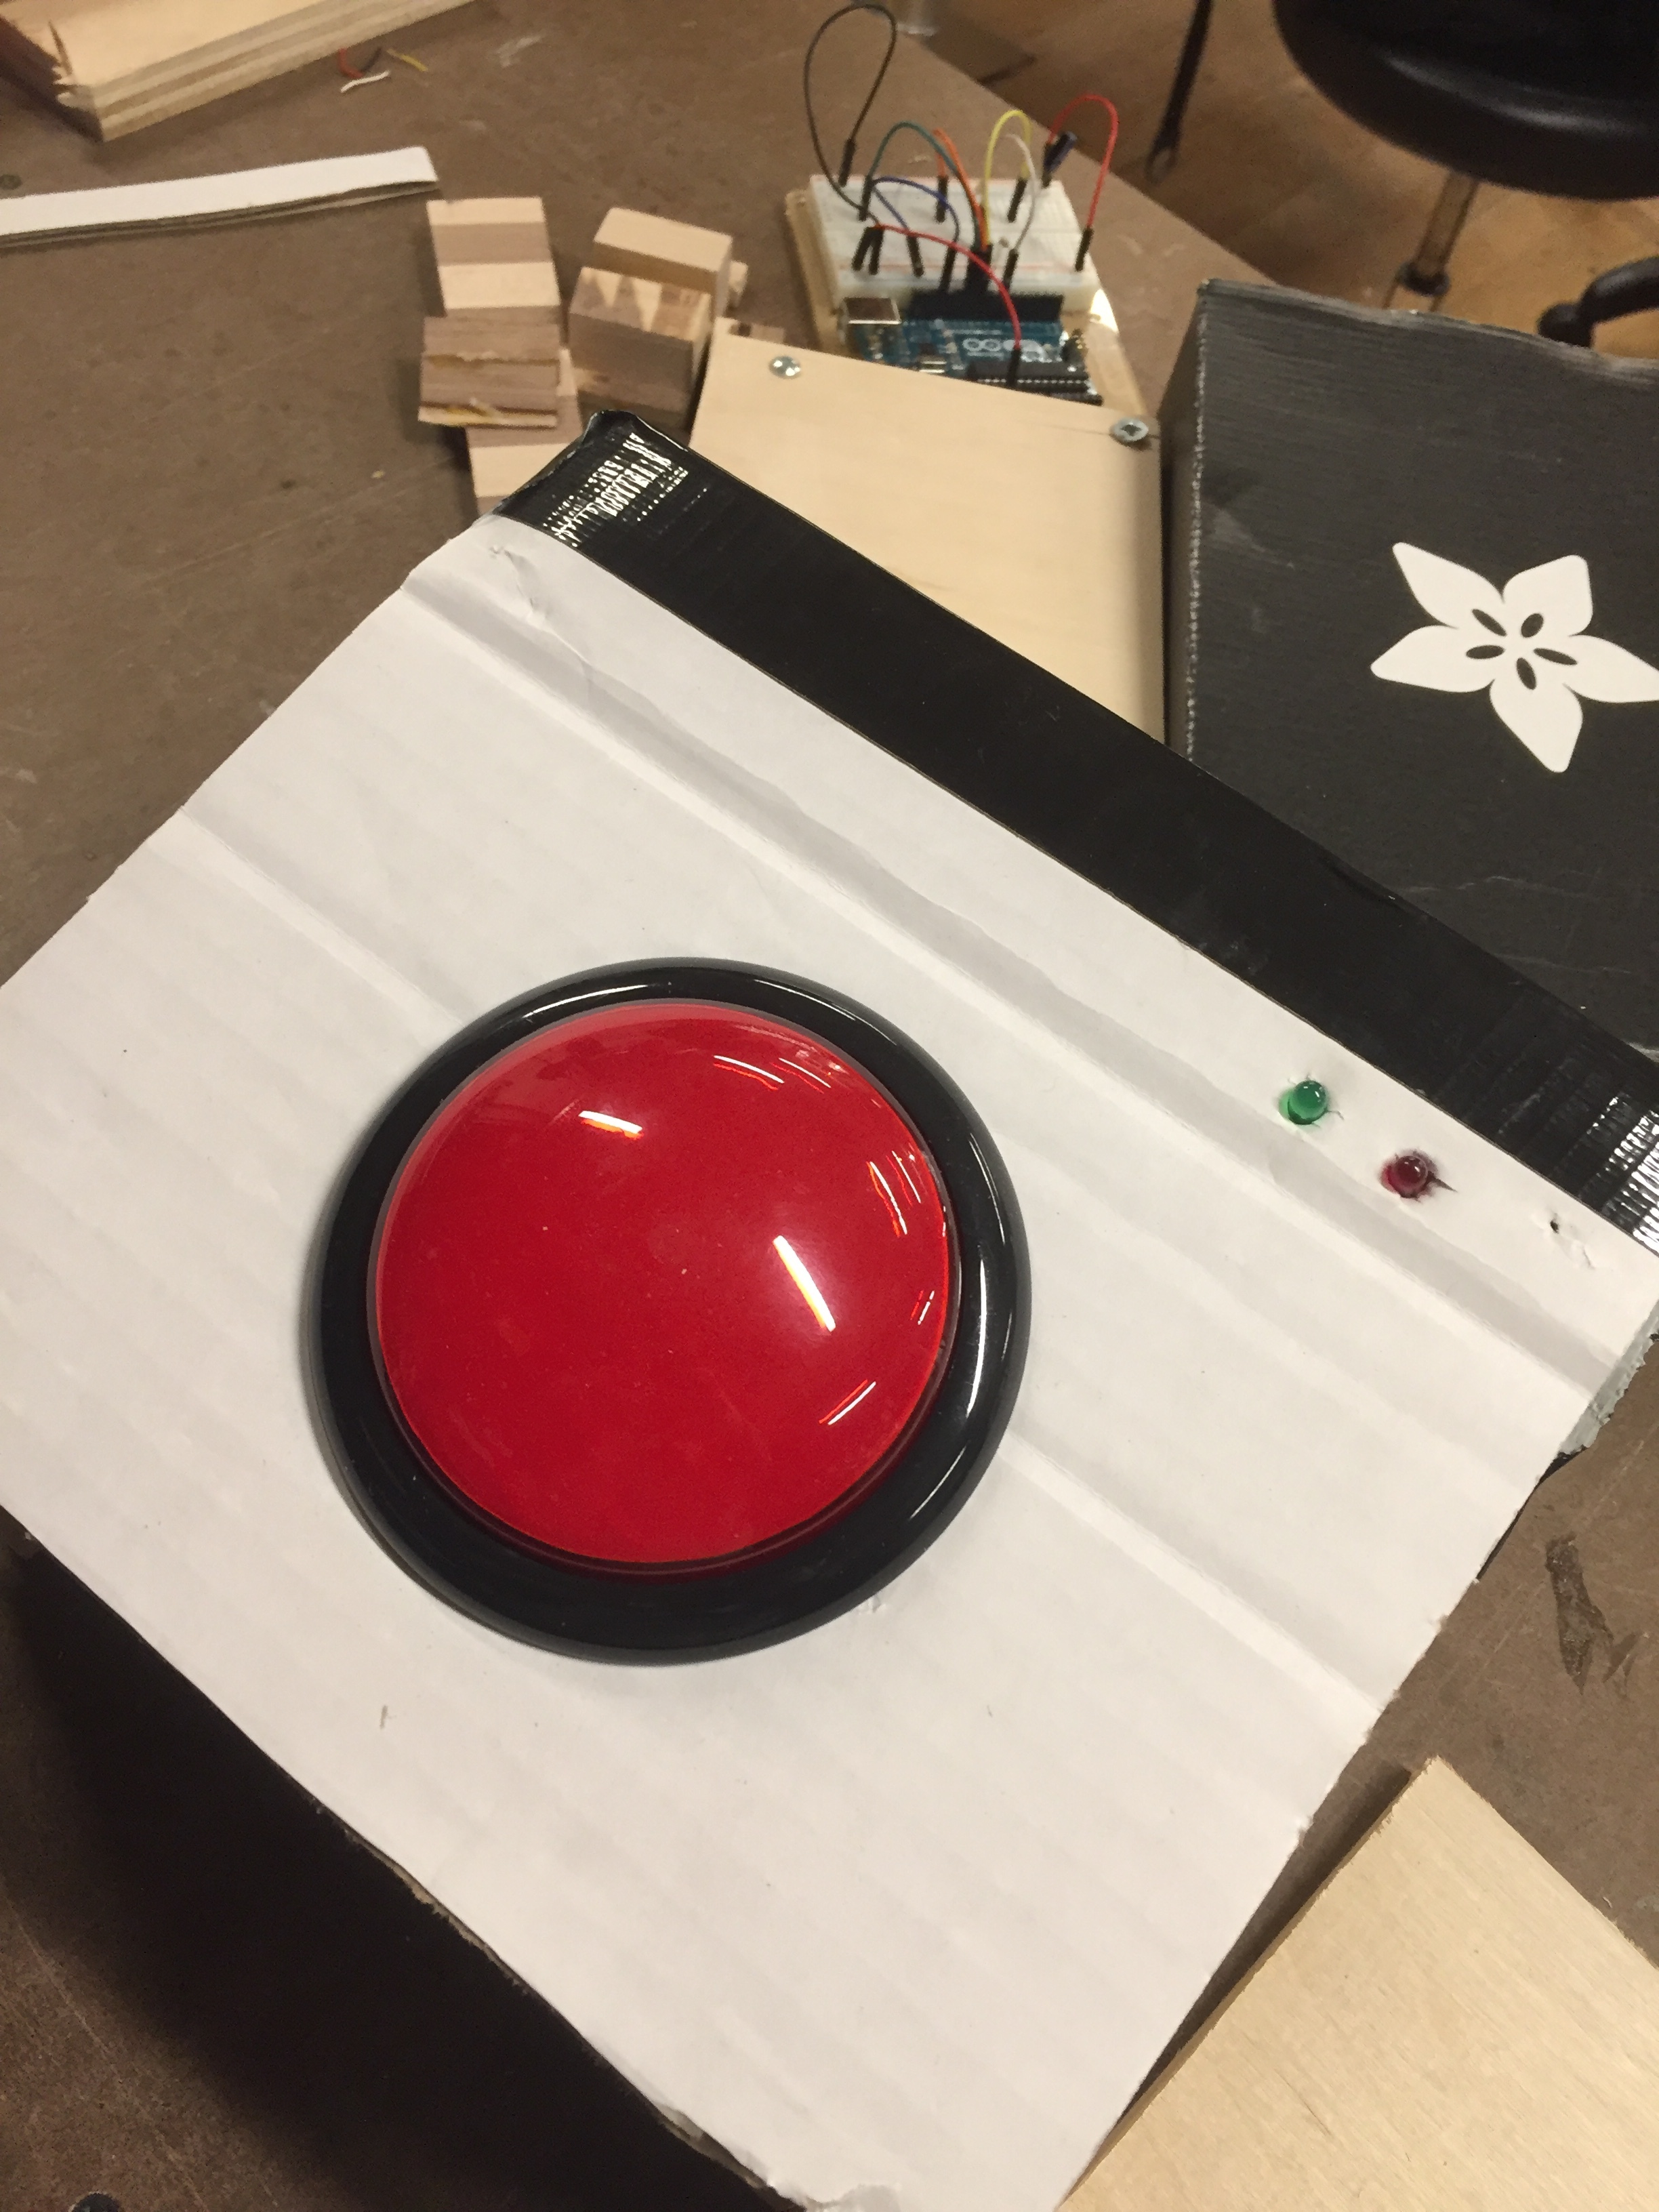
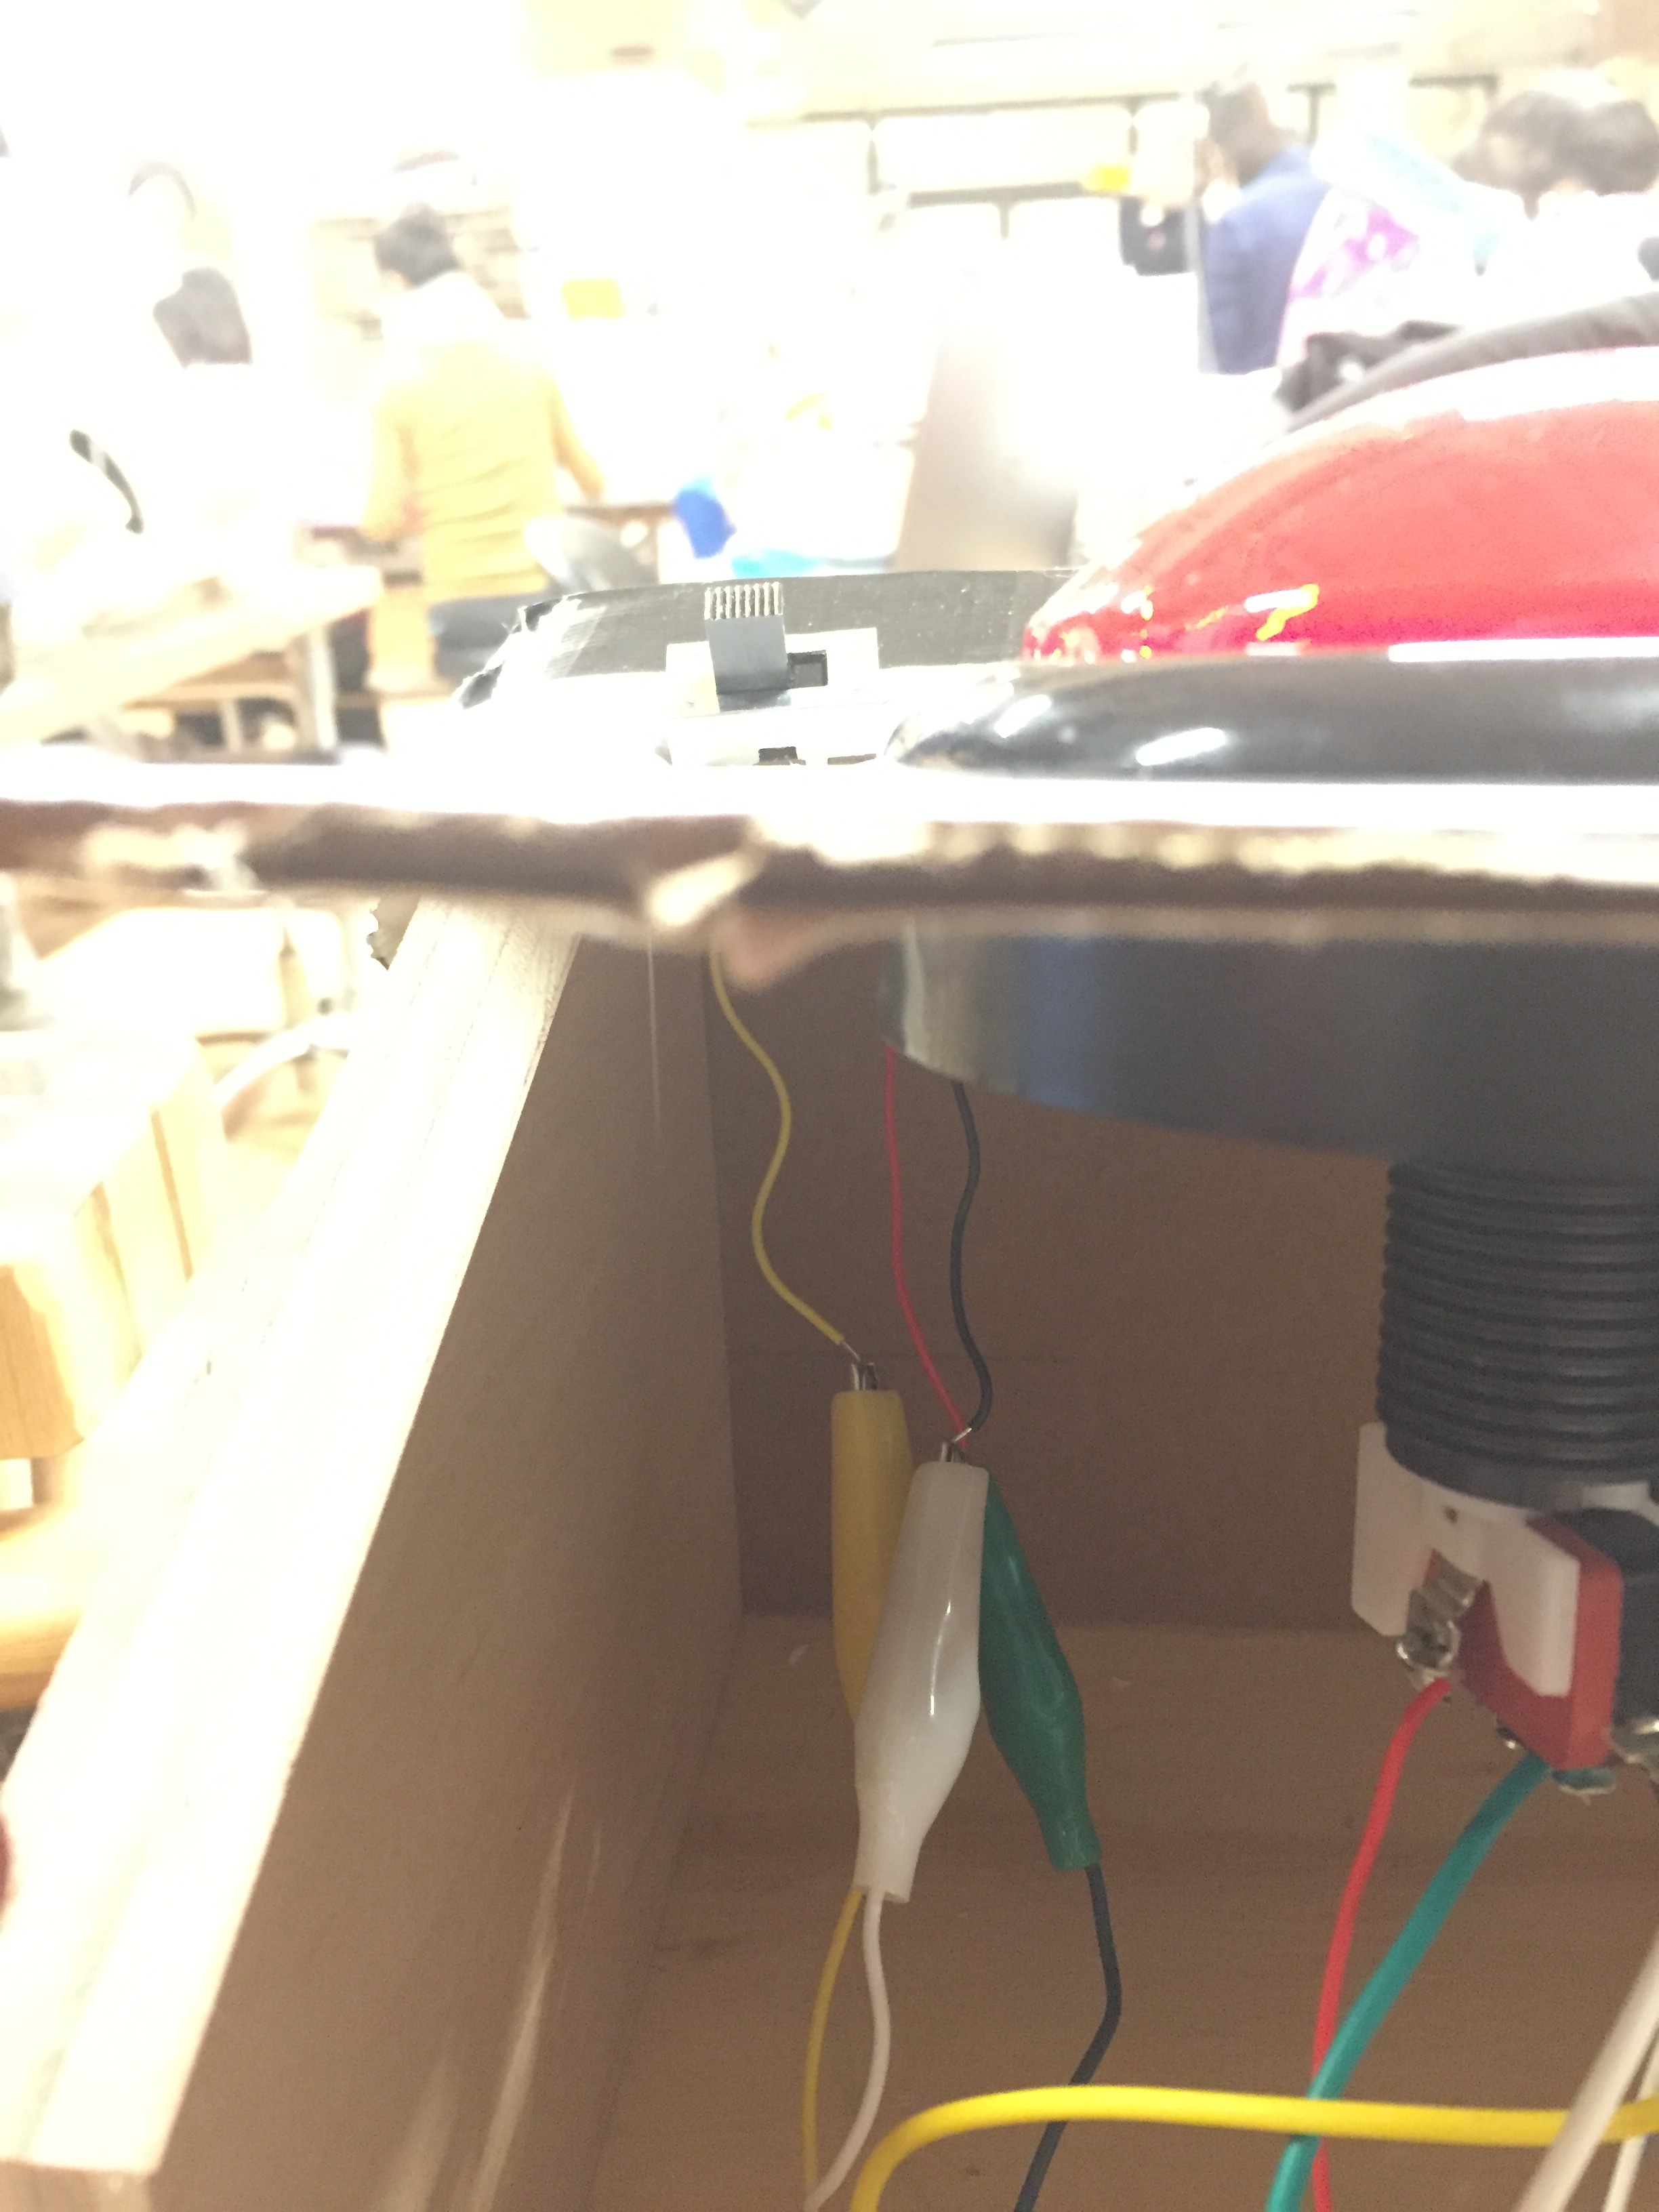
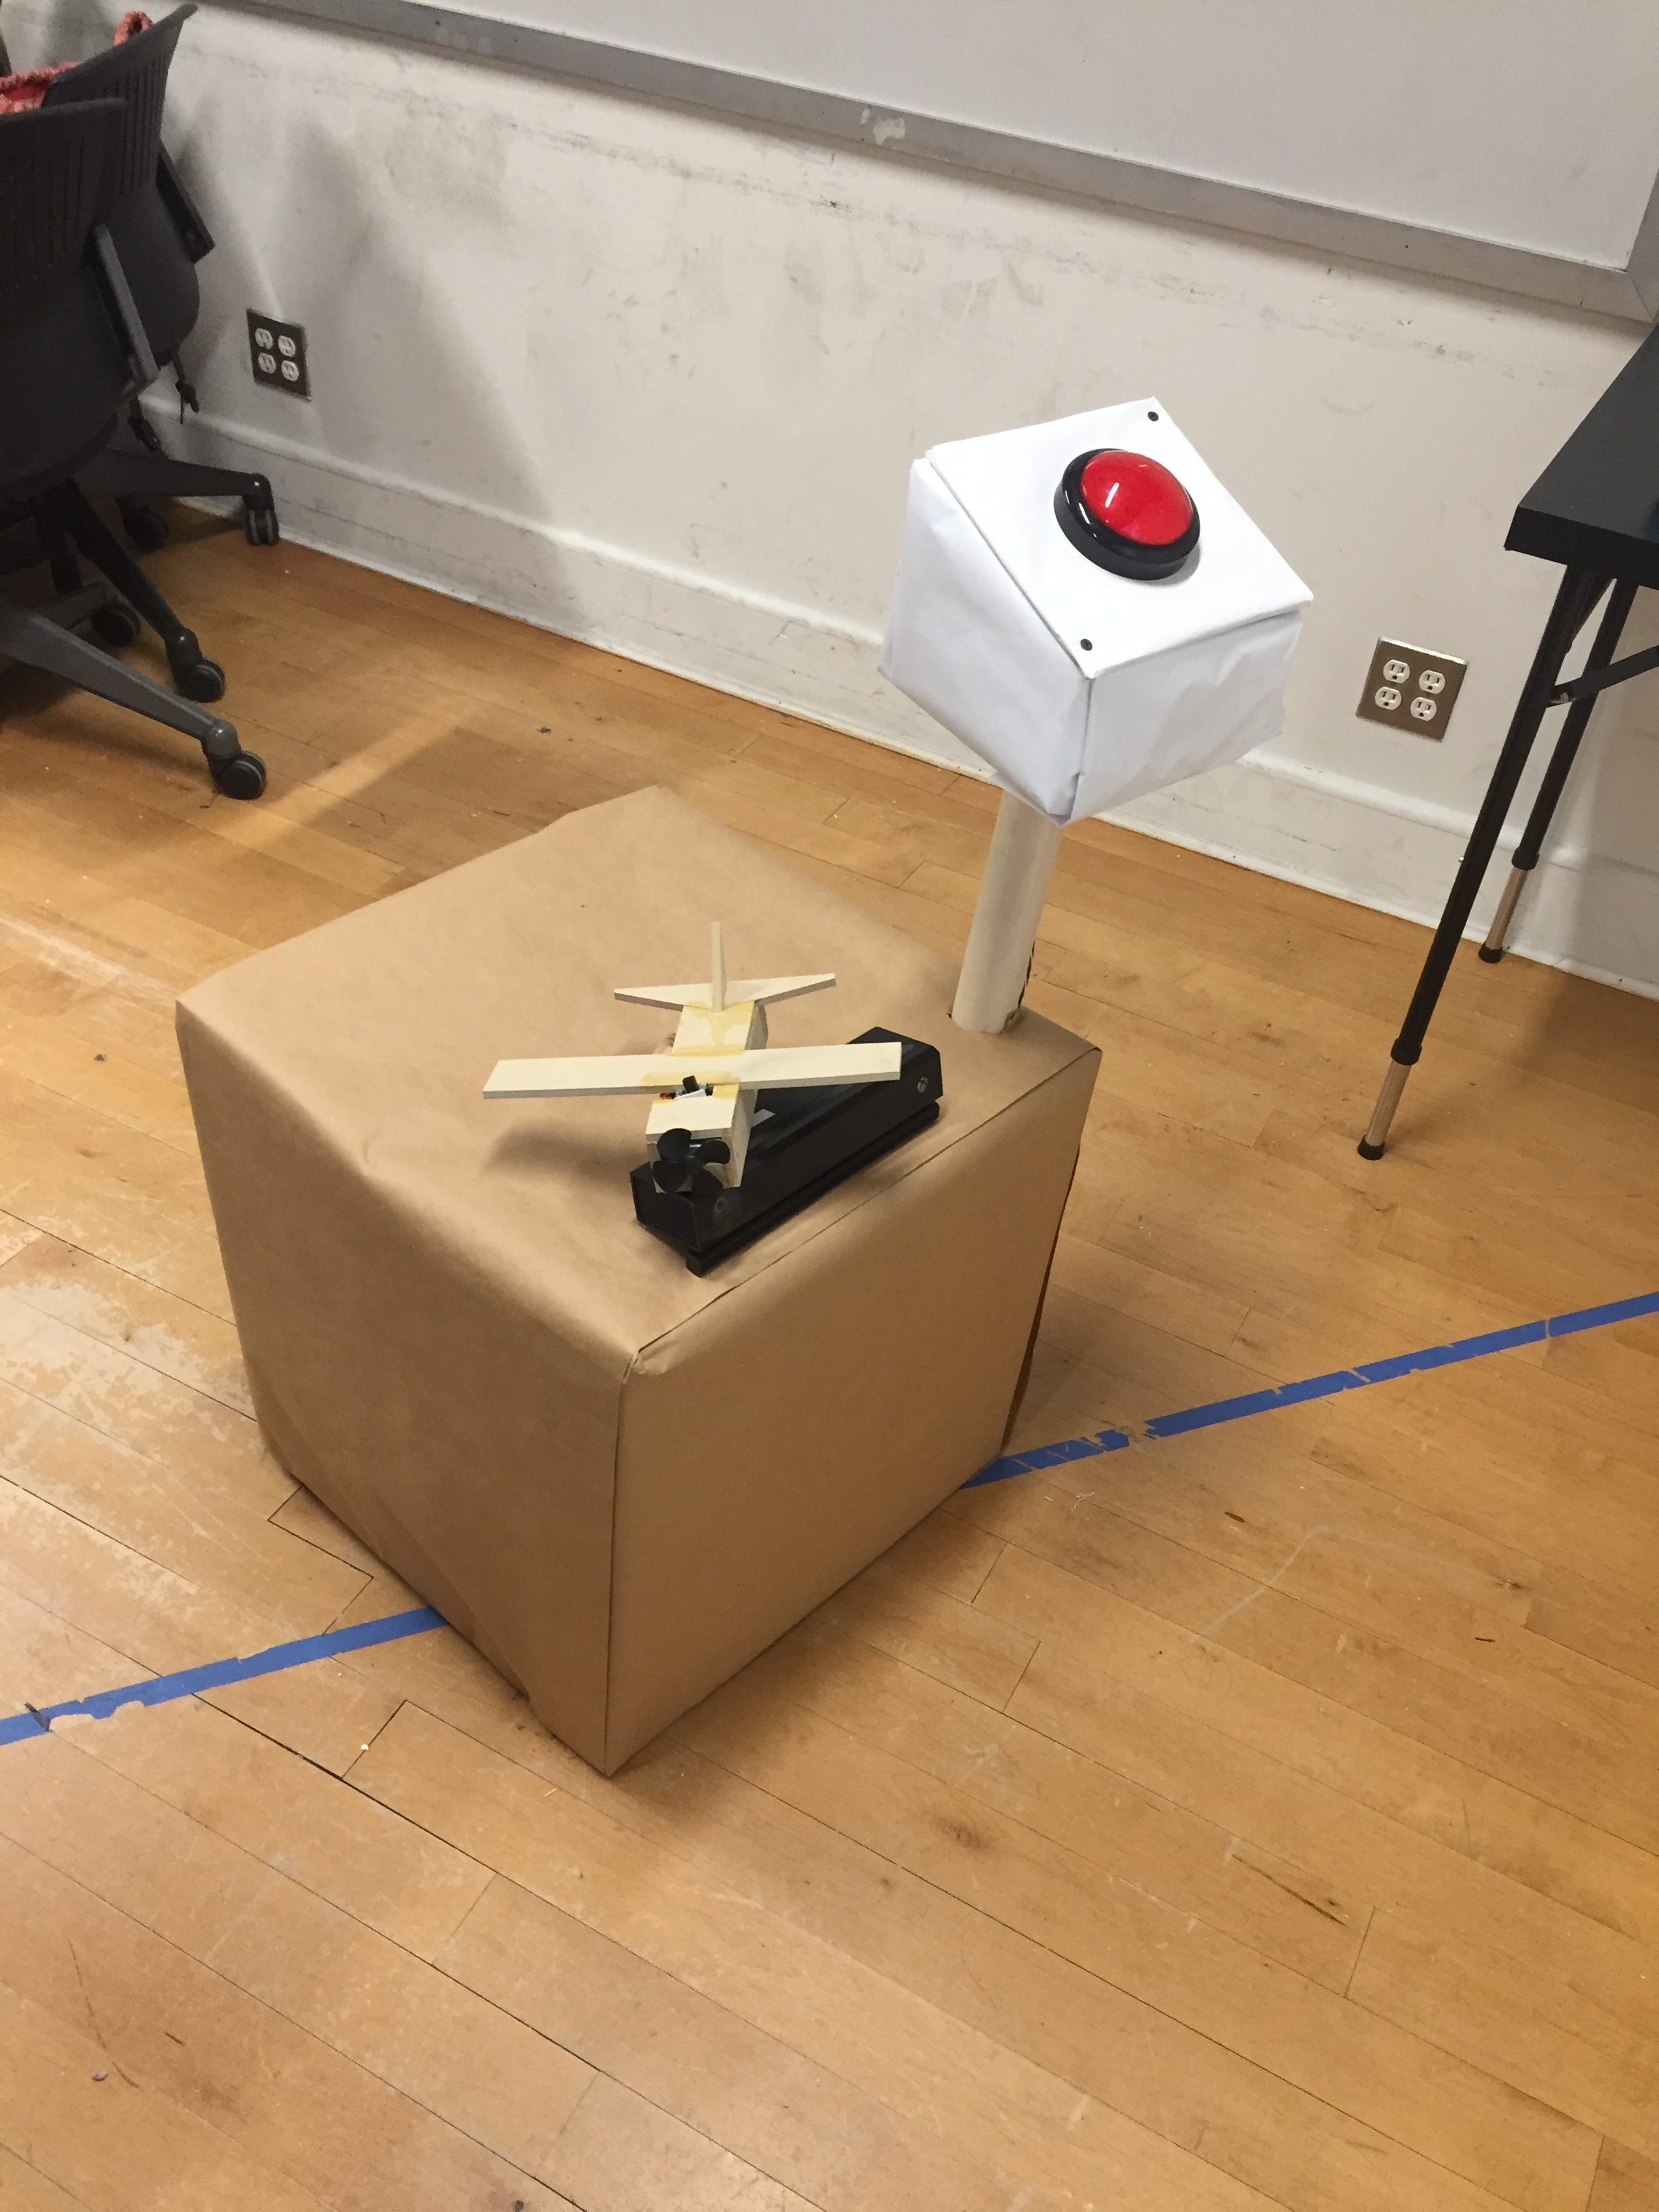
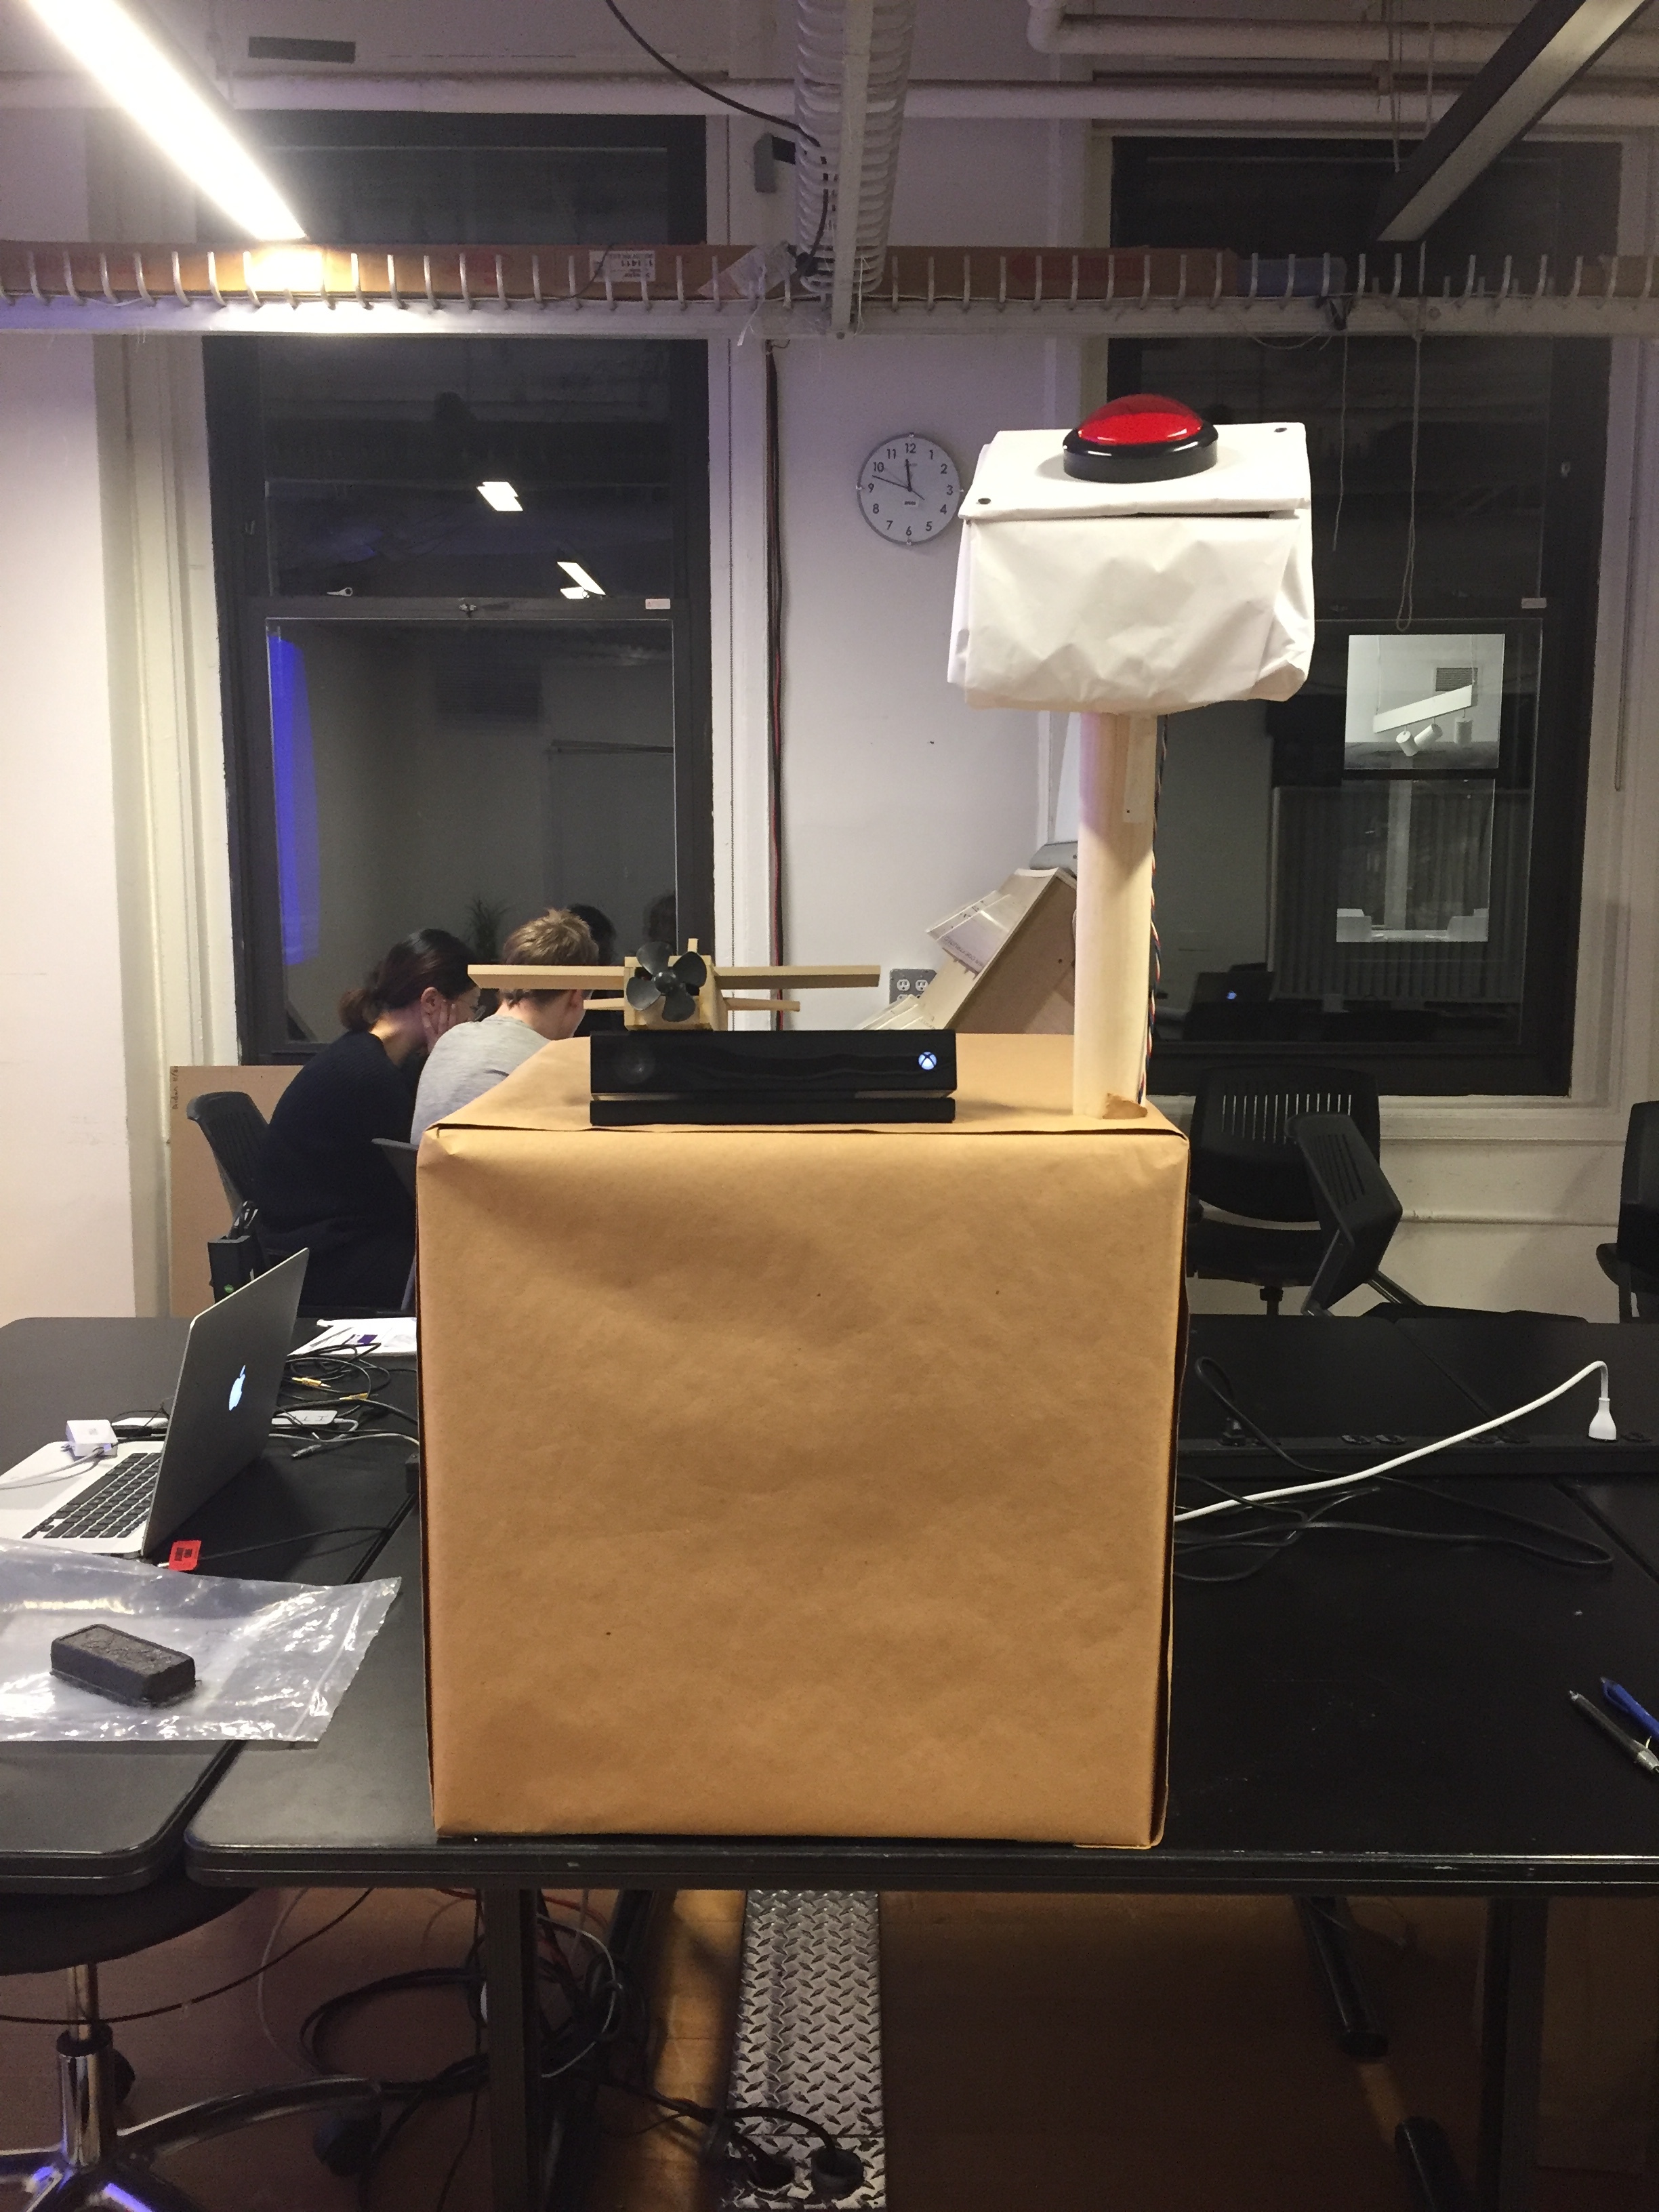
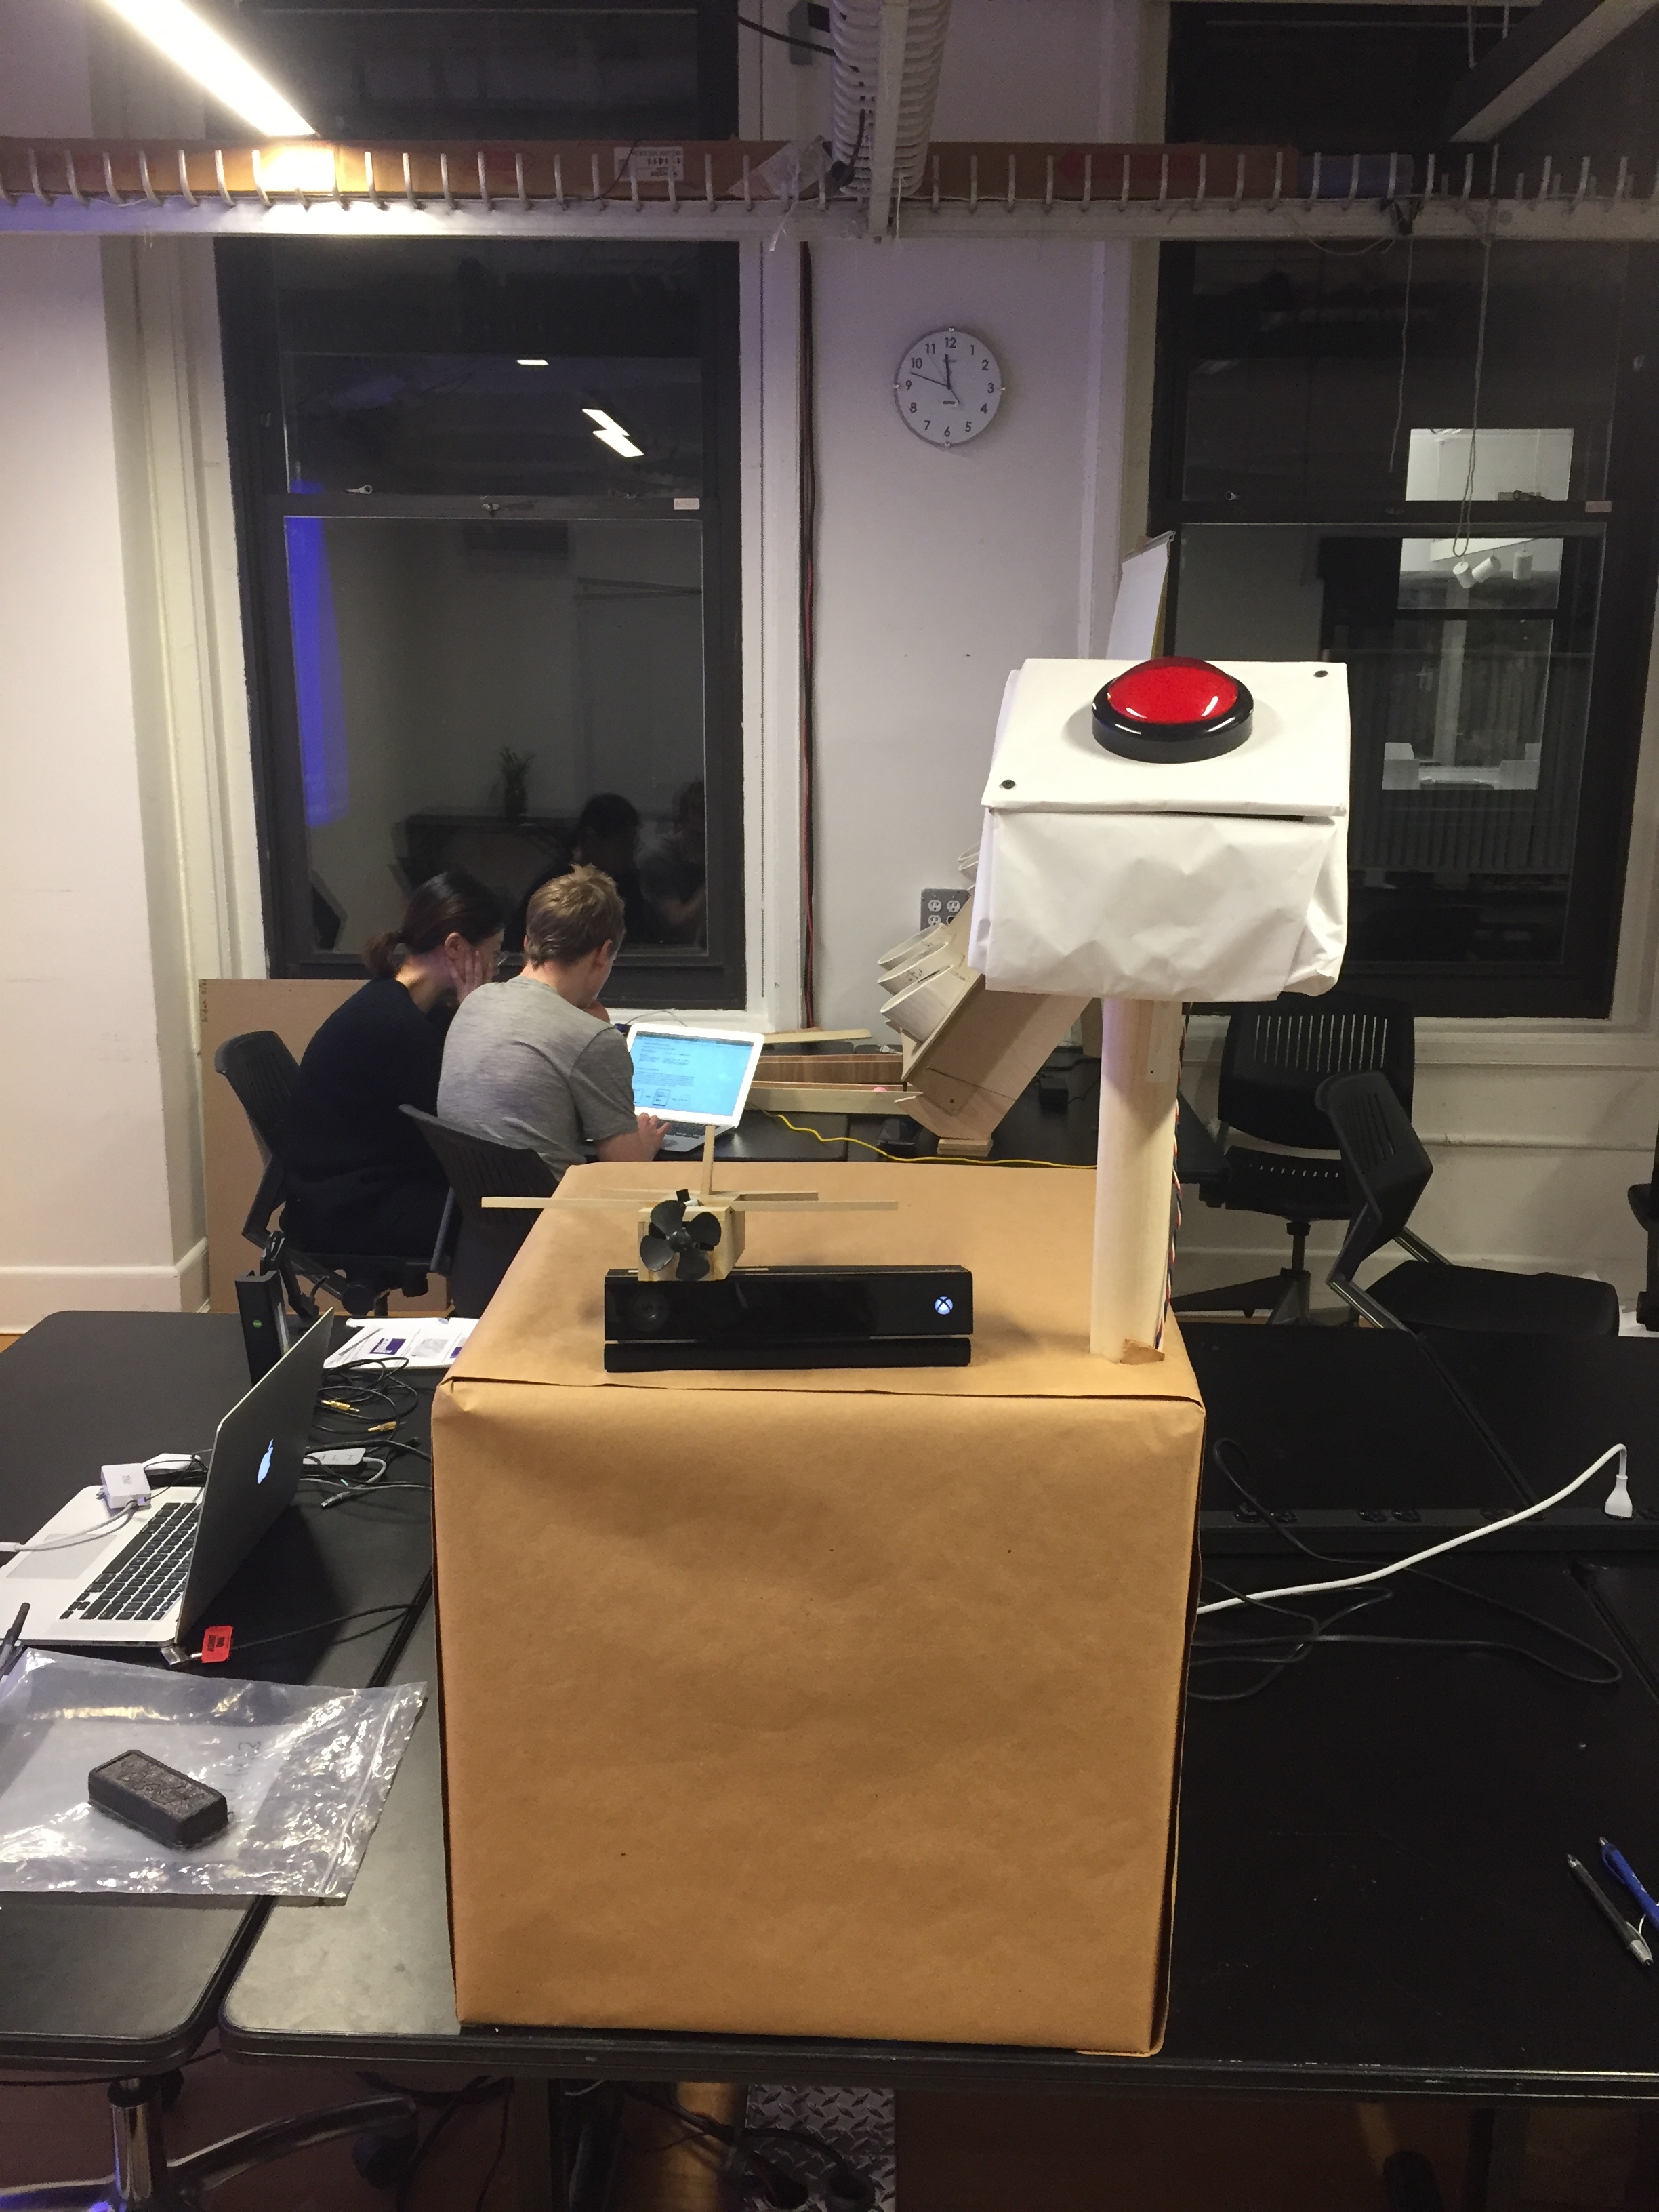
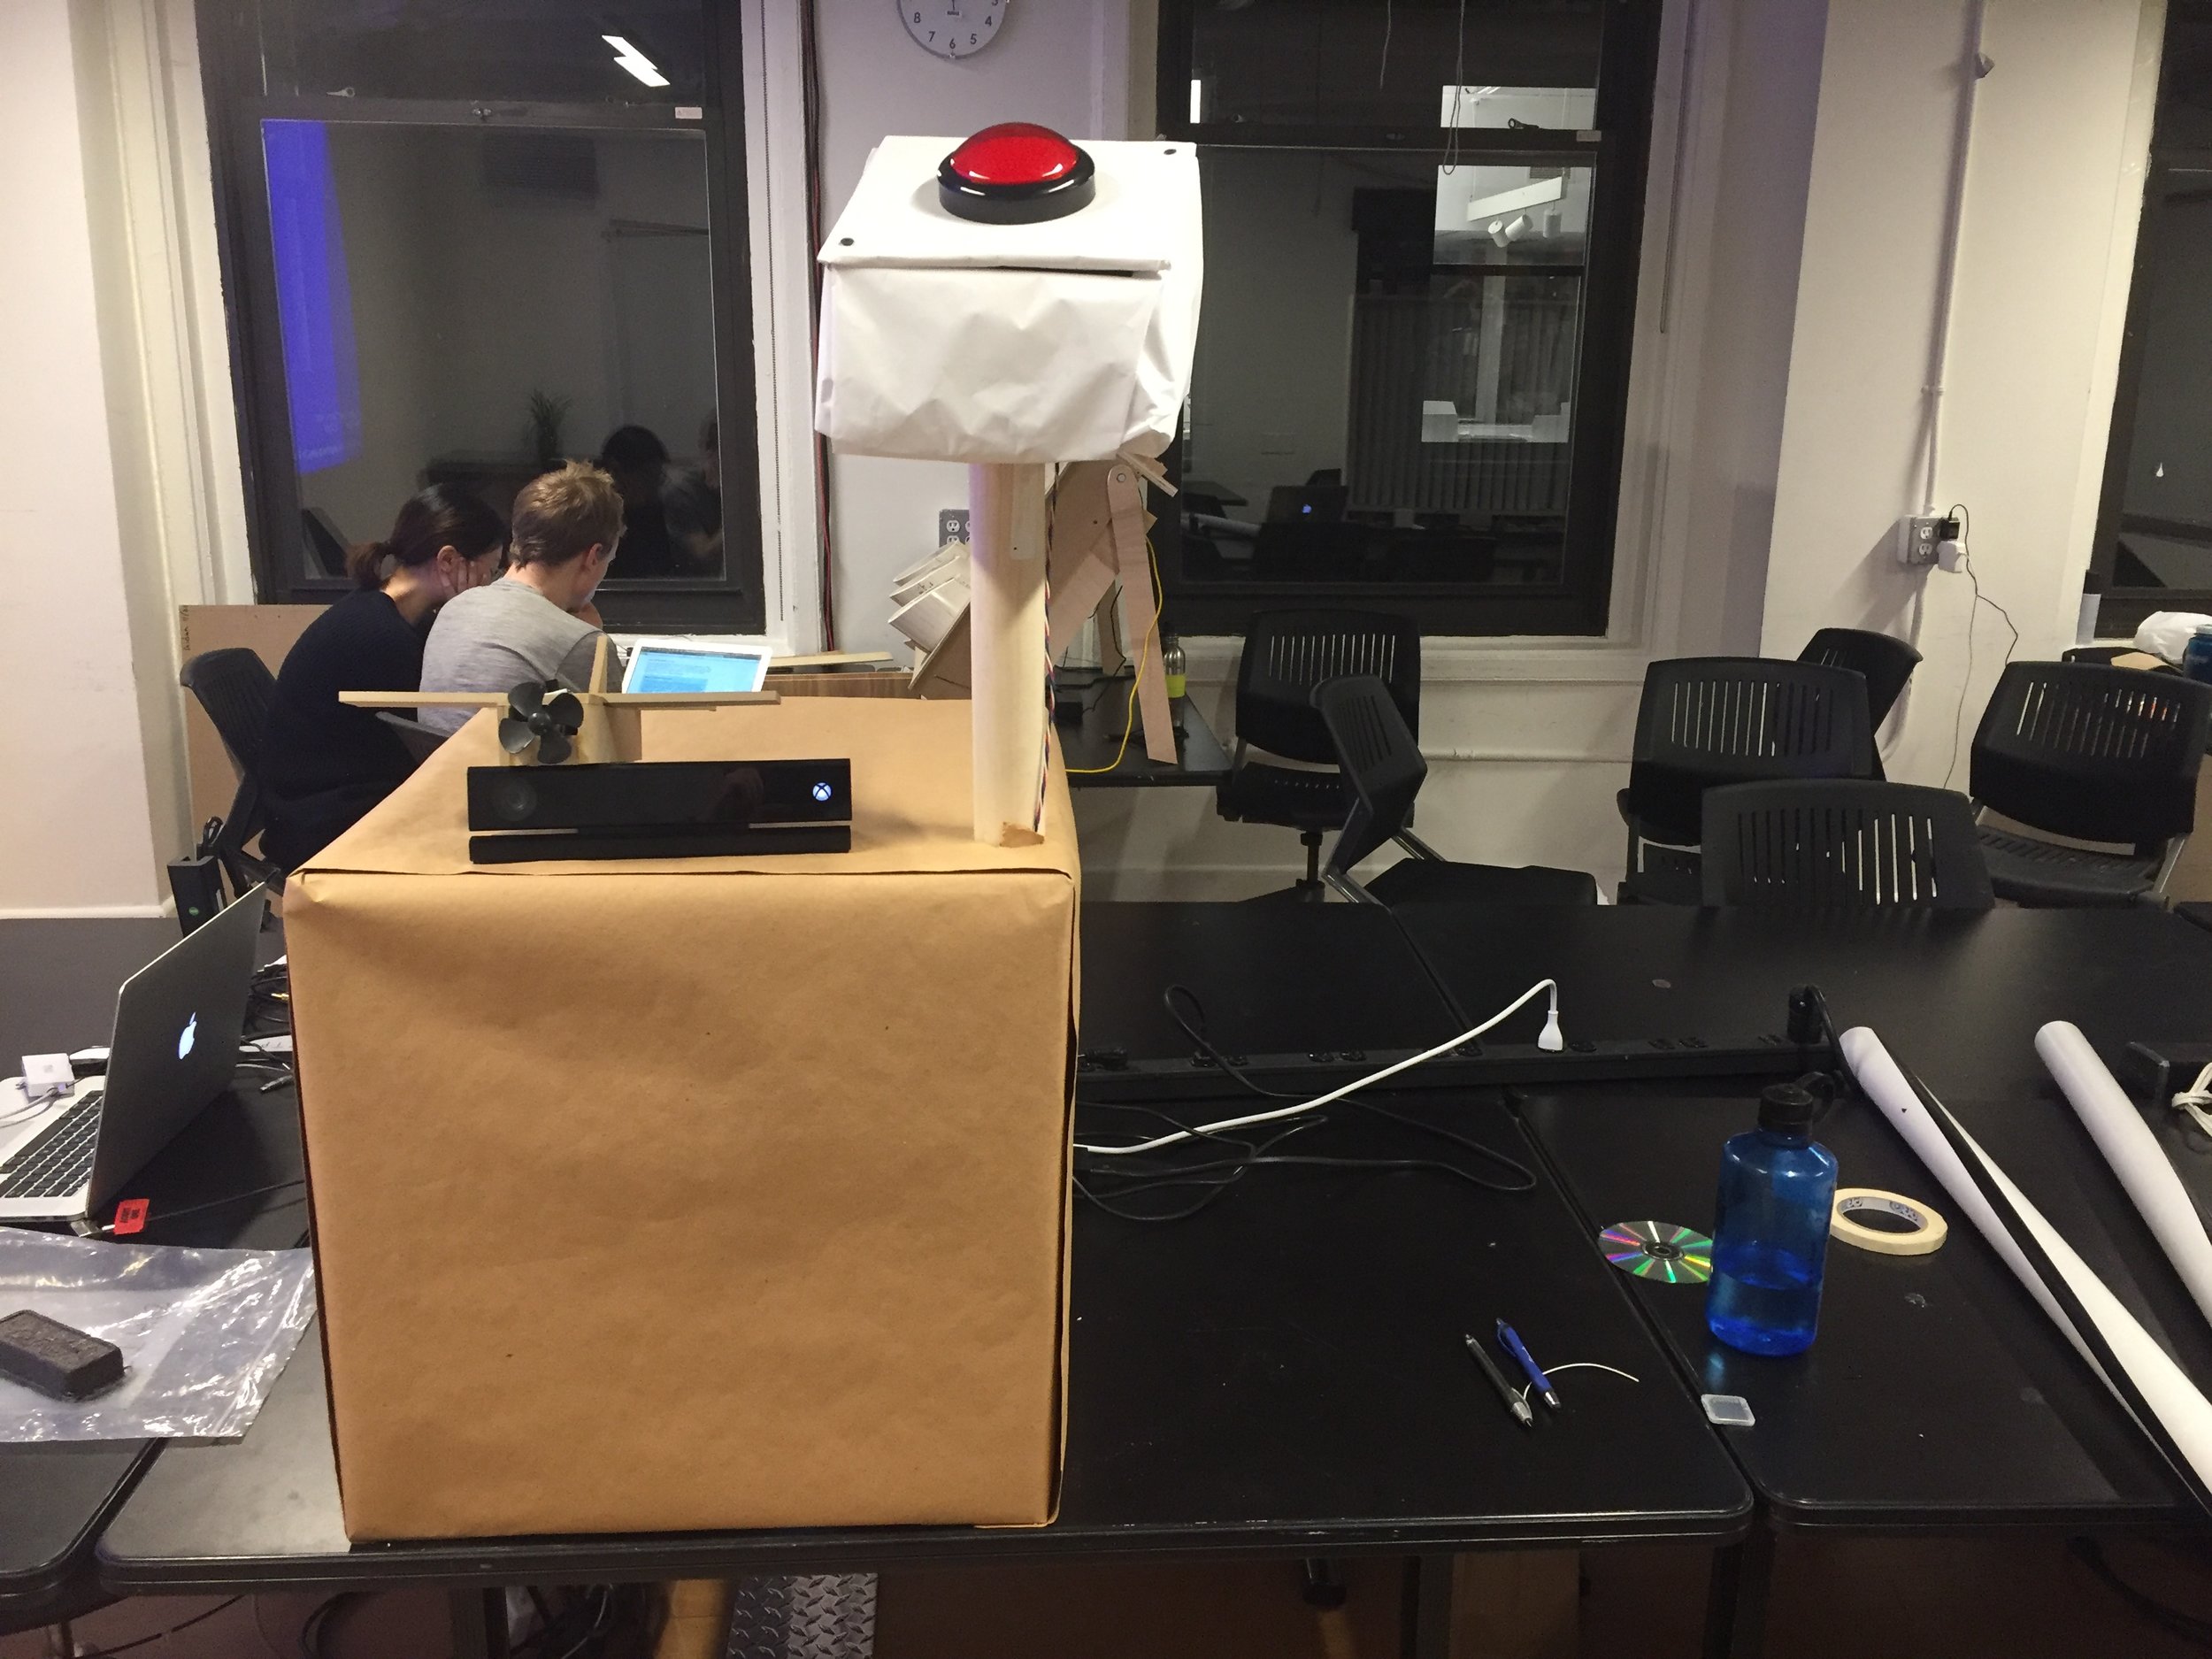
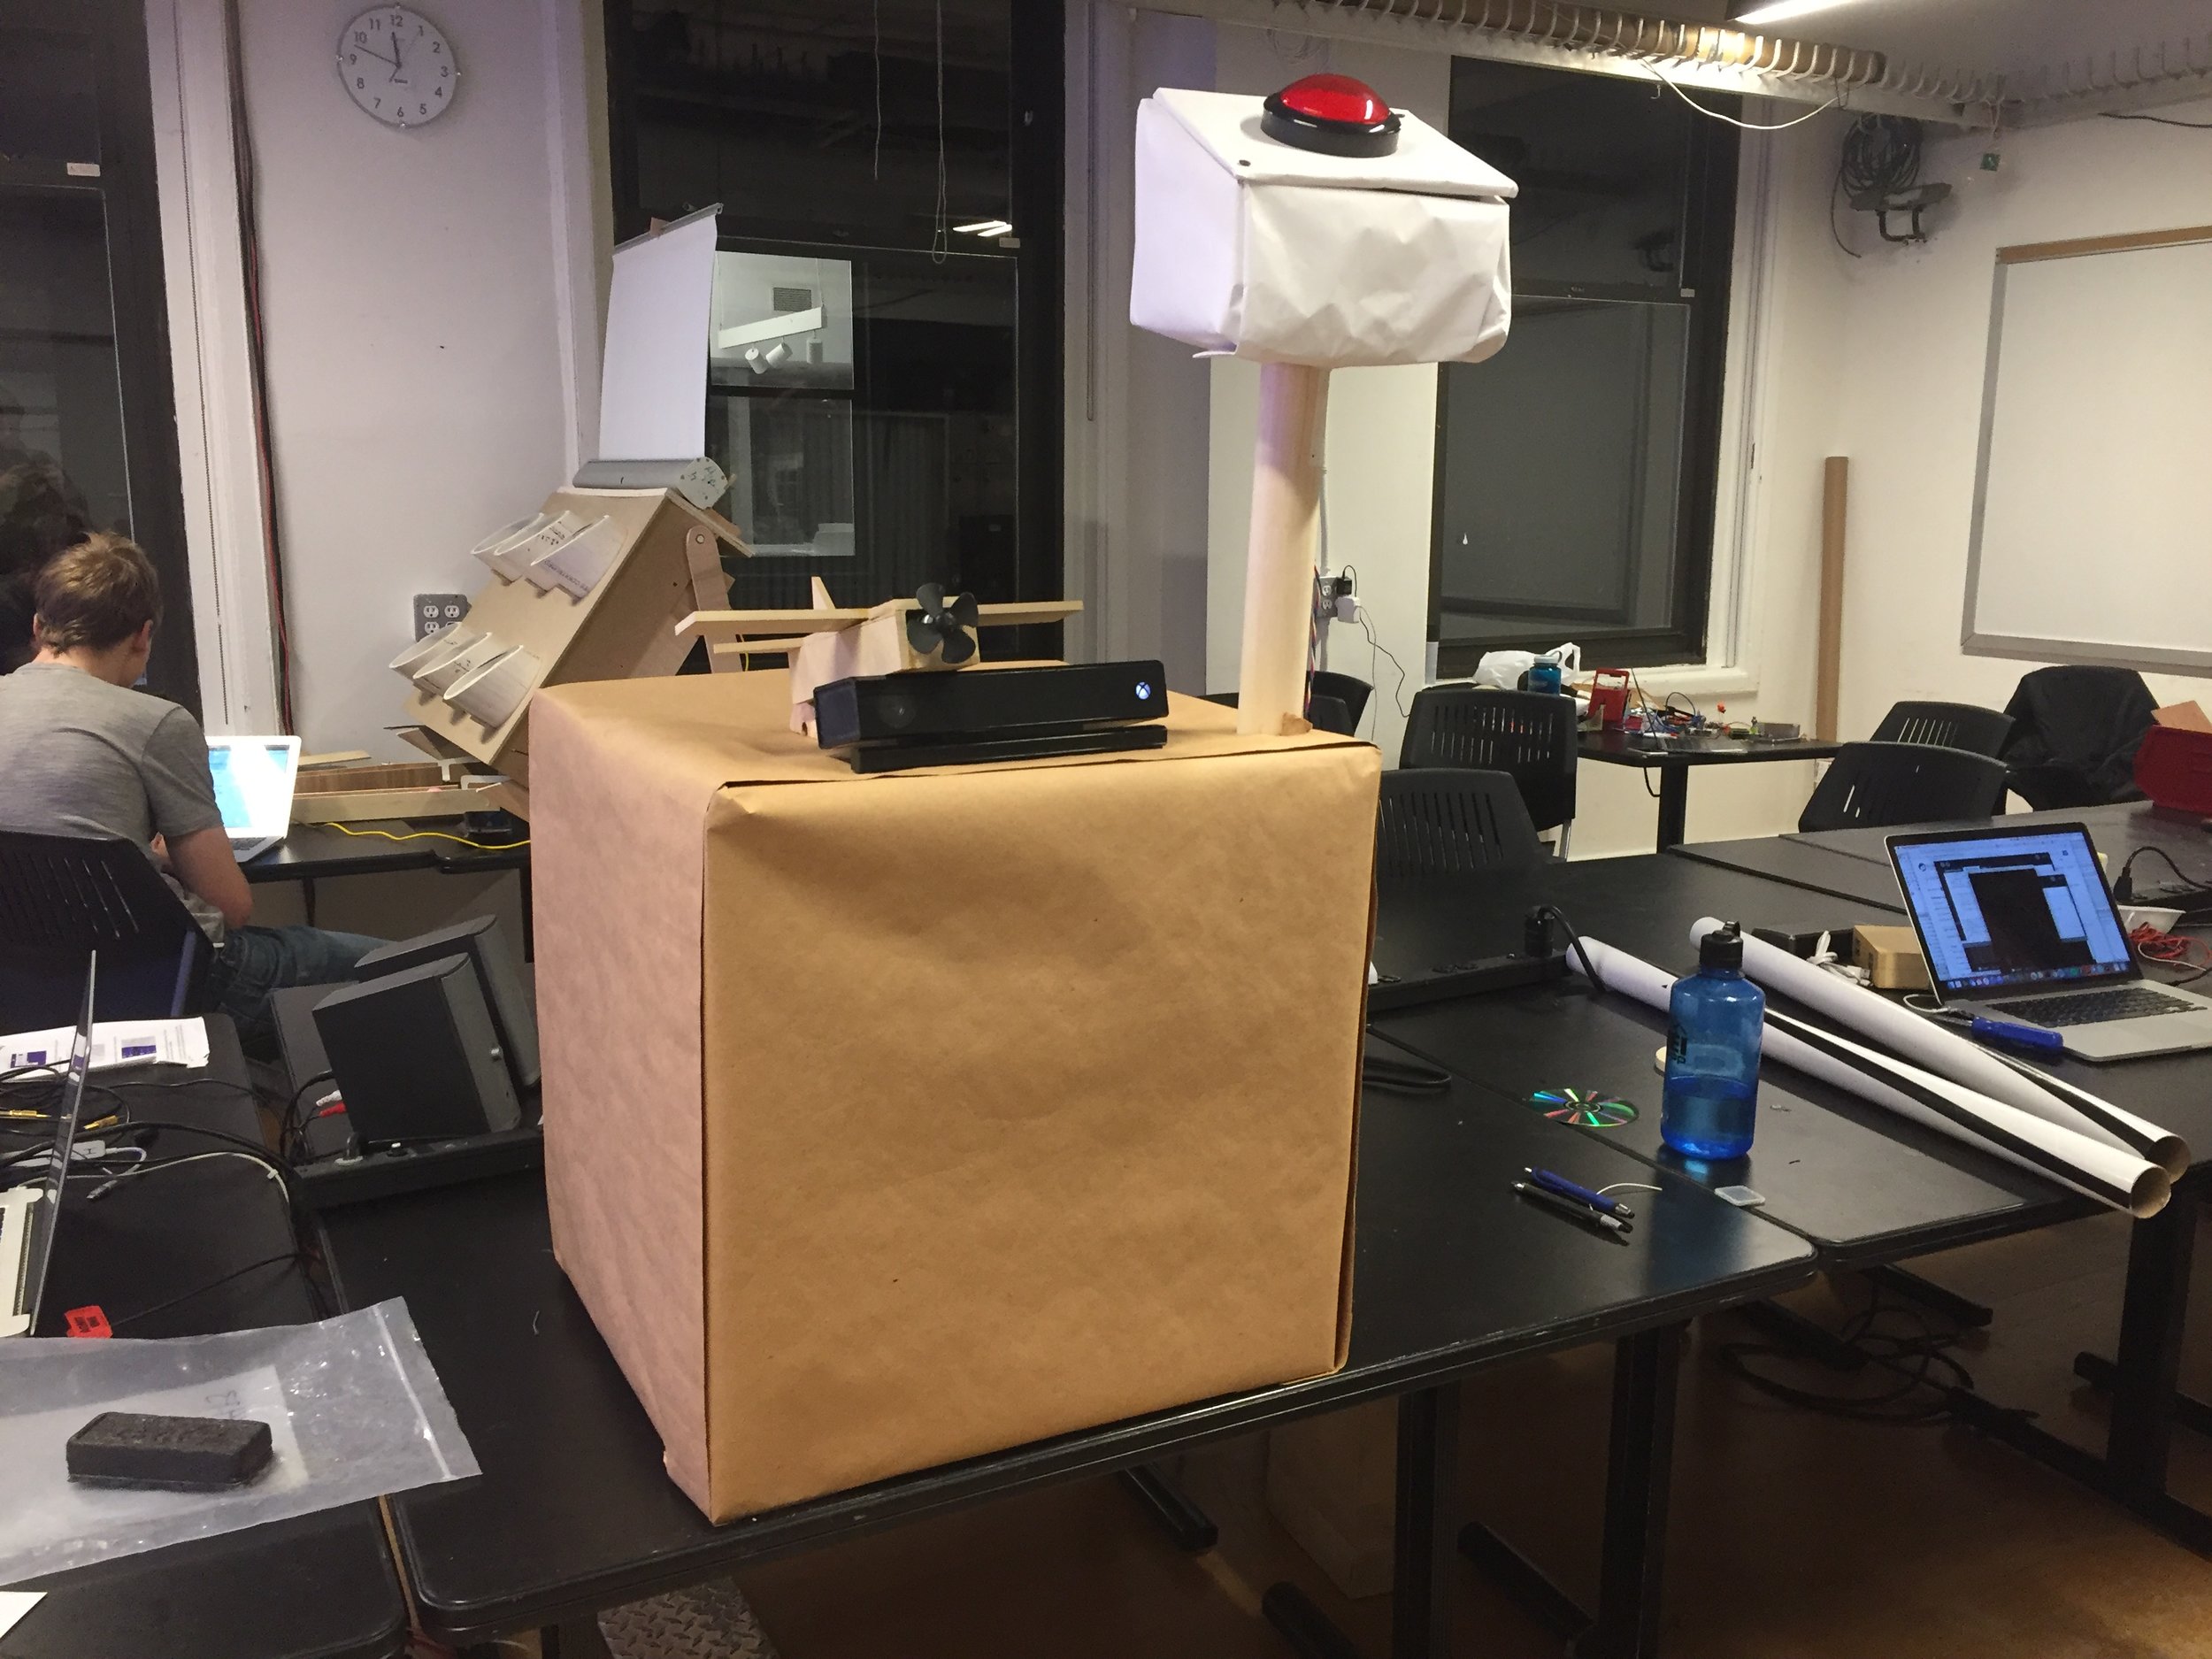
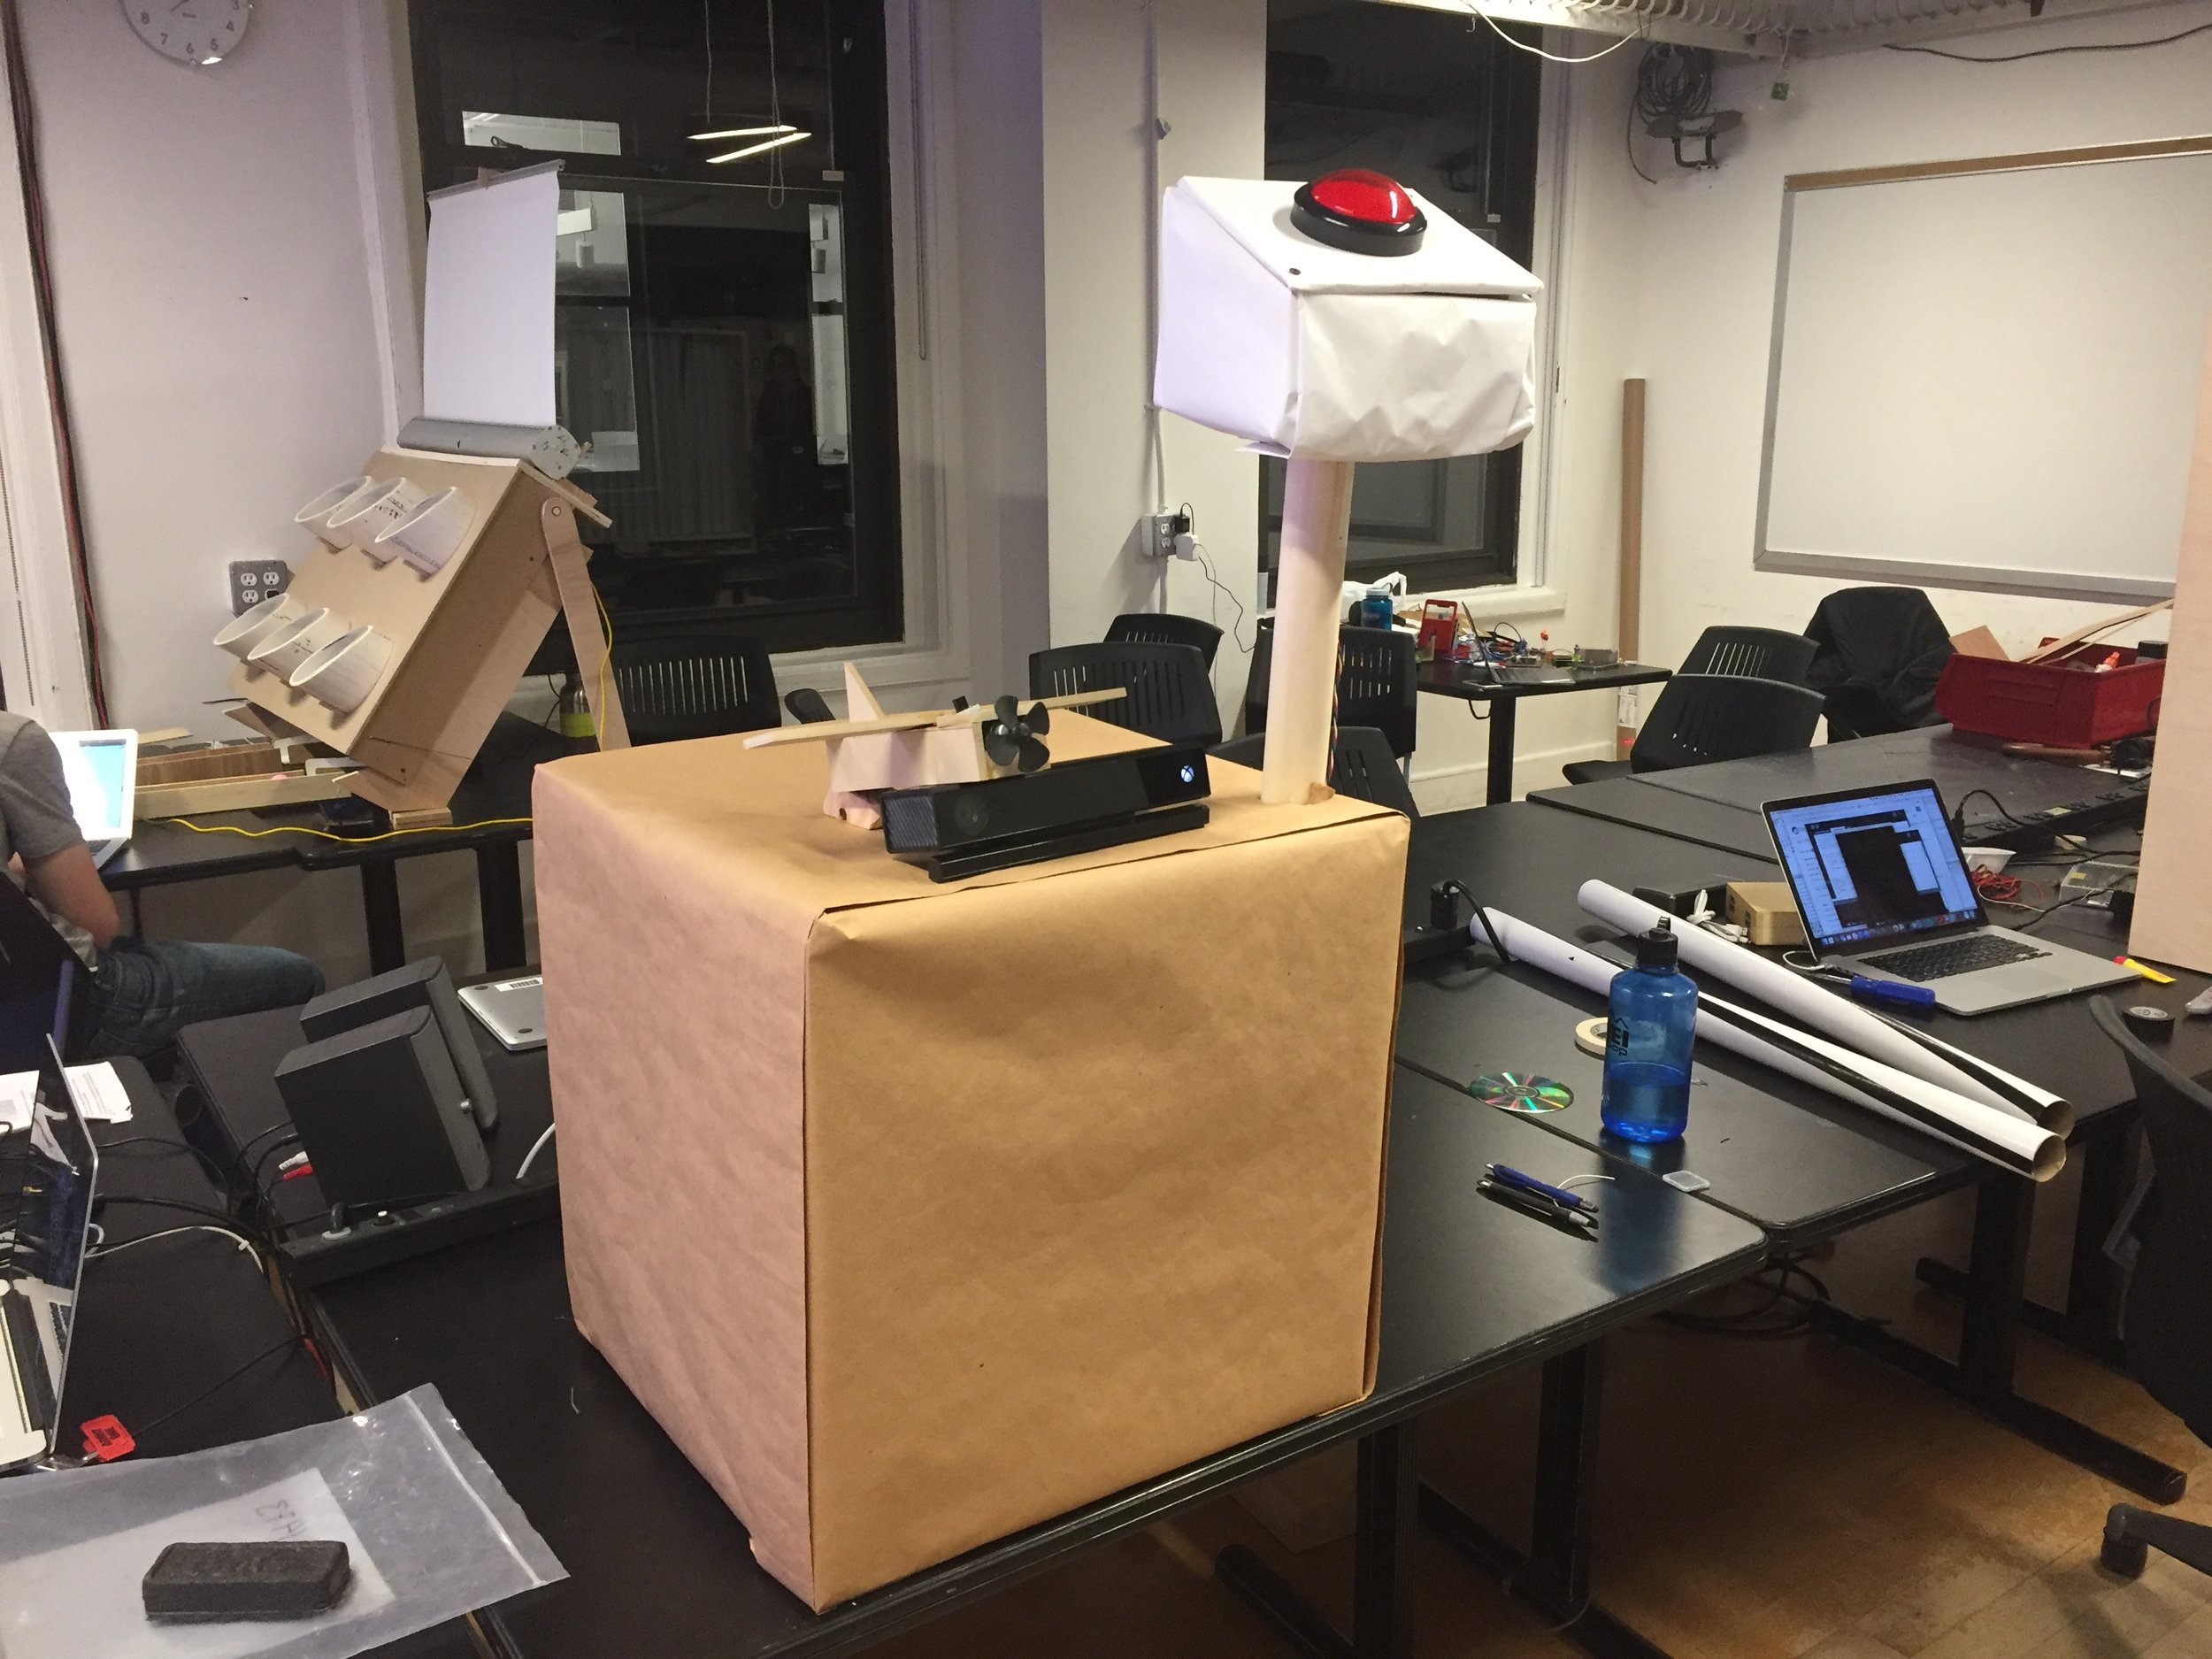
The box I made is small - about 20”x20” - has two layers, and holds all my wires and circuit behind closed walls. I covered it in paper as it is a simple and clean solution, and it also was all made from salvaged materials from the junk shelf, but for the screws and nails, which I already had on hand in my stuff.  For the final testing day, I had the pole for the button protruding straight up from the box, but I believe I should have it protrude straight away, about 1 meter, so that the user can stand at a distance that is equal to the minimum viewing distance from the kinect - and start the game. This will allow the game to be a bit more seamless of an intersection than I found it is today.

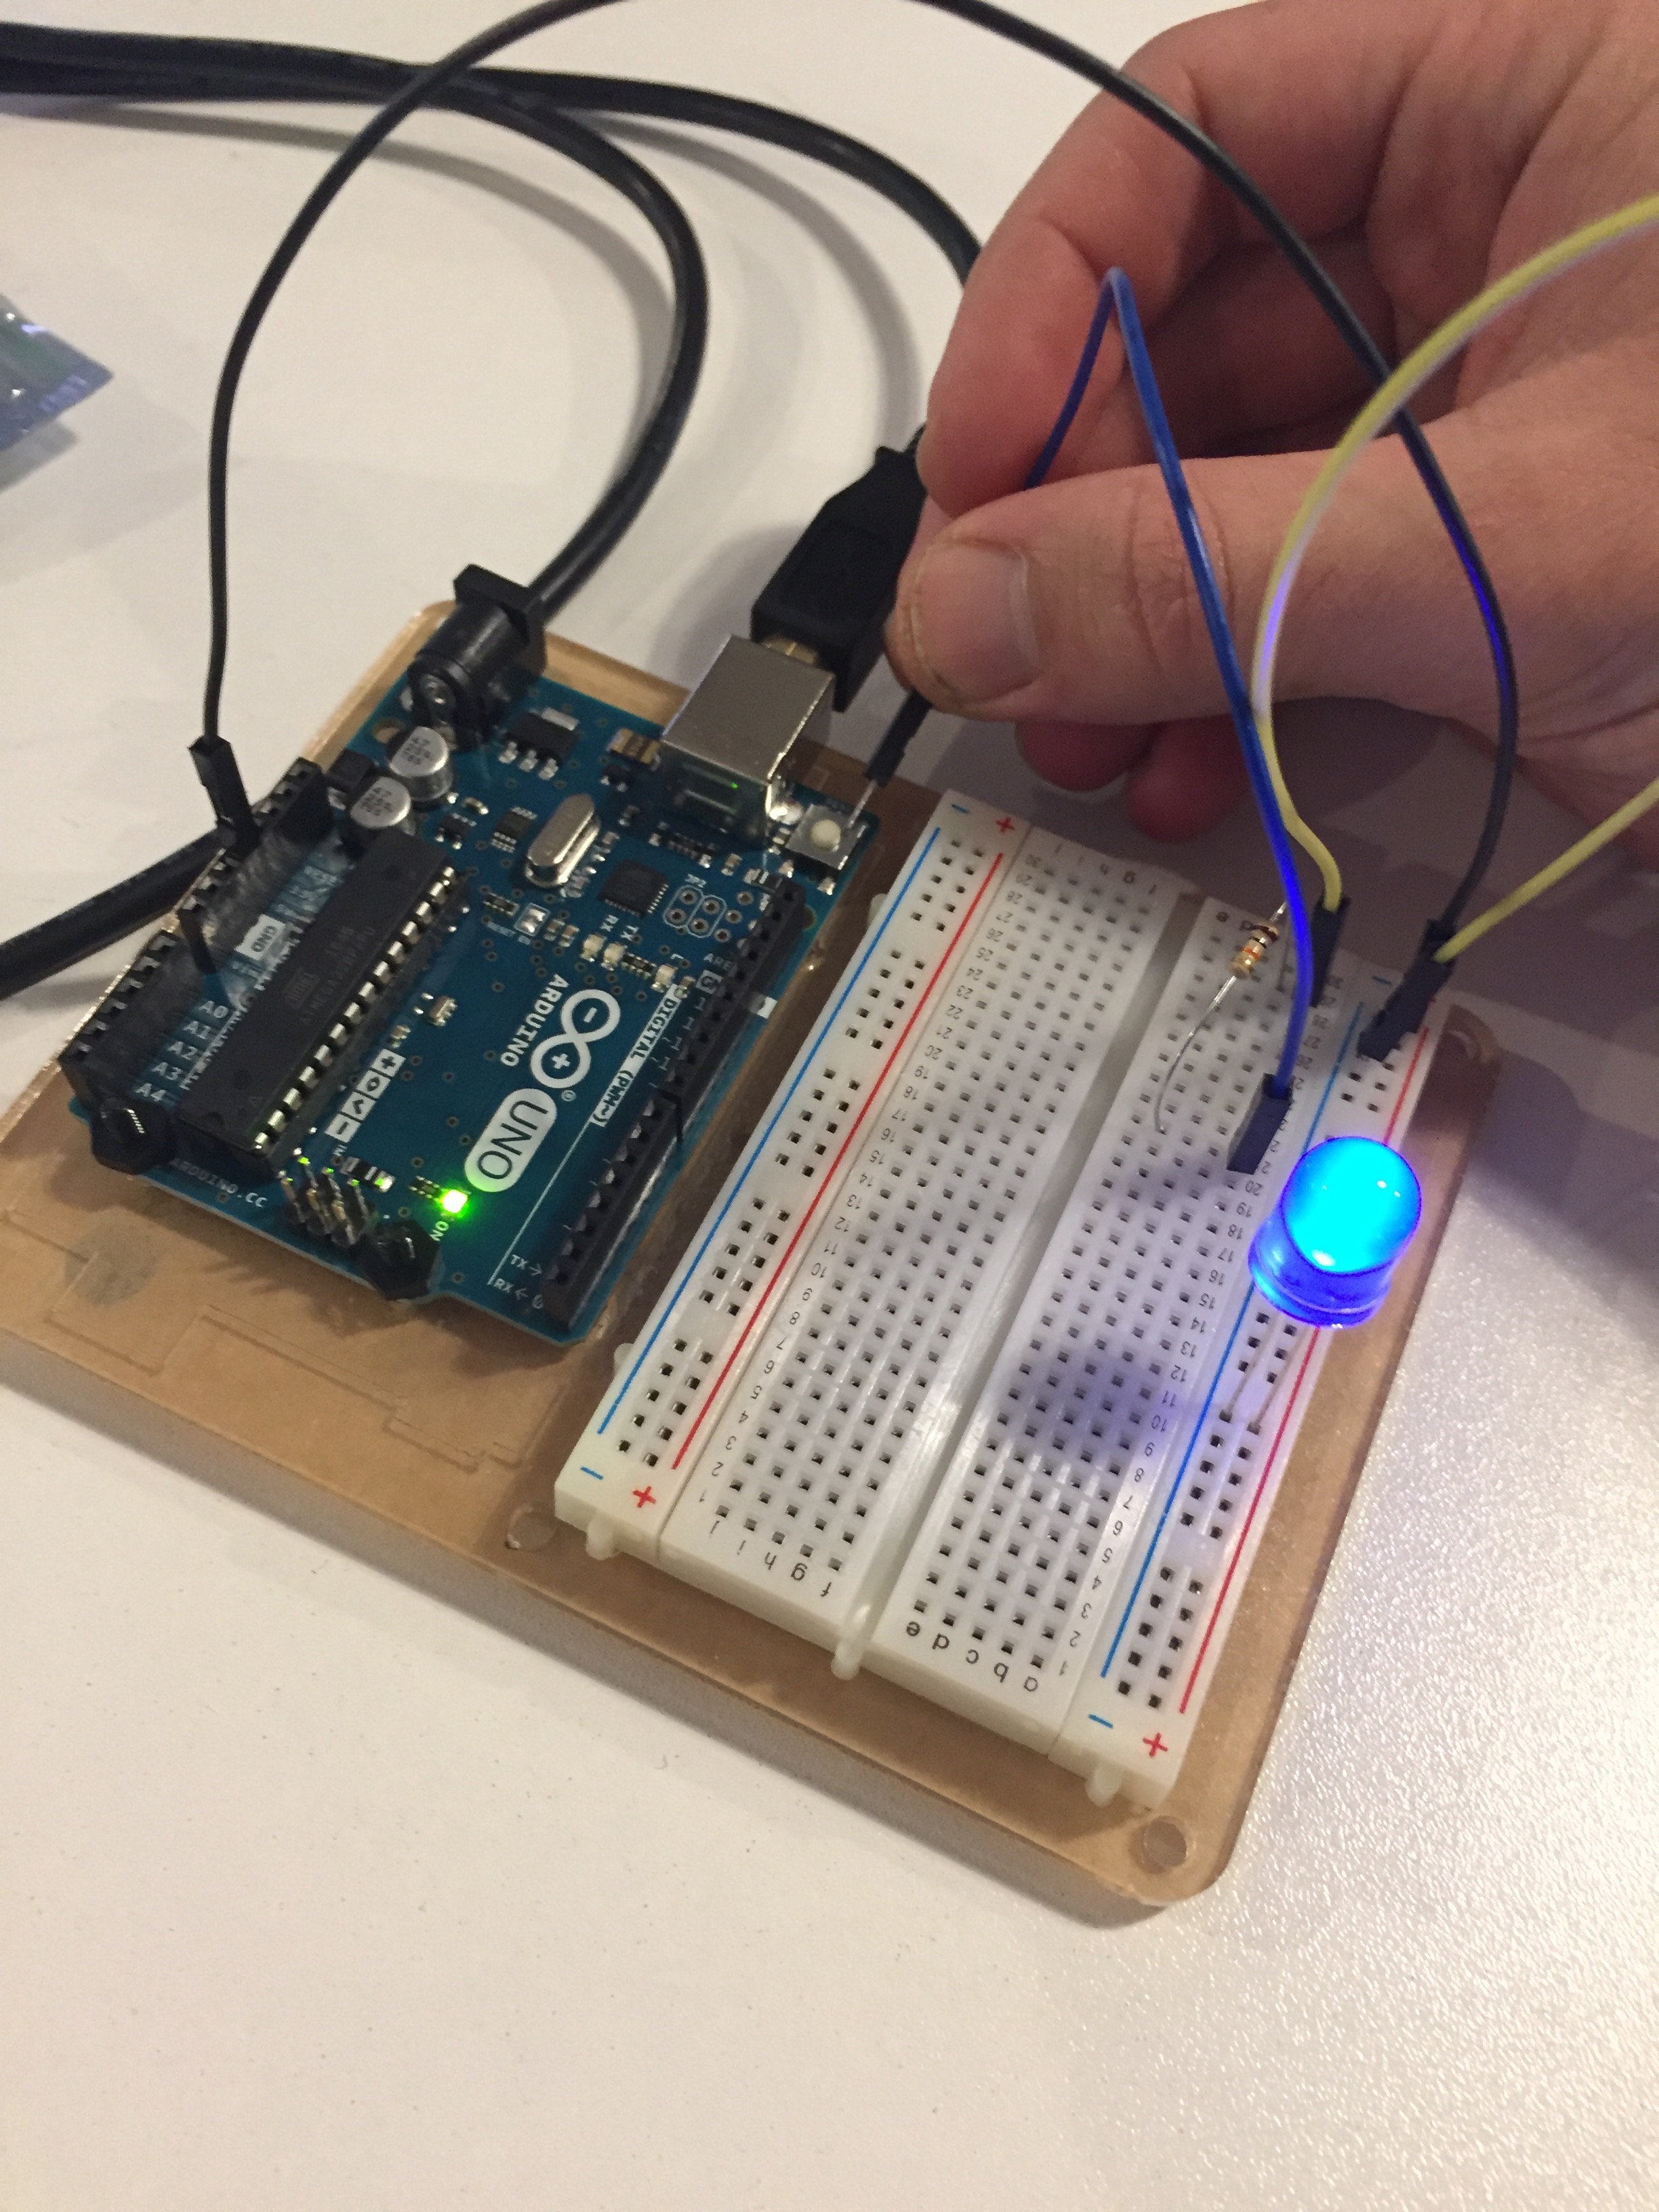
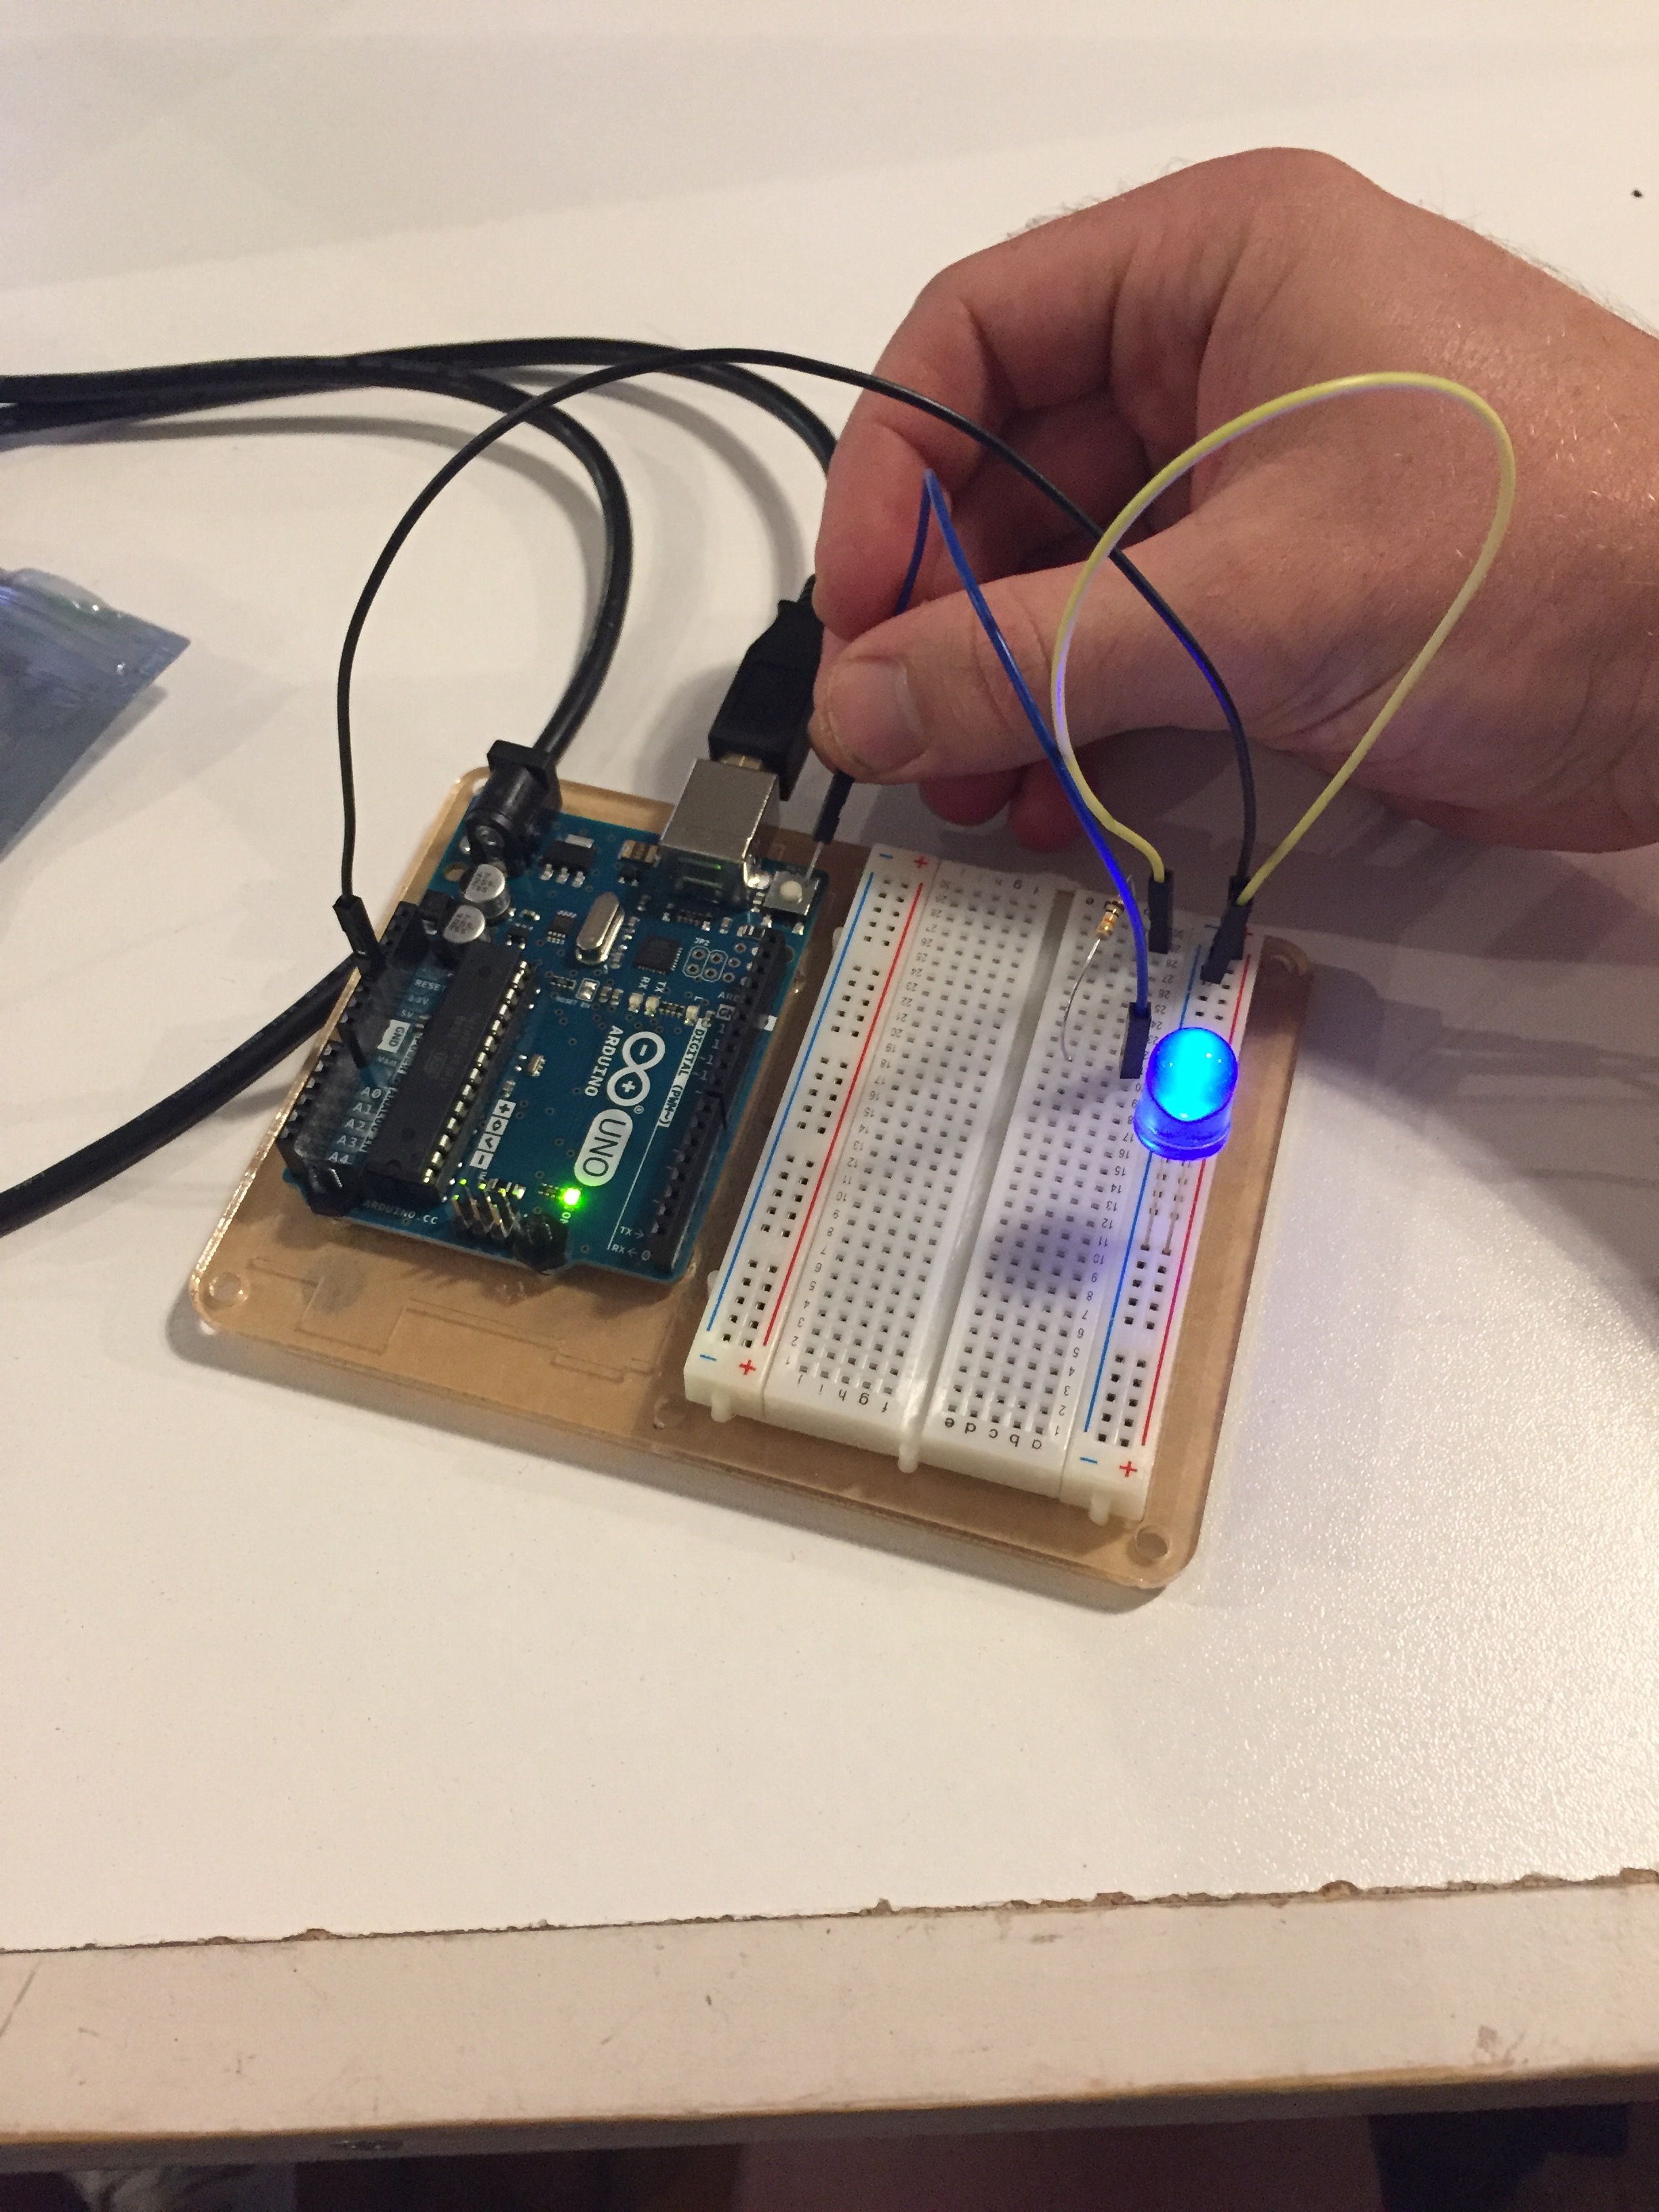
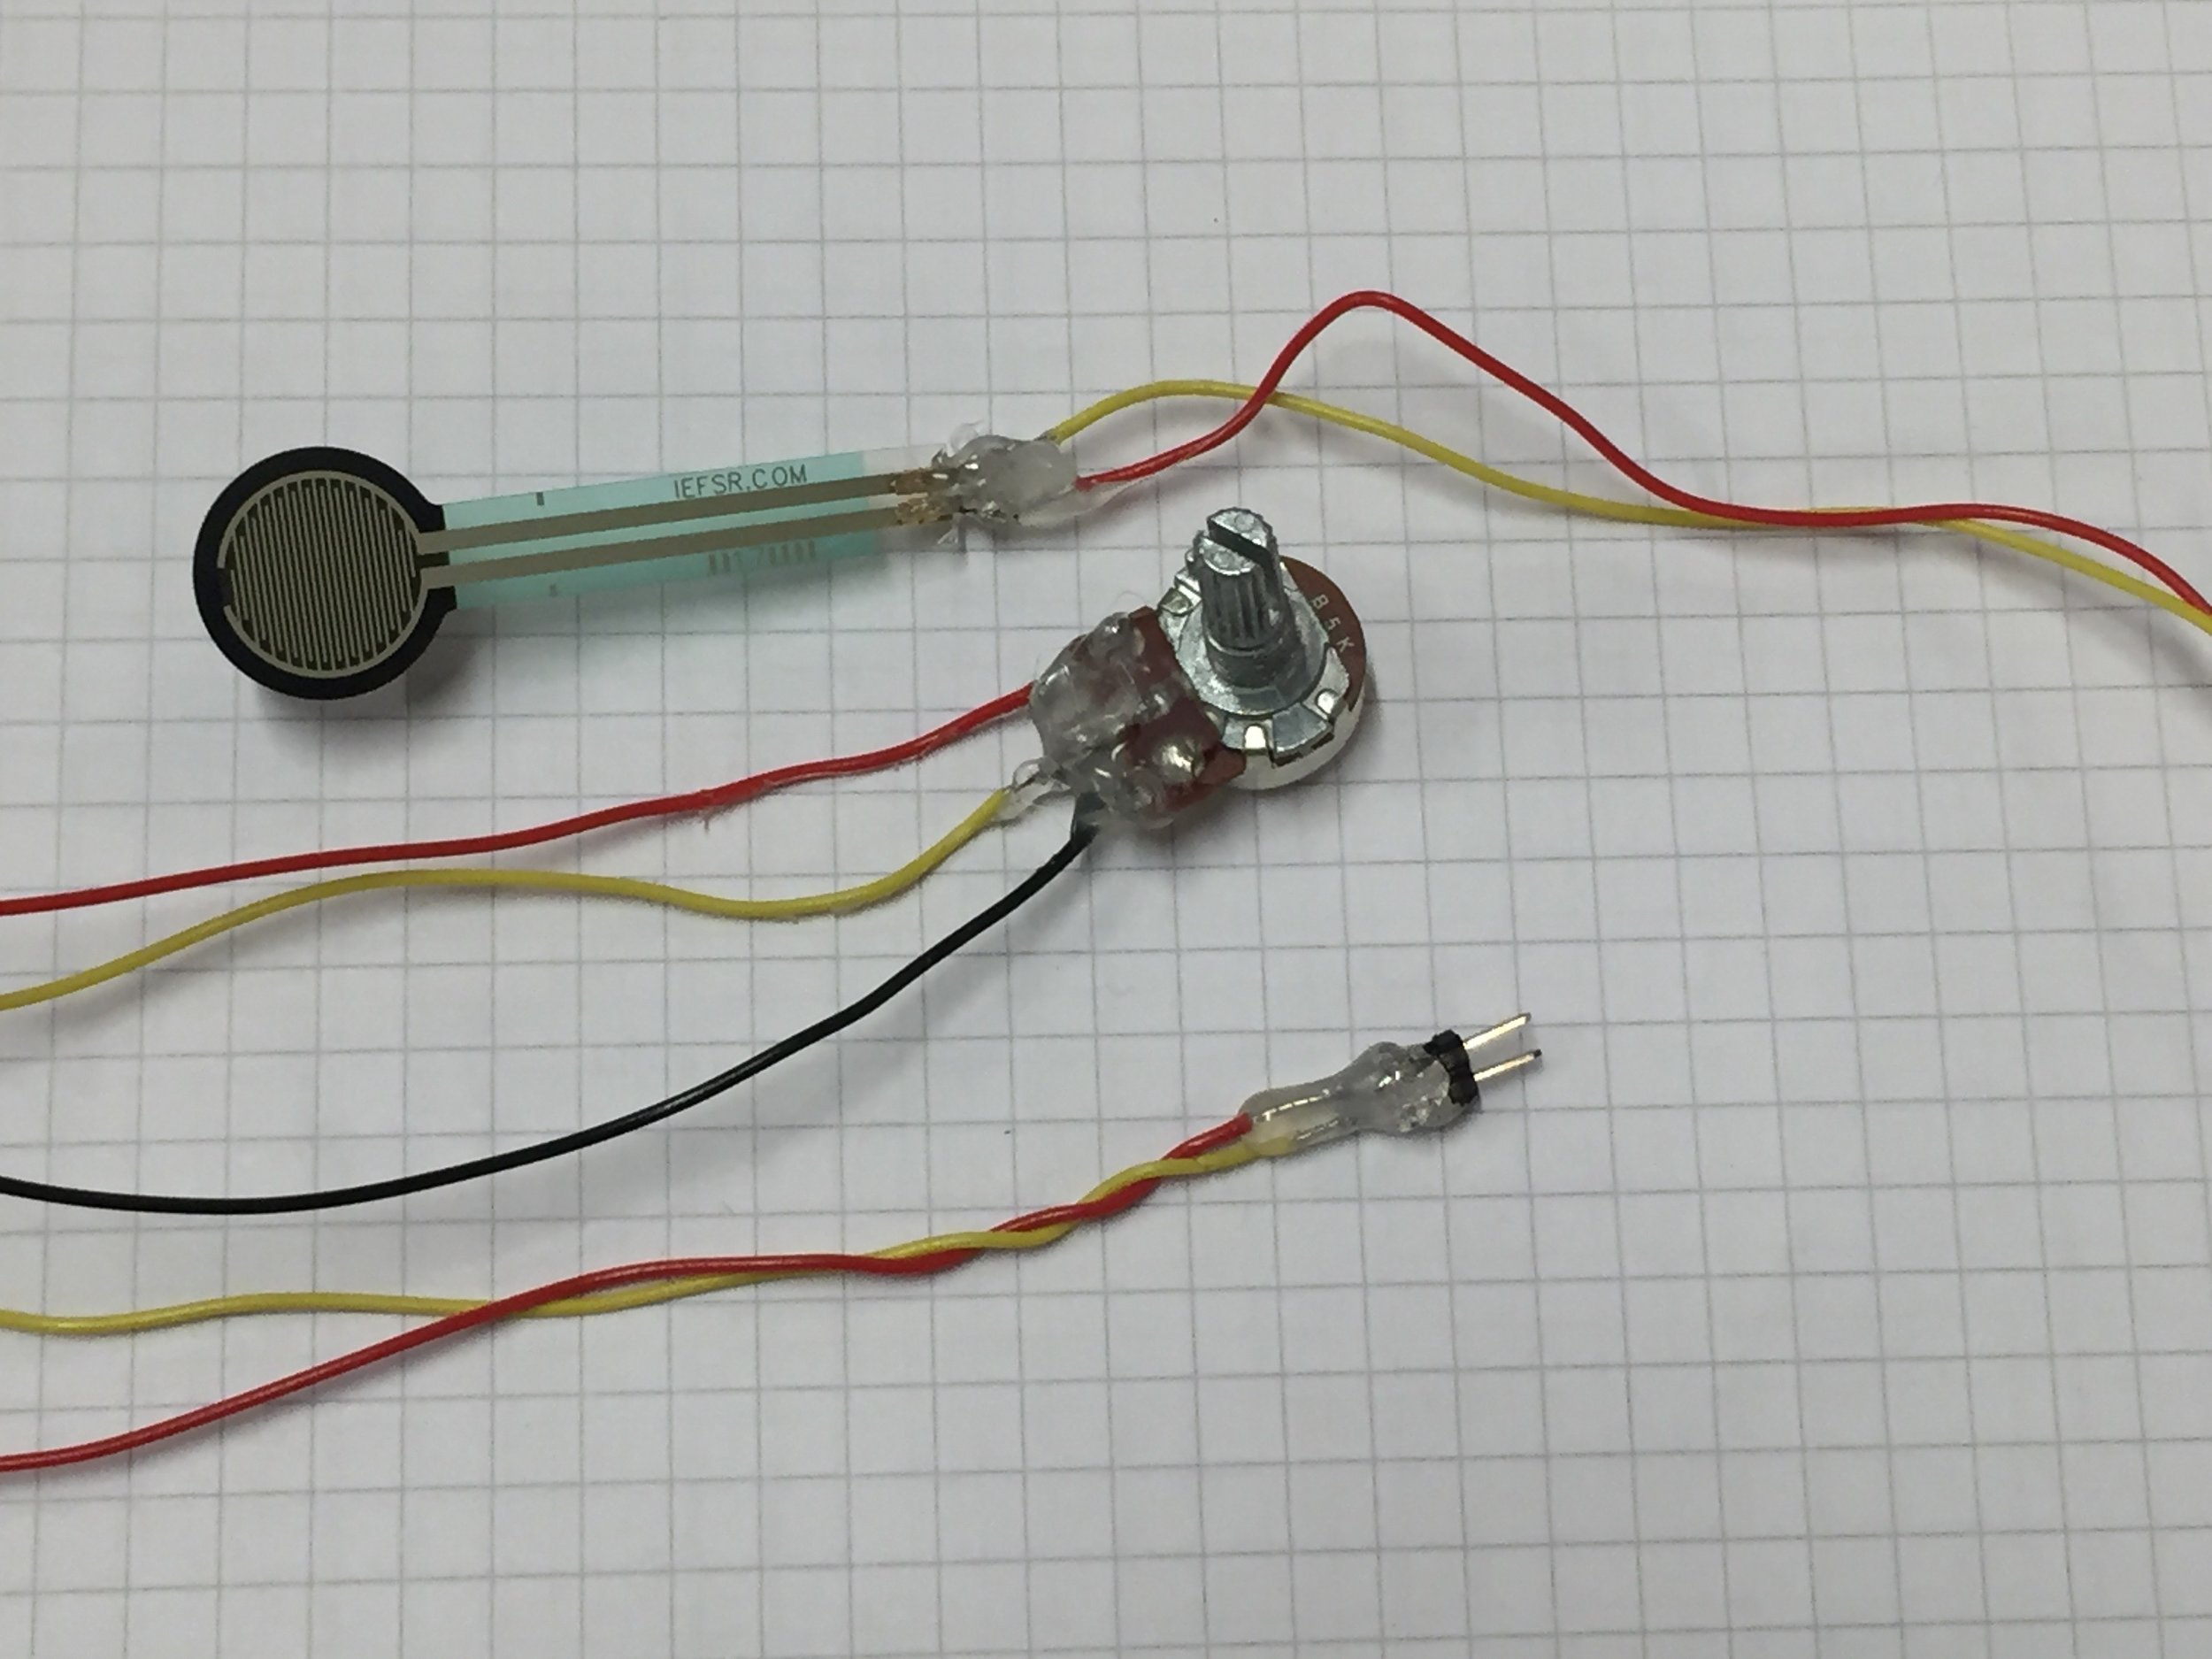
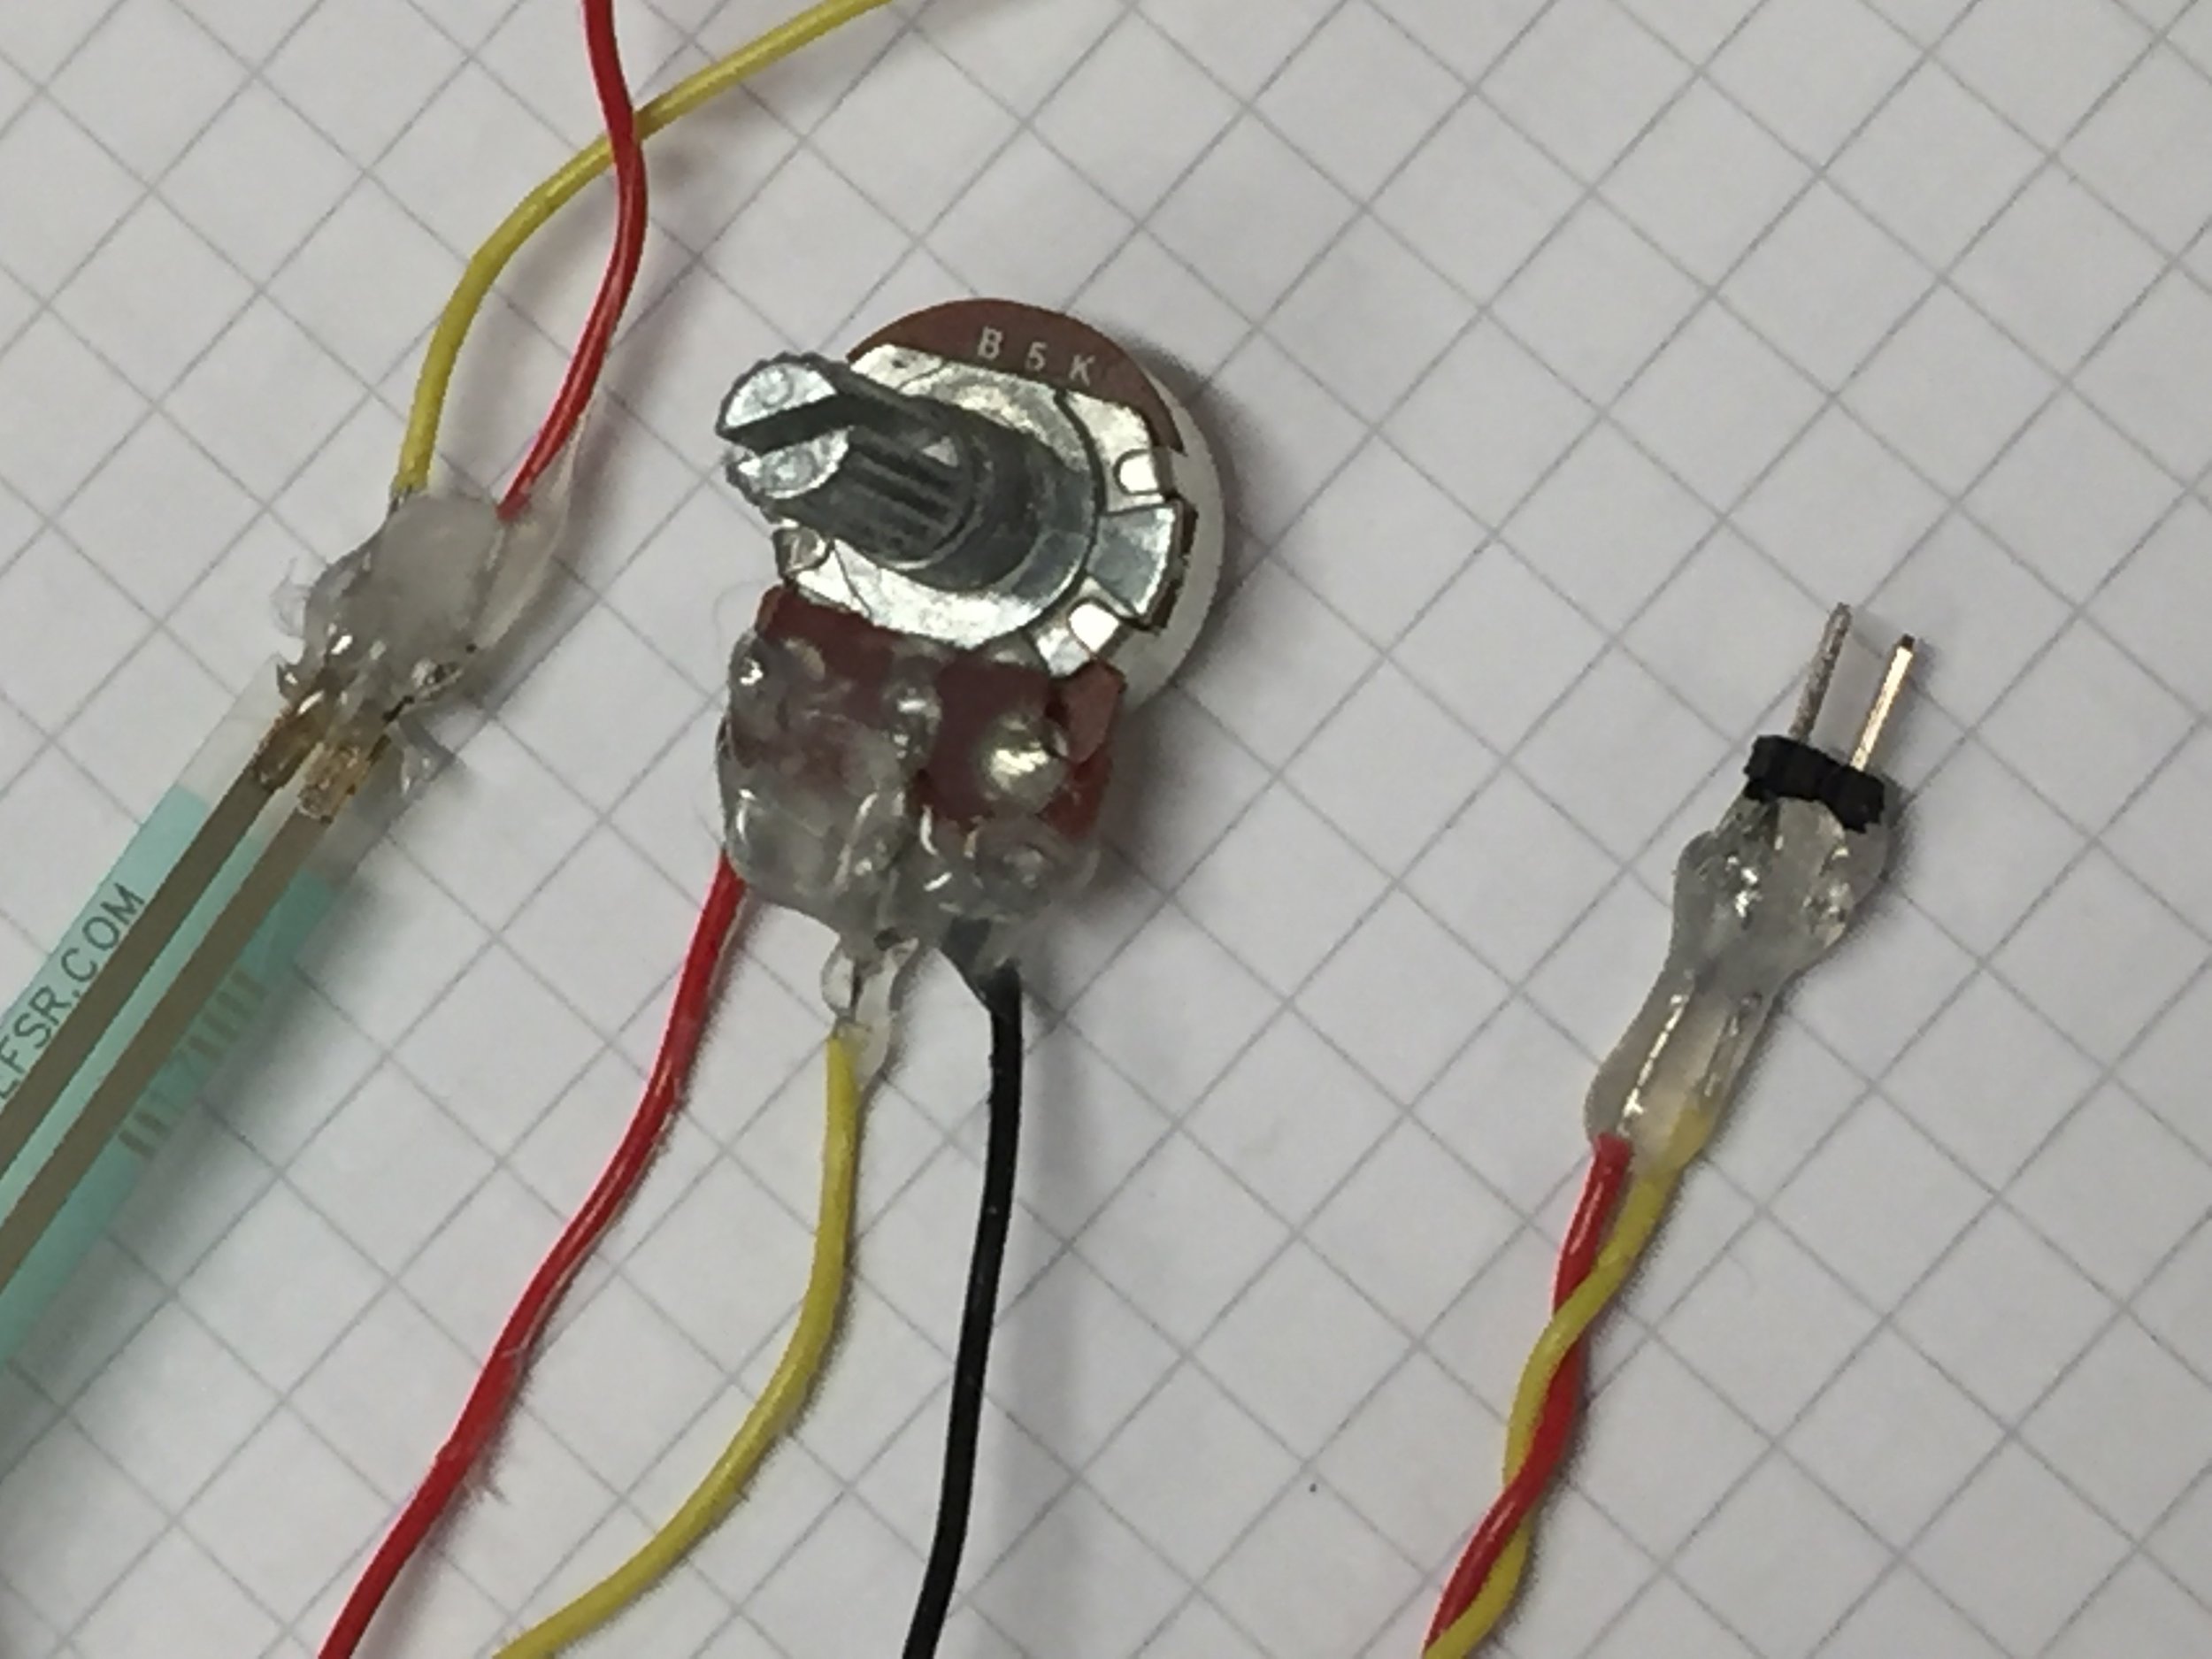
My final circuit turned to be a little more complex than I initially thought it may be - which is not so much a circuit by a unit in a system diagram. Even though now it’s only slightly more complicated than a single cable plugging the Arduino to the laptop. Basically, a big button is pressed by the user, lights switch from red to green, and the game begins. That is the extent of the tangible interaction. Then the user leans and flaps and controls the plane!


Reflection:

This project has been eye opening in many ways. From the concept, to the coding, to the friends anticipation, and their eventual experience of the work, every step of the way has been a journey, a process, a trial, and ultimately helpful. 

Starting with the process, I’m quite happy I was able to push through and achieve what I intended to achieve with this project in allowing people to “fly.”  It was many nights and hours fighting with the smallest things thinking I’d be better off simply pivoting, but I did not want to, and I’m glad I didn’t.

To the coding, it was tough. There were kinect connection issues, serial port issues, arduino issues… but at the end of the day I connected all the devices to provide real time feedback based on body positioning and limb actions. I have a hunch that children will catch on quicker than adults, I am excited and hopeful to test this hypothesis. 

I did not build out objects or for loops in this code, and while I wish I had, I am ok that I didn’t, given that I had to figure out kinect and serial port issues, and write arduino code. There are many if statements and functions within functions, and the byte parsing communication was a doozy to figure out, though now that I know it, I can likely solve similar problems in about 3000% faster time. Looking back I can’t believe how long it took, but looking forward I can’t wait to how quickly projects like these will come together, and how much more able I will be to solve much more complex problems.

All along my friends have anticipated my completion, not out of some misplaced awe, but rather an delightful curiosity. Watching me flap my arms like a fool for the past several weeks, many have inquired as to what I’m up to with a smirk or outright smile. To be able to give them something close to what they imagine they might get - and are already excited about, is a delight. 

And so too have their faces when they initially experience the simulator. Broad smiles, action, leaning, flapping, laughing - many great positive verbs. As of this writing I have not yet smoothed out the control of the mouse movements, but even if they are not smoothed out, the controller still works, and people love it. 


Source: fly-like-an-eagle

Final project outline - Fly like an Eagle

Abstract: 

A game that utilizes google earth to allow game players to fly around the planet like a bird, as the method for locomotion is flapping and tilting.

Purpose: 

To give myself something I’ve always wanted - the feeling of bird flight. Also, to show players what climate change impact look like from a ‘first hand’ perspective. Finally to pull players out of their comfort zone by having them perform a humiliating task in a non-humiliating manner - since no matter who you are you will look silly while playing. This allows people from various background to more easily connect over a shared experience that is at once light, fun, engaging, and stimulating of dialogue (hopefully surrounding critical issues pertaining to our planet and societies).

Description:

After some research and talking to classmates I believe I have found the parameters of my project - Fly like an Eagle. At first I believed I had to use Unity and a 3rd party tool called PlexEarth in order to turn Google Earth into a game. Yet in ICM Dom Chang alerted me to the flight simulator within Google Earth itself. A cursory youtube search immediately revealed the method for modding the program. It’s actually pretty straightforward for the most part - Google Earth has good clear organization for the various elements and objects in the application.  I was also just alerted today to something we will do in animation quite soon - using Kinect and Unity (and After Effects?) to create 3D characters mapped to an individuals actions.  Combining these via p5.js to display a bird flying throughout planet earth is my immediate intention. To keep people playing is the next task. Of course, kids and adults will be excited by just flying around using their flappng arms as locomotion - seeing new sights and pretending to be a bird. That alone is something many minds have pined after for millennia. However for those that this is not enough - albeit we are living in an age of minimal attention span - I would like to give them something to latch on to and purposefully explore: areas affected by climate change was my main thought - through a time toggle button, and proposed to me was to fly along bird migratory routes, find a place from a photo or name, race a friend to place, or find your friend in another area like hide and go seek. There are likely many more concepts to explore, but these are a few great ones. 

Technical Plan:

Raspberry pi/p5.js 

  • Load:
    • google earth 
    • On screen notations
      • Time played
      • altitude
      • Location
    • Input from Arduino
    • Input from Kinect
    • Display character
  • Managing on screen controls
  • Voice control that listens to a place input and finds a lat/long to send the user to 
    • “Seattle” - screen rapidly shifts to Seattle

Hacking google earth/ things to modify

  • eagle file (plane/bird object)
    • approach function 
    • cruise function
    • thrust input 
    • turn input
    • speed/weight
  • key inputs (for testing)
  • Add file - sensor inputs 
    • Non-joystick or keyboard
    • From Arduino
  • Modify display allowing user to choose eagle from list 

Arduino/Raspberry pi

  • Accelerometer(s) on person
  • Distance sensor(s)(?) to track 
  • Big ground step-buttons
    • Start game
    • Stop game
    • toggle game type

Kinect

  • Capture actions
  • Map movements to bird visual character

Rough Visual Outline

visual outline eagle-flight-game.jpg

Video showing physical action

Initial getting hooked up to the Kinect.

Some more video - of a screengrab - to show that I've got a ball to move around the screen based on whether or not your head is ahead of your hips. And whether or not it's to the left or right of center. This allows the object to move around in a manageable manner. Also, I show a closer look of the bird shape that more directly mimics the motion of your body in space.


Source code - http://alpha.editor.p5js.org/samchasan/sketches/H1idZsDkf

http://alpha.editor.p5js.org/samchasan/sketches/SyOkvbKJf

Play Testing / notes:

  • People love the idea of going through time, and flapping as locomotion
  • Idea proposed of going forward in time, or going through a portal to transport in time
  • Just flying less compelling
  • Accelerometer on hand to switch between gas/brake - more natural than clicking a button
  • General feedback is delight.
  • Aesthetics - wings, jacket, helmet, sunglasses as props can go a long way
  • Audio response/feedback can go a long way - cah! to get birds to spread around, for example. 

Hello World!

I soldered up a accelerometer + gyrometer, hooked it up to an arduino, and got this code. I'm still very unclear about the next steps, but at least that is now taken care of... 

Screen Shot 2017-11-13 at 4.29.00 PM.png

Google Earth files to edit

%
% F-16.
%

model_name = 'F-16 Fighting Falcon'

%%%%%%%%%%%%%%%%%%%%%%%%%%%%%%%%%%%%%%%%%%%%%%%%%%%%%%%%%%%%%%%%%%%%%%%%
% Minimum eyepoint distance to objects.
%%%%%%%%%%%%%%%%%%%%%%%%%%%%%%%%%%%%%%%%%%%%%%%%%%%%%%%%%%%%%%%%%%%%%%%%
d_E_min = 4

%%%%%%%%%%%%%%%%%%%%%%%%%%%%%%%%%%%%%%%%%%%%%%%%%%%%%%%%%%%%%%%%%%%%%%%%
% Approach speed, power and flap setting.
%%%%%%%%%%%%%%%%%%%%%%%%%%%%%%%%%%%%%%%%%%%%%%%%%%%%%%%%%%%%%%%%%%%%%%%%
V_approach = 130
D_F_approach = .4
D_P_approach = .1

%%%%%%%%%%%%%%%%%%%%%%%%%%%%%%%%%%%%%%%%%%%%%%%%%%%%%%%%%%%%%%%%%%%%%%%%
% Cruise speed, power and flap setting.
%%%%%%%%%%%%%%%%%%%%%%%%%%%%%%%%%%%%%%%%%%%%%%%%%%%%%%%%%%%%%%%%%%%%%%%%
V_cruise = 330
D_F_cruise = 0
D_P_cruise = .4

%%%%%%%%%%%%%%%%%%%%%%%%%%%%%%%%%%%%%%%%%%%%%%%%%%%%%%%%%%%%%%%%%%%%%%%%
% Constants for terrain elevation filters.
%%%%%%%%%%%%%%%%%%%%%%%%%%%%%%%%%%%%%%%%%%%%%%%%%%%%%%%%%%%%%%%%%%%%%%%%
spring_e_T = 80
damper_e_T = 15

%%%%%%%%%%%%%%%%%%%%%%%%%%%%%%%%%%%%%%%%%%%%%%%%%%%%%%%%%%%%%%%%%%%%%%%%
% Spring/damper constants for camera rotation.
%%%%%%%%%%%%%%%%%%%%%%%%%%%%%%%%%%%%%%%%%%%%%%%%%%%%%%%%%%%%%%%%%%%%%%%%
% Critical damping: spring = damper^2/4.
spring_vertical = 80
damper_vertical = 15
spring_horizontal = 80
damper_horizontal = 15

%%%%%%%%%%%%%%%%%%%%%%%%%%%%%%%%%%%%%%%%%%%%%%%%%%%%%%%%%%%%%%%%%%%%%%%%
% Collision vertices.
%%%%%%%%%%%%%%%%%%%%%%%%%%%%%%%%%%%%%%%%%%%%%%%%%%%%%%%%%%%%%%%%%%%%%%%%
p_v = [
  % Main gear.
  [ -9.27 -1.18 .05 ]
  [ -9.27  1.18 .05 ]
  % Nose gear.
  [ -5.26  0    .05 ]
  % Top of vertical stabilizer.
  [ -14.88 0 -5.19 ]
  % A point on the belly for gear-up landings.
  [ -8.4 0 -1.3 ]
  % Nose
  [ 0 0 -1.6 ]
  % Main wingtips.
  [ -10.91 -5.04 -1.75 ]
  [ -10.91  5.04 -1.75 ]
  % Elevator wingtips.
  [ -14.19 -2.82 -1.53 ]
  [ -14.19  2.82 -1.53 ]
]

% Main and nose gear (first 3 vertices) go away when gear is up.
first_fixed = 3

% Spring/damper format:
% [ C_0 C_s C_d f F_max ]
spring_damper = [
  [ 2500 500e3 100e3 .05 800e3 ]
  [ 2500 500e3 100e3 .05 800e3 ]
  [ 1500 500e3 100e3 .05 800e3 ]
]

% Contact patch format:
% [ C_r_0 C_r C_b C_y K_s K_d C_max_x C_max_y b dalpha_dDR ]
contact_patch = [
  [ 81 .003 64e3 6e4  180e3 100e3 .8 .5 1.4 0   ]
  [ 81 .003 64e3 6e4  180e3 100e3 .8 .5 1.4 0   ]
  [ 81 .003 64e3 6e4  180e3 100e3 .8 .1 1.4 .3  ]
]

%%%%%%%%%%%%%%%%%%%%%%%%%%%%%%%%%%%%%%%%%%%%%%%%%%%%%%%%%%%%%%%%%%%%%%%%
% Power plant.
%%%%%%%%%%%%%%%%%%%%%%%%%%%%%%%%%%%%%%%%%%%%%%%%%%%%%%%%%%%%%%%%%%%%%%%%
% Jet engine:  power lever controls thrust.
P_max = 130e7
F_max = 130e3
P_ratio_reverse = 0
P_ratio_alpha = 1.2
p_T_v = [ [ -14.5 0 -1.83 ] ]
d_T_v = [ [ 1 0 0 ] ]

%%%%%%%%%%%%%%%%%%%%%%%%%%%%%%%%%%%%%%%%%%%%%%%%%%%%%%%%%%%%%%%%%%%%%%%%
% Eye point.
%%%%%%%%%%%%%%%%%%%%%%%%%%%%%%%%%%%%%%%%%%%%%%%%%%%%%%%%%%%%%%%%%%%%%%%%
p_E_v = [ -3.66 0 -2.71 ]

% Reference values.

b = 9.2
c_bar = 3.45

% collision model values, leave at 1 for now.
d_ref = 1
v_ref = 1
F_ref = 1

% Mass/cm/inertia.

m = 12000

J = [
  [ 12800 0     1330  ]
  [ 0     57600 0     ]
  [ 1330  0     85500 ]
]

% CM @ 0.35 c_bar

p_CM_v = [ -8.4 0 -1.83 ]
p_AC_v = [ -8.4 0 -1.83 ]

%%%%%%%%%%%%%%%%%%%%%%%%%%%%%%%%%%%%%%%%%%%%%%%%%%%%%%%%%%%%%%%%%%%%%%%%
% Aerodynamics
%%%%%%%%%%%%%%%%%%%%%%%%%%%%%%%%%%%%%%%%%%%%%%%%%%%%%%%%%%%%%%%%%%%%%%%%

% Forces.
alpha_z_0_deg = -.3
dalpha_z_deg_dDF = -6
C_D_0 = 0.0188809
dC_D_dDG = .02
dC_D_dDF = .03
dC_L_dalpha_deg = .06
dC_L_dS = -1.2
C_L_max_0 = 1.1
dC_L_max_dDF = .2
d2C_D_dC_L2 = 0.264818
d2C_D_dC_Y2 = .8
dC_Y_dDR = 0
dC_Y_dbeta_deg = .008
dC_Y_dp_hat = 0
dC_Y_dr_hat = 0

% Moments.
% Pitch.
C_m_0 = 0
dC_m_dDE = .2
dC_m_dDE_T = .06
dC_m_dDF = 0
dC_m_dDG = 0
dC_m_dS = -.15
dC_m_dq_hat = -18
dC_m_dalpha_deg = -.008
d2C_m_dbeta2 = 0
% Roll.
dC_l_dDA = .008
dC_l_dDR = 0
dC_l_dbeta_deg = 0
dC_l_dp_hat_0 = -.15
dC_l_dr_hat_0 = 0
ddC_l_dp_hat_0_dS = 2
ddC_l_dr_hat_0_dS = 1
dC_l_dp_hat_max = .01
% Yaw.
dC_n_dDA = -.01
dC_n_dDR = .03
dC_n_dbeta_deg = 0.0015
dC_n_dp_hat = 0
dC_n_dr_hat = -3


% Quadratic axis damping terms.
d2C_m_dq_hat2 = -5
d2C_l_dp_hat2 = -5
d2C_n_dr_hat2 = -1
%
% Joystick controls for typical PC joystick.
%
% Controller axes are numbered from A0 to A[n-1], (n is the number of axes).
% Controller buttons are number from B0 to B[m-1], (m is the number of
% buttons).
%
% Variable names are:
%   DF, DG:  Flaps, gear (0 = retracted, 1 = extended)
%   DA, DE, DR:  Aileron, elevator, rudder (-1..1).
%   DE_T:  Elevator trim (-1..1).
%   DP_i:  i-th power lever (counting from 0; (0..1)).
%   DB_i:  i-th wheel brake (counting from 0 (left brake); (0..1))
%
% Manipulators are:
% Axes:
%   set(var, value, offset):  Set var to "(axis position) * value + offset"
%     Axis position is between 0 and 1
%
% Buttons:
%   set(var, value):  Set var to value.
%   add(var, delta, min, max):  Add delta to var, keep it between min and max.
%   toggle(var):  Set var to 0 if it's 1 or to 1 otherwise.
%   toggle(var, min, max, step) Change var between min and max adding step.
%

%
% The controllers_supported section defines controllers supported by this
% configuration file.  The block consists of the sequence of "controller"
% expressions.  Controllers mapped by the Flight Simulator have to match at
% least one of the "Controller" expressions.  The expression consists of five
% parts (controller name, minimal number of buttons, maximal number of buttons,
% minimal number of axes, maximal number of axes).  The controller name is a
% regular expression that has to match the product name reported by the USB
% layer.  All conditions have to be fulfilled for the configuration file to be
% used.
%

%
% Generic controls for a single-engine aircraft.  Supports elevator, aileron,
% power and rudder and one POV to set the horizontal angle if present.
%

controllers_supported = [
  Controller('*', 0, 100, 0, 100)
]

button_press = [
]

axes = [
  A1  set(DE, 1.0, 0.0)
  A0  set(DA, 1.0, 0.0)
  A2  set(DP_0, -0.5, 0.5)
  A3  set(DR, 1.0, 0.0)
]

povs = [
  P0  set(HAngle, 1.0, 0.0)
]

Concepts

As anyone who knows me is aware - I have plenty of ideas. The final for this class is no exception. I'd love to continue development on The Art Machine, build a more complex keyboard, a circular theramin, different types of video games, energy machines, and more. Here are some photos.

Art Machine

This machine simplifies the actions of the artist to two simple actions, eliminating much thought process and allowing for rapid creative production. By controlling the speed of a turntable, and pseudo-controlling a motorized arm, the artist generates random marks on paper by simply rotating a handle (arm), and sliding a knob (turntable). With only two controls, but an infinite amount of results, this project was quite fun to ideate and develop. And as it is shown here in its simplest possible form - there is quite a bit of room for improvement. 

The photos: First of all there is the final product. An arm, a turntable, and a box. Two controls, one brush, one piece of paper. Dip the brush in some paint, and slide the knob on the right forward to start the turntable. Turn the handle on the left to the left or right to twist the arm around and make marks on the paper. So that's the thing! Next up is the walk-through. So there's the acrylic we used, well, until I broke the piece and we had to make a new one, and then another because our final arm was a bit longer than that short little guy. That's also the speed control for the motor ther- picture 2. Typically these DC motors run at a certain speed, but by controlling duty rate (I remember it as a pulse rate) of the electrical current the motor can be slowed down or sped up. All we had to do was connect a battery and it's good to go. Picture 4 is our sketch for the arm, a simple wood on wood pressure piece, since the weight of the acrylic, motor, and brush is not more than1-2oz I believe. Picture 5 is the slide potentiometer we used. Also just had to plug that in. Next we built the arm, and tested the product by simply spinning the paper on the table. It seemed to work, so picture 8 is our first turntable prototype. I added feet so the arm could now be freestanding. Next few pics are sexy art shots :) And then, the final piece again! Nice and clean :) Even with cardboard and foam, it has a simple minimalist feel to it that I very much like and am very much proud of.

Simple Keyboard

This is the first tangible thing I've built while at ITP and I'm SO EXCITED! While it's stupidly simple from an end user perspective, it's just barely complex enough to justify 8 hours of work and a blog post. Granted, this is my first project, and I'm not in Fabrication yet, so I have to say I'm pretty stoked to have combined cutting, folding, drilling, soldering, wiring, and coding in creating this little musical instrument. Knowing that this proof-of-concept is functional, I want to add a bunch to it in subseqeuent months. I am quite musical, but quite unable to play an instrument - so that's kept me away from music making for a long time. But perhaps this ongoing project will slowly reintroduce my brain to the wide world of auditory ecstasy.

Read through how I made this little device below!

Final product first

The process

My first objective was to determine whether or not the materials I had picked to be the focal points of my device were actually conductive or not. I figured they were, but wasn't sure they would be covered with an insulating material, thus preventin…

My first objective was to determine whether or not the materials I had picked to be the focal points of my device were actually conductive or not. I figured they were, but wasn't sure they would be covered with an insulating material, thus preventing me from access their conductive capabilities. However, as the light indicates, they are quite conductive, and should work just fine. I ended up forgetting a spoon, and didn't want to steal one from ITP, so I settled for screws as both my 'buttons' and as my 'wand.'

I used a thick cardboard tube as my structure, with a folded cardboard box as my base. This allowed me to keep the screws in a relatively stable position as I soldered the wires to them. Next time I'll actually clamp the base down, the minor movemen…

I used a thick cardboard tube as my structure, with a folded cardboard box as my base. This allowed me to keep the screws in a relatively stable position as I soldered the wires to them. Next time I'll actually clamp the base down, the minor movements are enough to cause some frustration while soldering. At this point I wanted to test my connections to determine if I was doing everything properly. At first I thought I hadn't... then...

Turns out my soldering connections work! I thought they weren't working, so I stupidly removed the resistor protecting this fragile little LED. Then I surprised myself as I watched the LED burn bright then never again... so sad.

Turns out my soldering connections work! I thought they weren't working, so I stupidly removed the resistor protecting this fragile little LED. Then I surprised myself as I watched the LED burn bright then never again... so sad.

But it looked like - with the proper resistance applied - all my solder connections were successfully made! I finished up soldering the rest of the screws and got to work connecting it all.

Here's a good time to stop and take a look at the code I wrote - which is very simple. If you hit a certain screw, a certain note plays, and the light turns on.

CODE

// declare notes as variables
// notes provided by Brett Hagman

#include "Music_Notes.h"

int note0;
int note1;
int note2;
int note3;
int note4;


void setup() {
  // set D2-D6 to INPUT
  // Screws
  pinMode(6, INPUT);
  pinMode(5, INPUT);
  pinMode(4, INPUT);
  pinMode(3, INPUT);
  pinMode(2, INPUT);

  // set pin 11 to LED light
  pinMode(11, OUTPUT);

  // set pin 12 to Piezo speaker
  pinMode(12, OUTPUT);
};

//////////////////////////////////////////////////////


void loop() {

  // define notes
  
  note0 = NOTE_AS4 ;
  note1 = NOTE_B4  ;
  note2 = NOTE_C4  ;
  note3 = NOTE_G4  ;
  note4 = NOTE_E4  ;
  note5 = NOTE_GS4 ;
  
  // if certain screws are tapped, certain notes play
  
  if (digitalRead(6) == HIGH) {
    tone(12, note0);
    digitalWrite(11, HIGH);
  }
  else if (digitalRead(5) == HIGH) {
    tone(12, note1);
    digitalWrite(11, HIGH);

  }

  else if (digitalRead(4) == HIGH) {
    tone(12, note2);
    digitalWrite(11, HIGH) ;
  }

  else if (digitalRead(3) == HIGH) {
    tone(12, note3);
    digitalWrite(11, HIGH);
  }

  else if (digitalRead(2) == HIGH) {
    tone(12, note4);
    digitalWrite(11, HIGH);
  }

  else {
    noTone(12);
    digitalWrite(11, LOW);
  }
};

However, despite my code being written properly, I hadn't included pull down resistors in the circuit, so it lead to the piezo speaker buzzing and the light being on without any power being applied. This somewhat baffled me, and despite solving the issue, I'm still confused as to how energy could move to all of these elements simultaneously without power applied...

Screen Shot 2017-10-02 at 10.45.54 AM.png

As you can see here, the screw is not completing the circuit, yet the LED indicates a HIGH reading as if the circuit is complete. To solve, add pull down resistors. Yet why it's on doesn't make sense to me quite yet. Either way, once I solved this issue I was complete with trouble shooting!

cardboard keyboard

The final piece in all its glory

Stuff to add for next time:

  • Pitch shifter
  • Volume shifter
  • At least 8 notes
  • Preprogrammed melodies
  • Speaker
  • Other resonant objects
  • Play with distortion
  • Analog inputs
  • Start/stop individual notes
  • Start/stop whole machine
  • Record / playback
  • CPU and OS

Purpose through Design

Wherever an orthodox approach seems self-evident, there are always radical new perspectives that can challenge this.

This weeks reading, Design meet Disability, was quite the interesting piece. I found myself thinking about terminology, how the words we use advise how we envision a product or concept, which then dictates how that thing develops, and finally how it appears to the public.

The example of eye-wear was informative, for sure. I still remember glasses being 'nerdy' (think Steve Urkel) as a kid. Over the last two decades, however, they have become a highly fashionable item - in large part thanks to the changing approach manufacturers had with them - moving them out of the 'purely medical' field into the world of fashion, and style.

But moving from a dry field to a colorful one presents both opportunities and pitfalls - not everyone wants brightly colored lenses. As is always true in my opinion, good design is long lasting style, rather than fleeting fashion. Like fitted jeans vs. bellbottoms.

Moving on, I found it interesting the bit about the prosthetics and free climbing. A man loses his limbs, rebuilds new limbs even better than his previous ones, and his support moves from sympathy to frustration as he witness calls for ejection from his competitors due to his ‘unfair advantage.’ In one sense what he did was the most human thing he could do - turn a problem into a benefit. In another sense he is now on a wholly different playing field than everyone else. I did write about this in an ethics class I took in undergrad, that to be mechanically superior to a natural, or unmodified human presents certain imbalances. Again, in my opinion, these imbalances are only to become more rapid and larger in the coming century.

So what does this mean for me and my cohorts producing stuff at ITP - it means

DO NOT PRETEND TO IMITATE SOMETHING

DO SOMETHING PURPOSEFUL, CLEAR, AND POWERFUL

If the climber had tried to recreate a human hand as he knows it, he would likely still be toiling away with prototypes. If the medical eye wear companies had kept trying to make subtle indistinct eye wear, portraying sight issues as 'bad' and 'something to be ashamed of' we wouldn't have a massive eye wear fashion industry, and billions of people happily wearing glasses. If Steve Jobs had said 'Let's make sure our music players and phones look like all the rest,' we would not have the iPod, or iPhone.

Speaking of those devices, this quote bubbles up - '"If I had more time, I would have written a shorter letter." Simple things are not necessarily easy to design.’ Exactly.

What this all means to me is attitudes are not homogeneous. Even within the smallest communities, there is a perpetual fluidity.  As I like to say the only thing that never changes is change itself, or the more bizarre: change is the only true constant.

So, just like the quote to begin this post, there is always room for improvement, for change, for both specificity and generality to be added for the benefit of your project. It just needs to be asked: what purpose does this fulfill? Is it an improvement? What can I remove?

Because it's important to be able to design a piece that can be used without thought, however, that is rarely if ever easily done.


Week 2 - Getting Techy

Photos from setting up my Arduino, creating my first circuits with it, soldering wires to resistors, and then setting those up as well. I must say, I am having quite the blast with this stuff. Set up a pressure sensor, a potentiometer, and a simple circuit.

Week 1 - What is Interaction?

What is Interaction?

Interaction is an exchange combined with an subsequent change, that then causes another exchange to occur. While I mostly agree with this rant, I do not agree that for something to be truly ‘interactive’ something must engage the whole hand or body – to do so discounts the amazing imaginative and cognitive capability of the human mind; see for example what Stephan Hawking is able to do without the use of 99% of his controlled motor functions.

However, I don’t disagree that to be more interactive, something must engage more of the body, more of the senses, and respond in a much clearer, much more interesting, much less abstract manner.

Therefore I see interaction as a gradient, as I see most if not all things. On the one end is Television – not interactive whatsoever… beyond the remote control. On the other end is free-form Salsa Dance – two partners responding to each other’s movements in real time with the entirety of their senses to create a new experience, even if not novel.

I also therefore disagree with the Chris Crawford of The Art of Interaction Design in part – as I see interaction being much larger than listening, thinking, and speaking. There are hosts of interactions which are non-verbal: sign language is one, team sports are another. And there are hosts of interactions between man and machine, such VR that allows doctors to see, understand, and treat cancers in ways they could not before.

So what is interaction? At its best, Interaction is active, it is sensory, it is between two complex machines, with interesting and unexpected changes occurring as a result of the exchange between those machines. At its worst, interaction changes little in the outside world, rather, it extends it. Cars, video games – the proverbial refrigerator lights – are interactive but not impactful. In essence they are responsive to our actions, similarly to how we are responsive to the actions of a glowing 24 fps screen.

And yet, even the simplest refrigerator light changes with response to that stimulus. So, like there are unicellular organisms, and there are multicellular organisms – the question ‘what is interactivity’ matters less to me than ‘how interactivity.’

The question of ‘Why’ seems clear, as outlined in both the rant, and the the book – we are living in a time that is both the most interactive its ever been in terms of sheer diversity of interactive capabilities, as well as the least interactive time, as defined by the raw number of interactions with limitedly interactive devices. 

So now the problem becomes, what should we do, for what, and how will we build it so that it is interactive, so that it does make real changes, that are felt, seen, heard, and responded to.

Because reacting isn’t enough – we need to dance.